Building the first POROTHERM walls for Amadeo
| 10 August 2008 - Comments (0) | Construction |
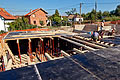
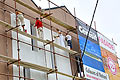
 As we progress installing the reinforcement for Amadeo's second ground floor slab, we started working with POROTHERM blocks. This is a real reward after months of iron and concrete. POROTHERM is beautiful and easy to work with. If it is hard, to explain simply what is construction quality, a simple look at a POROTHERM wall, is worth a thousand words...
Wienerberger POROTHERM and Baumit ThermoMörtel 50
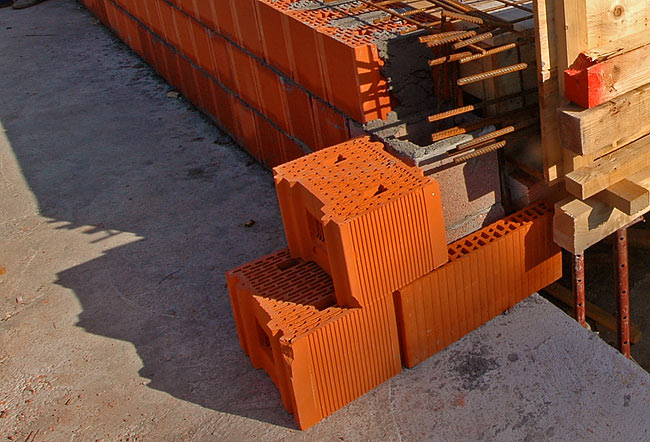
In the previous weeks we received several shipments of POROTHERM blocks of different sizes. External walls are made with POROTHERM 38 S P+E PLUS, internal load-bearing walls are made with POROTHERM 30 S P+E PLUS and partition walls are made with POROTHERM 8 P+E. POROTHERM 8 P+E is also used in combination with corner elements for vertical reinforcement, as we will see.
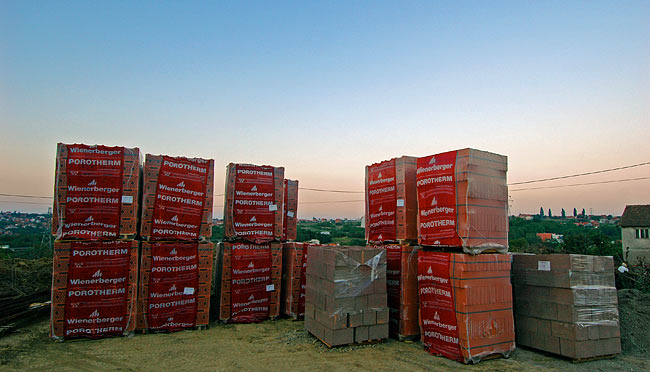
Shipments of POROTHERM on Amadeo's land.
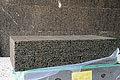
In addition to POROTHERM, we received, just in time for the construction, thanks to Baumit efforts, the thermal mortar for the horizontal joins between lines of POROTHERM. Baumit ThermoMörtel 50 is amongst the best mortar that can be used with POROTHERM. It contributes greatly to maintain the excellent thermal characteristics of POROTHERM without creating thermal bridges on the horizontal joins. For Amadeo, we will need around 550 bags of ThermoMörtel.
Using ThermoMörtel 50 is not a common pratice in Serbia, where only POROTHERM 30 S P+E PLUS is used, most often with regular mortar (without extra thermal protection).
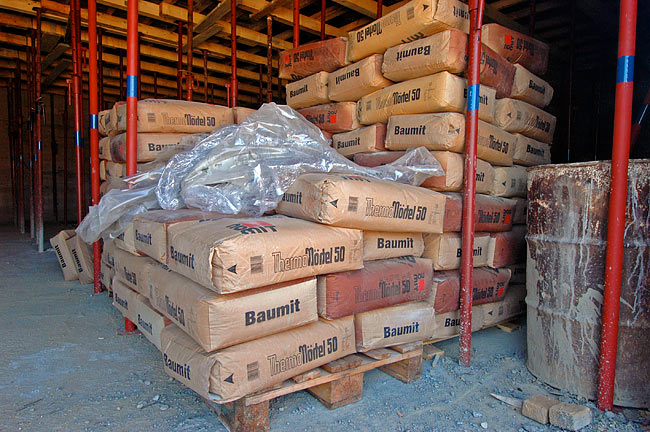
Shipment of Baumit ThermoMörtel 50 in Amadeo underground parking.
Starting the first wall between the 2 sides of Amadeo
The common wall between the two sides of Amadeo is made of POROTHERM 30 S P+E PLUS. We started this wall first because it will support the armed concrete slab of Amadeo A1. That slab will come on top of the first 3 lines of blocks.
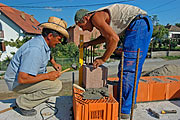
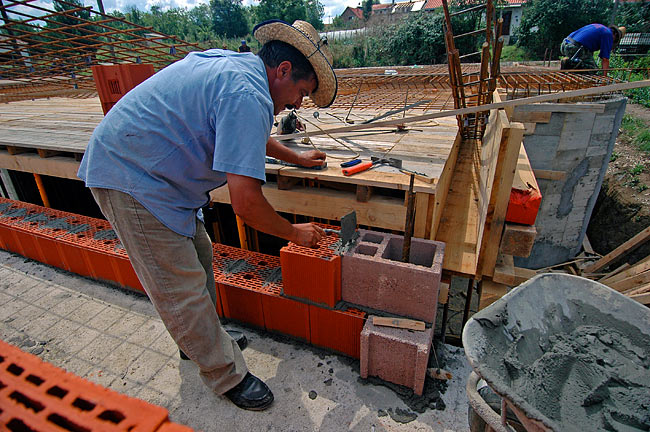
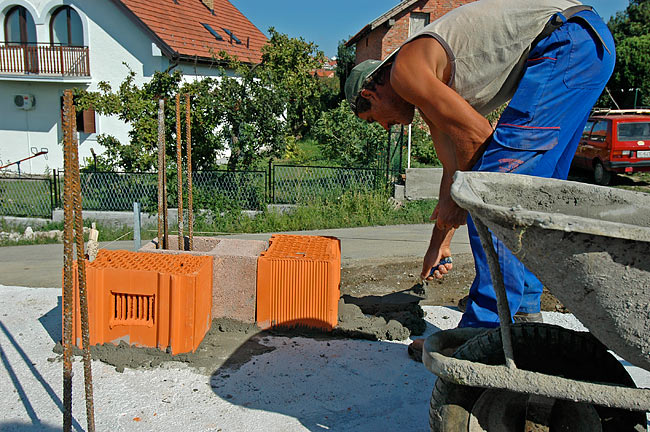
On the corner of each wall, we use special corner elements to cast the vertical reinforcement of the wall. So we started by positioning that first corner element. As we connect this element to the external POROTHERM 38 wall, 5cm of thermal insulation and POROTHERM 8 will be used to prevent thermal bridges.
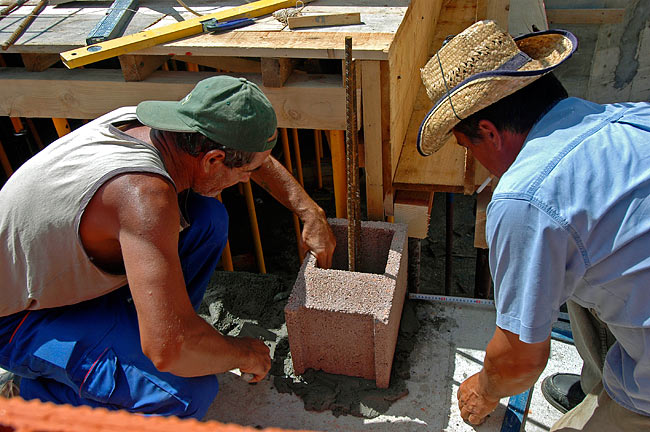
Positioning the first corner element for casting the vertical reinforcement.
Joining corner elements with POROTHERM 38 external wall, with thermal insulation (not placed yet) and POROTHERM 8. That prevents thermal bridges to occur.
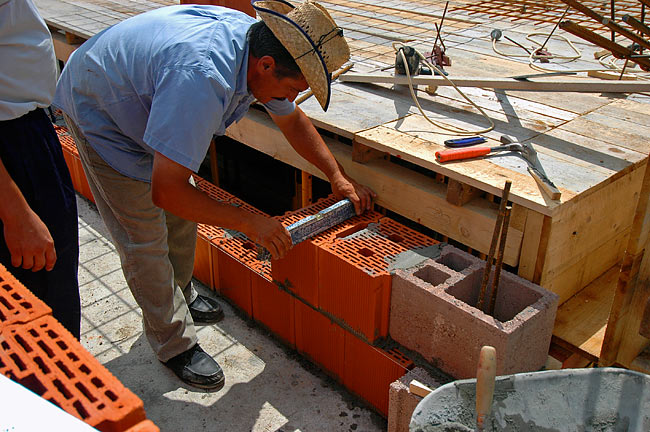
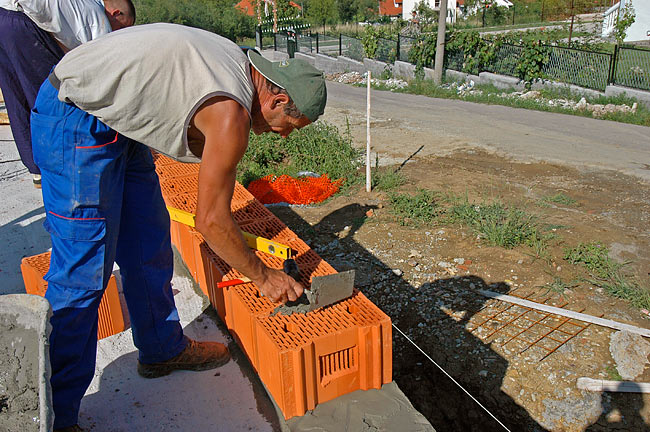
From the corner element, a line of POROTHERM 30 is started. Baumit ThermoMörtel 50 is used for the horizontal join. The lego like POROTHERM system makes that there is no vertical joins between blocks.
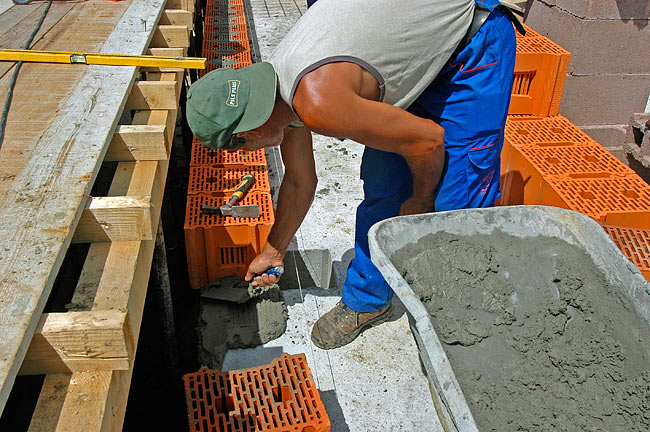
Starting the first line of POROTHERM 30 with Baumit ThermoMörtel 50 for the horizontal join.
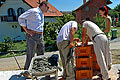
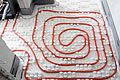
The load-bearing POROTHERM blocks we use have an antiseismic feature that has been specially developed by Wienerberger for earthquake safety. Between each 2 blocks, there is a hollow part in which mortar is poured to reinforce the connection between the blocks. So, as the line of POROTHERM progresses, that space is being filled with mortar before the next line of blocks is placed.
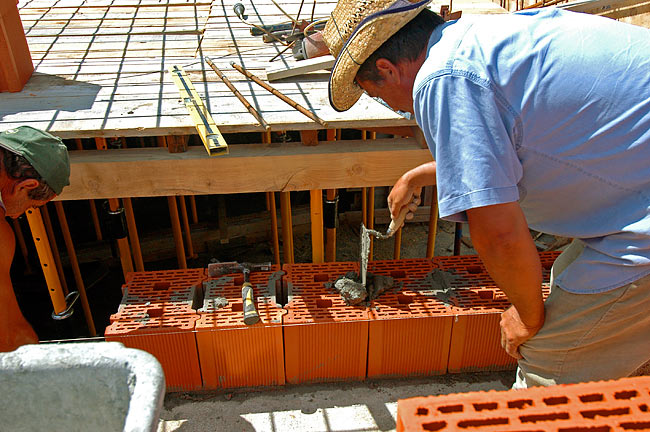
Filling the antiseismic special gap in between each 2 blocks.
The first line is eventually done, reaching the next vertical reinforcement element in the corner of the staircase.
First line of POROTHERM 30 is done.
Continuing with the second line of POROTHERM
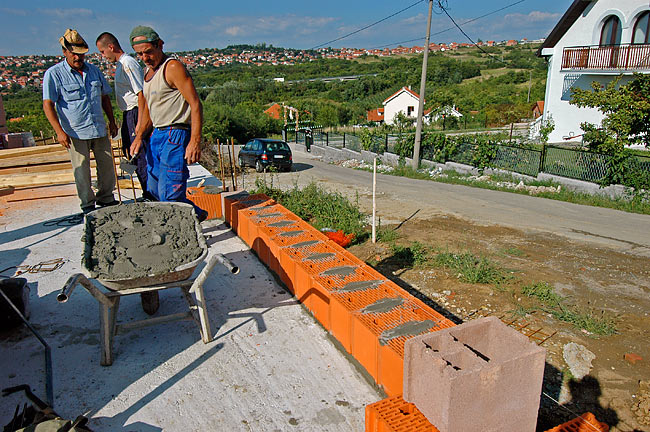
To start the second line of POROTHERM, a corner element is placed on top of the first one, with a 90 degrees angle. POROTHERM is then laid out on a layer of mortar, on top of the first line.
Placing the corner element of the second line with a 90 degrees turn and filling the antiseismic gap with mortar.
Positioning POROTHERM 30 block properly on the second line.
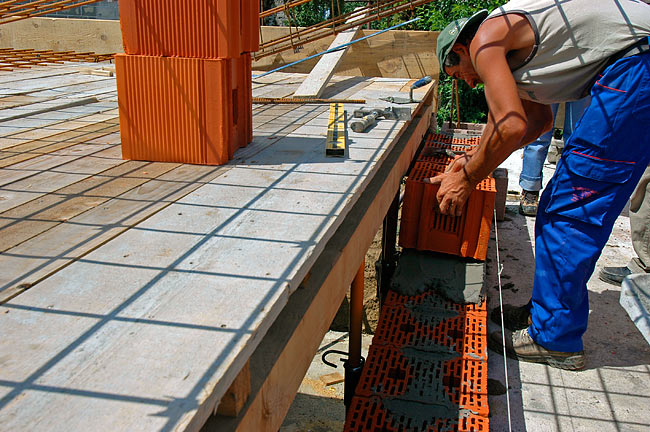
Positioning a new POROTHERM 30 block on the layer of mortar.
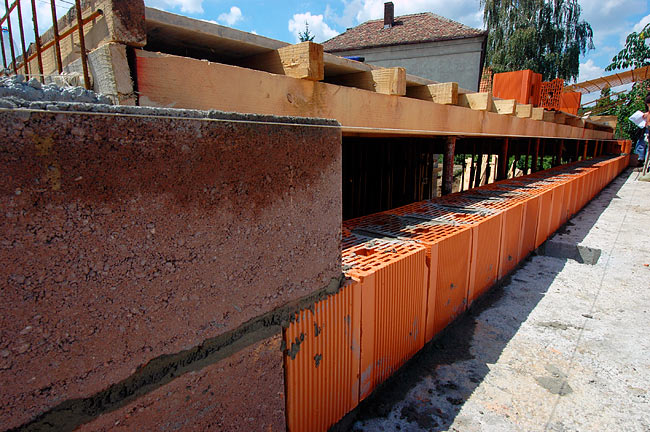
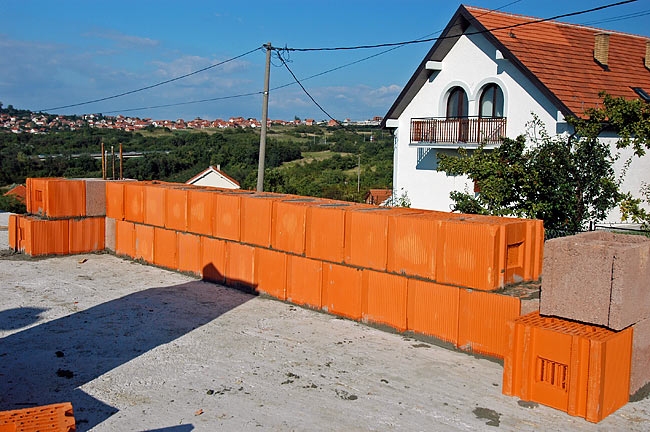
Eventually, the 3 lines of POROTHERM we needed are done. The slab of Amadeo A1 will come on top of that wall.
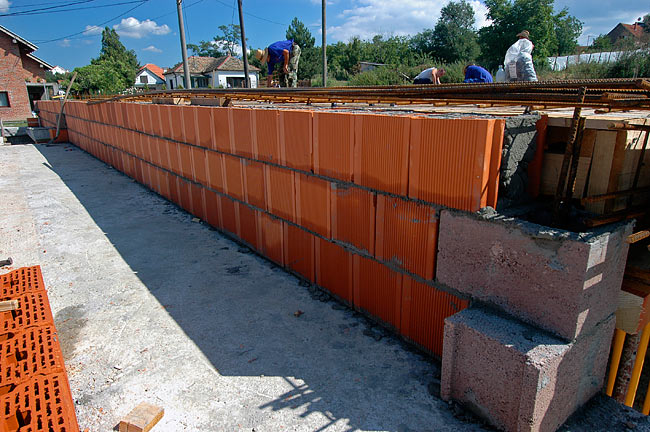
The first 3 lines of POROTHERM 30 that will support one side of Amadeo A1 ground floor slab.
The same wall seen from Amadeo A1, on the other side.
Starting the first external wall with POROTHERM 38
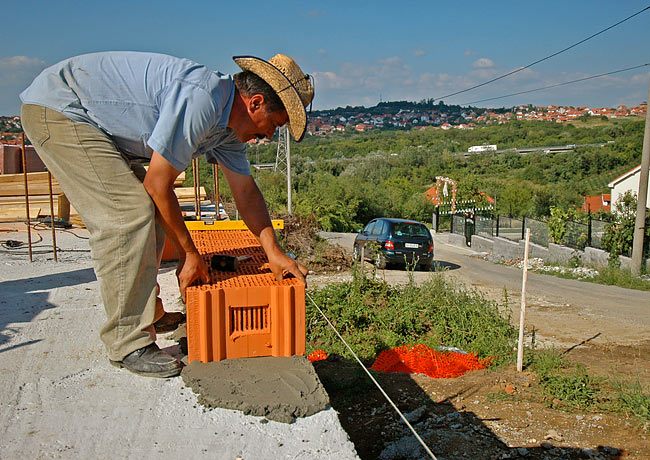
As for the previous wall, we start by placing the corner element. The corner element is smaller than POROTHERM 38 so that 5cm of thermal insulation and a block POROTHERM 8 can fit around it.
Starting the external wall of POROTHERM 38 with a corner element.
Placing the first line of POROTHERM 38 on the slab.
Filling the antiseismic feature between blocks.
First line of POROTHERM 38 is done, reaching the corner element at the corner of the staircase.

Positionning the corner element on the second line with a 90 degrees angle.

Making the second line of POROTHERM 38.
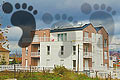
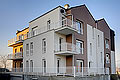
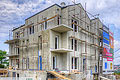
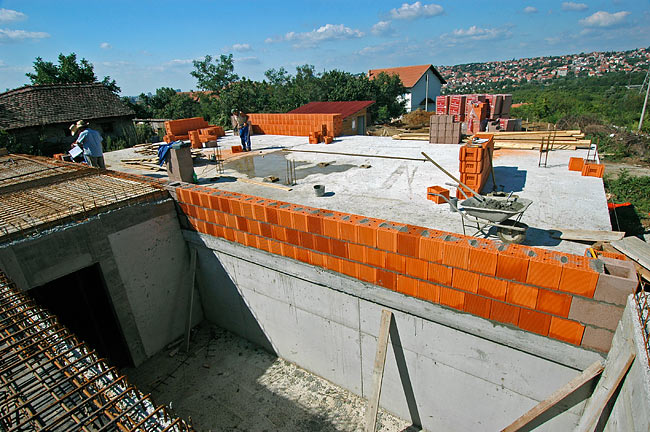
The external wall at the end of the work day.
Building with POROTHERM is great. The resulting wall is massive and provides excellent thermal insulation and thermal inertia altogether. Of course, because there is no additional layer of thermal insulation, there are few small details to take care of regarding thermal bridges. We will detail them in an upcoming article.