Making of Amadeo second ground floor armed concrete slab
| 15 August 2008 - Comments (0) | Construction |
 We are done with the second ground floor slab of Amadeo. This slab has the particularity to have a difference in level, as one lower part will be covered with ground. It is also 1 meter higher than the previous slab so that one side is supported by POROTHERM. Here is the report of this interesting realization.
Casting the slab
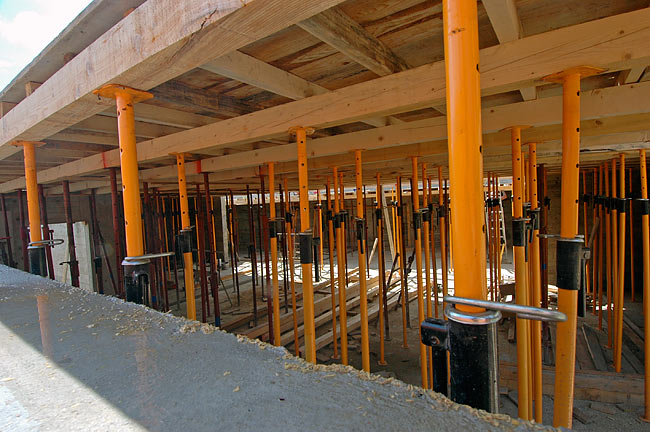
As for the previous slab, the cast is made of wooden panels and planks, supported by a wooden frame. The frame itself is maintained with metal poles adjusted to the right hight. The non-rectangular shape of the parking, together with the difference in level, makes the making of the cast more challenging.
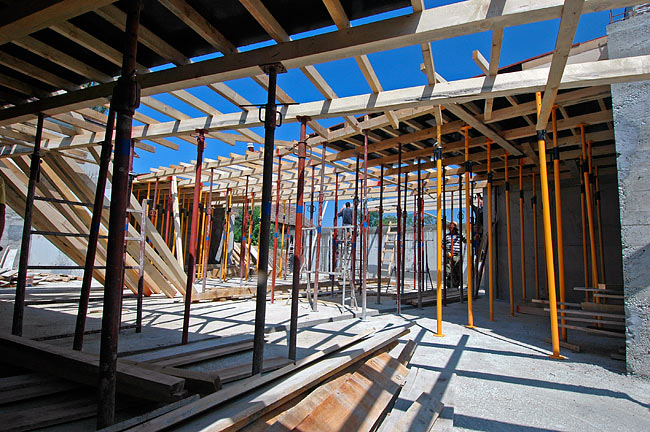
Starting positionning the wooden frame and the supportive metal poles.
View of the cast from above.
We use a lot of wood for the structure of the cast. That same wood will actually be reused for the roof.
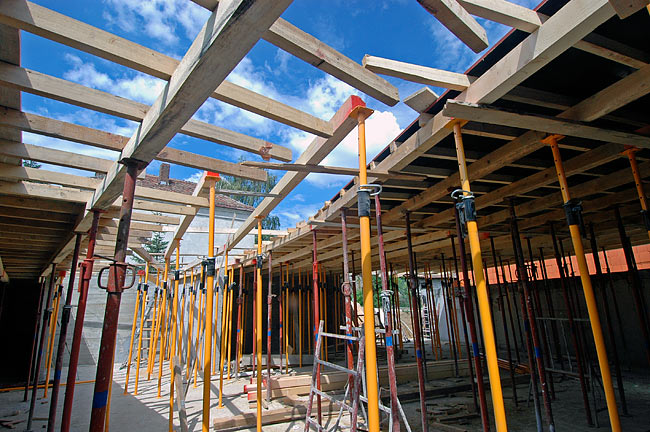
Progression of the work on the cast. It is possible to see the difference in level between the purple supportive poles (lower) and the yellow ones (higher).
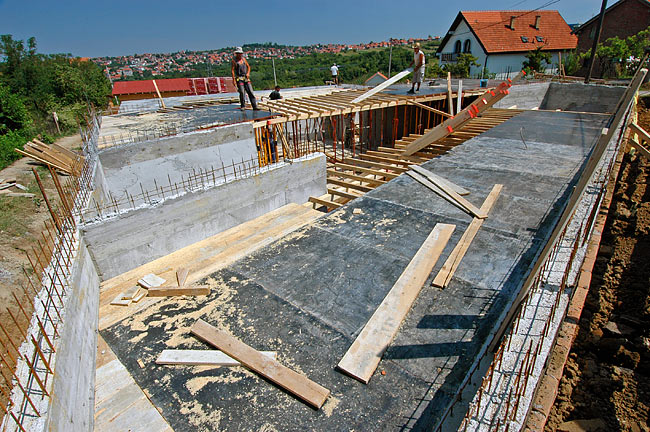
As the cast joins with the other part of Amadeo, we see the difference in height between the two slabs. That difference is 1 meter. From the top of the existing concrete slab to the bottom of the cast, the difference is only 75cm as the slab will be 25cm. That is exactly 3 lines of POROTHERM blocks that have to be built.
Junction between the slabs of the 2 parts of Amadeo. The higher slab will integrate in the wall separating the 2 sides.
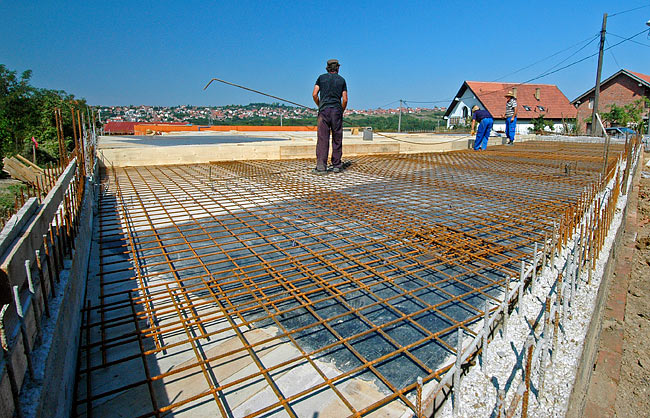
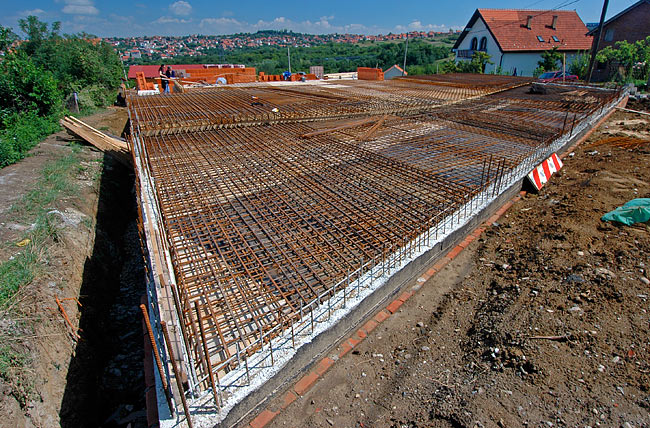
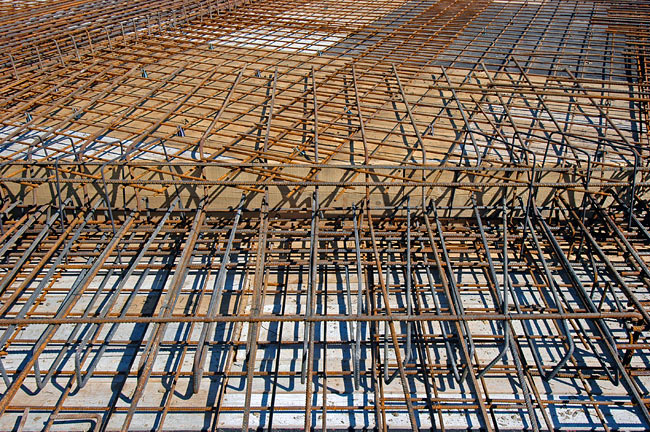
Installing the reinforcement
Because of the difference in level in the slab, the installation of the reinforcement is much more laborious. The connection between the 2 levels has to be particularly reinforced. To start with, the first layer of reinforcement is installed on the lower part of the slab.
First layer of reinforcement on the lower part of the slab.

Second layer of reinforcement on the lower part of the slab.
Second layer of reinforcement on the lower and upper parts of the slab.
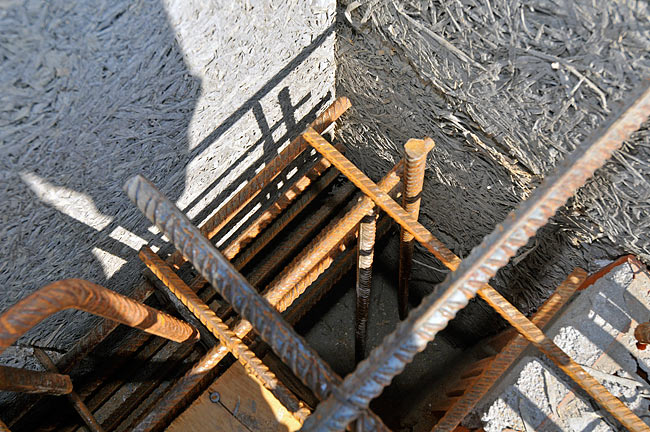
At the junction between the lower part and the upper parts, special iron beams are used to make a strong connection between the 2 parts.
Special iron beams making the strong connection between the 2 levels of the slab.
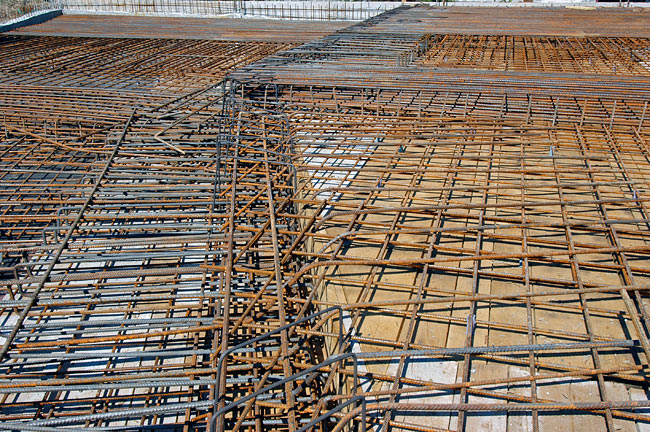
Wider view on the connection between the 2 levels of the slab.
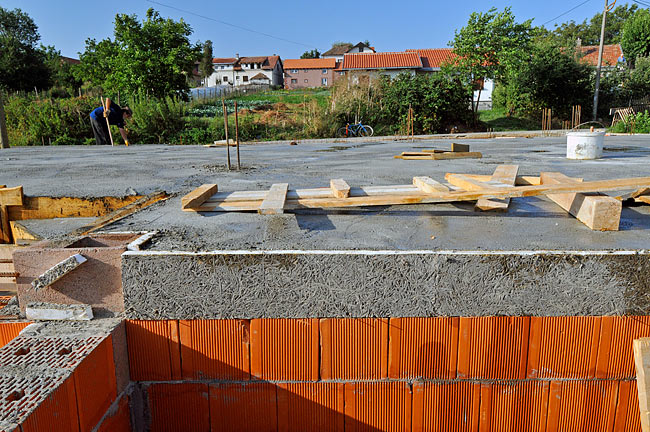
Taking care of thermal bridges
As the reinforcement of the upper part of the slab comes on top of the 3 first lines of POROTHERM to connect with the other part of Amadeo, we left 5cm at the edge to fit thermal insulation.
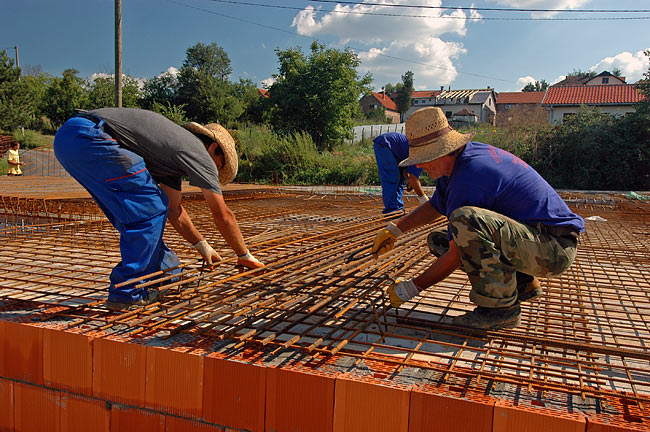
Installing reinforcement on top of the 3 first lines of POROTHERM to connect with the other part of Amadeo.
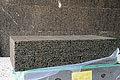
The slab being cast (Amadeo A1) is a cold one, the insulation will go on the floor of the apartments. On the side of Amadeo A2, the POROTHERM wall is already inside apartments. So it was critical to insulate the edge of the slab, not to leave any contact between the inside of the apartements and the cold slab. We did the insulation with Tarolit 5cm.
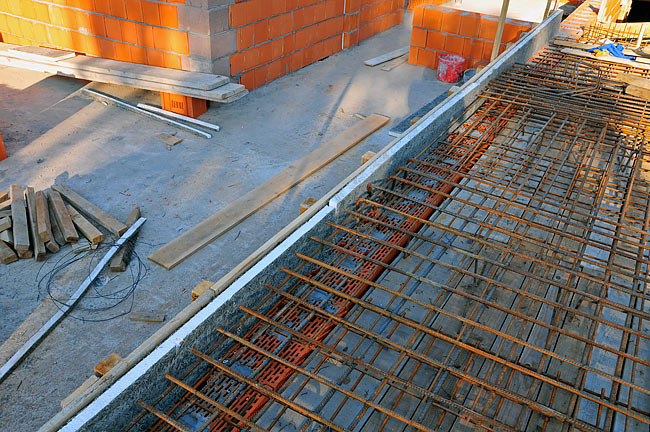
Insulation of the edge of the slab using Tarolit 5cm.

Insulation of the corner and of the vertical reinforcement.
View of the insulation of the corner and of the vertical reinforcement from inside.
A room with a view
At last, everything was ready to pour concrete on the slab.
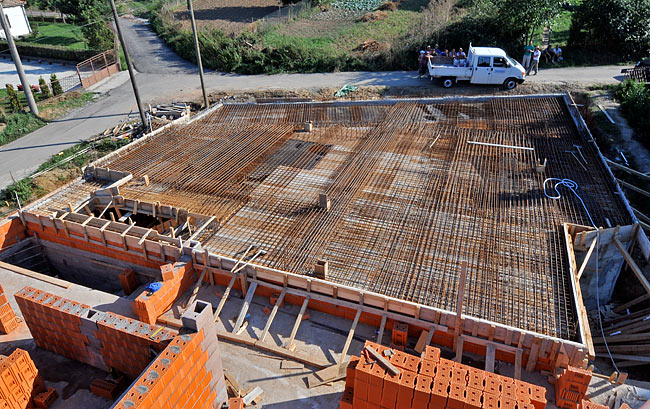
A beautiful view, from above Amadeo, of the slab ready for concrete.
Bringing the concrete pump
Bringing the concrete pump was challenging this time. Because of cables (telephone and electricity), it was not possible to deploy the pump on Amadeo A1 side. So we had to bring the pump on the other side, as close as possible of the edge of Amadeo A2, and deploy it fully, to reach the furthest possible.
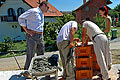
MARMIL inženjering professional team managed the exercise with brio.
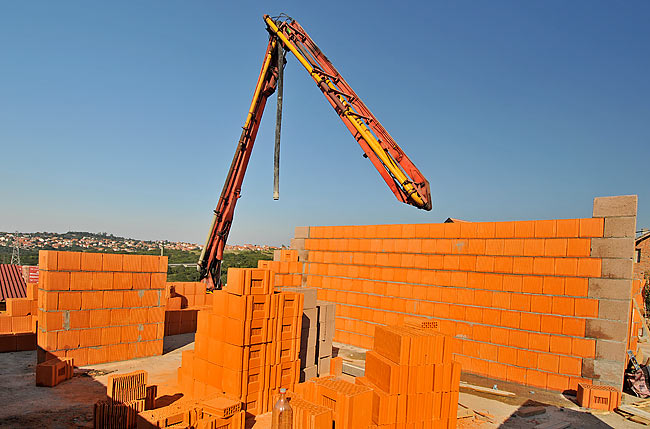
Deployment of the concrete pump above POROTHERM walls of Amadeo A2.
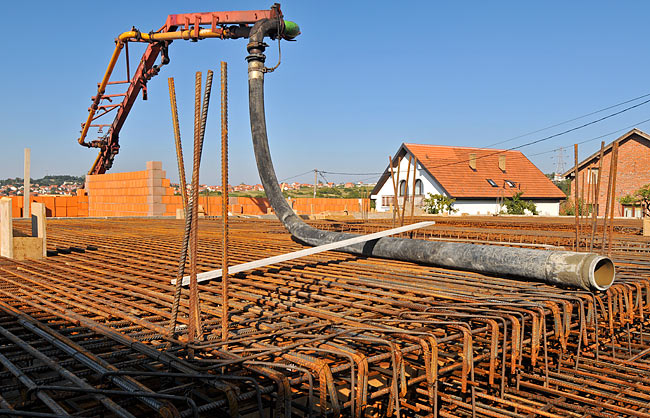
The hose of the concrete pump, fully deployed on Amadeo A1, and hopping above Amadeo A2.
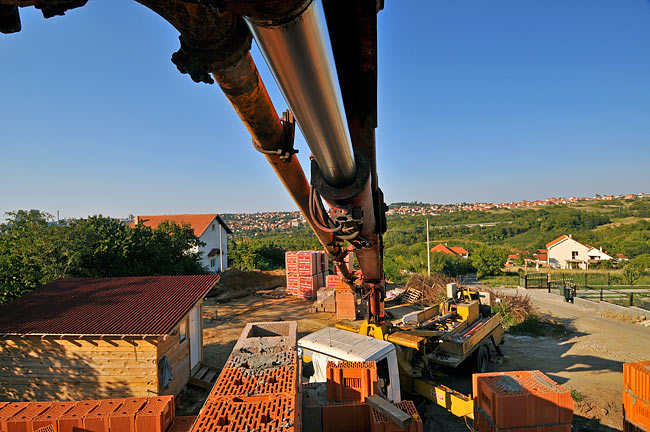
Perspective on the articulated arm of the concrete pump and the truck parked at the edge of Amadeo A2.
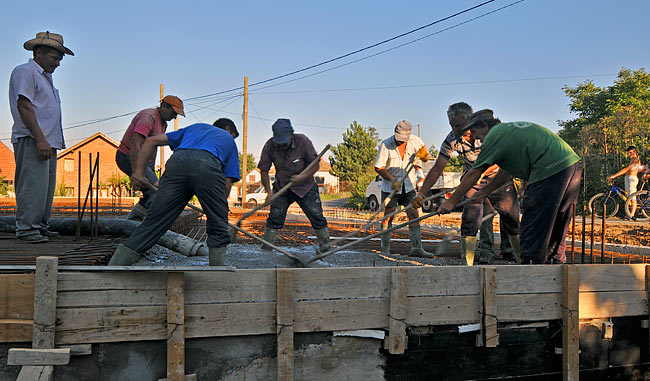
Pouring concrete
Because of the less than optimal position of the concrete pump, spreading concrete toward the edge of the cast was hard. And reaching the furthest corner was simply too much.
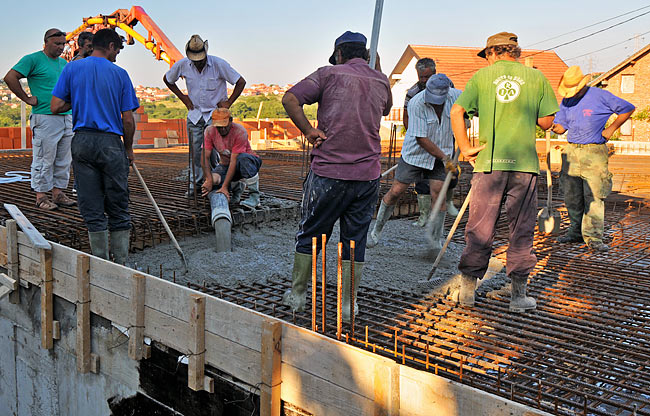
Starting pouring concrete from the furthest point the hose could reach.
Spreading concrete toward the far end of the slab.
For the furthest corner that could not be reached with the concrete pump, MARMIL inženjering brought the mixer truck directly.
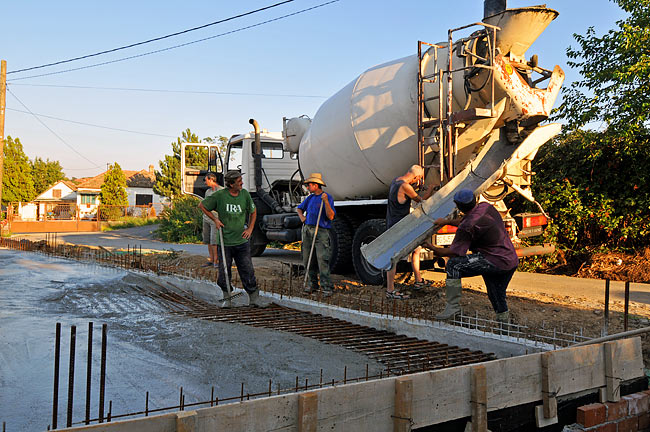
MARMIL inženjering mixer truck ready to pour concrete in the far end of Amadeo A1 slab.
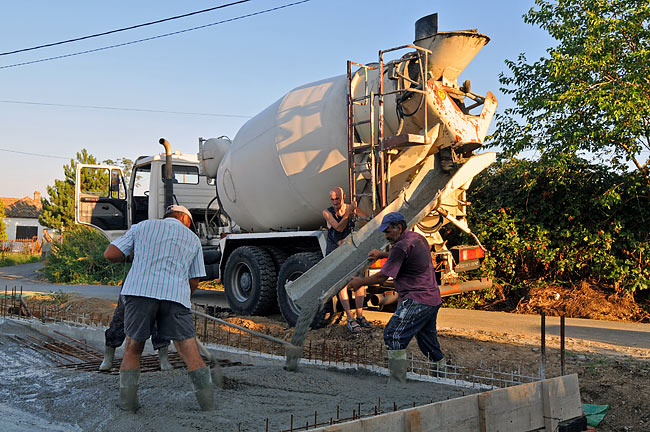
MARMIL inženjering mixer truck pouring concrete in the far end of Amadeo A1 slab.
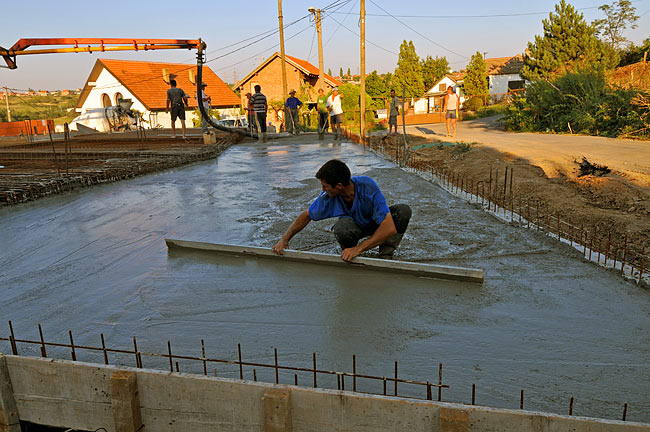
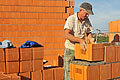
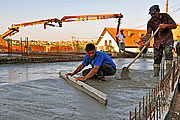
Smoothing concrete on the lower part of the slab.
Once the lower part of the slab was done, a cast for the upper part had to be quickly installed, in order to continue pouring concrete close to the junction.
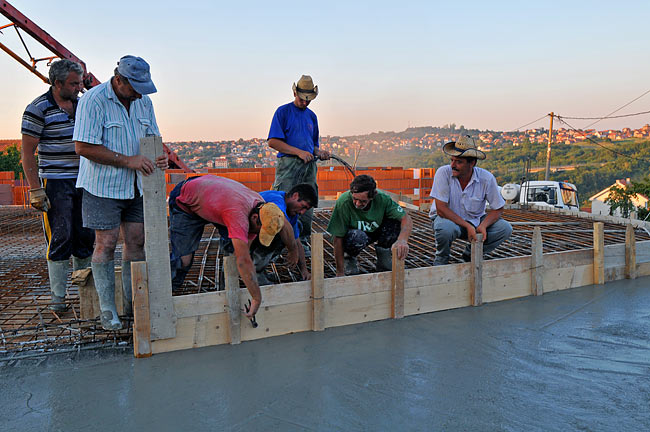
Installing the cast for the upper part of the slab before to pour concrete close to the junction.
Job done!
The work went late into the evening that day, so we specially thanks MARMIL inženjering team and our team of dedicated workers for their extra efforts.
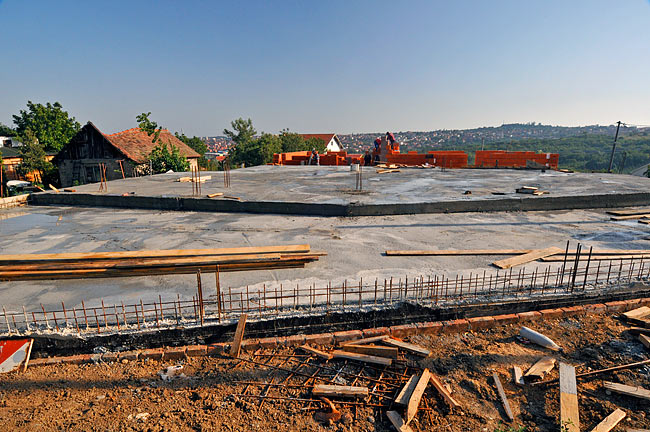
Slab of Amadeo A2 in the next morning.
Connection between the POROTHERM wall and the slab, with Tarolit 5cm as a thermal break.