Making of Amadeo's first floor slab - second part
| 10 September 2008 - Comments (0) | Construction |
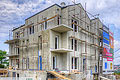
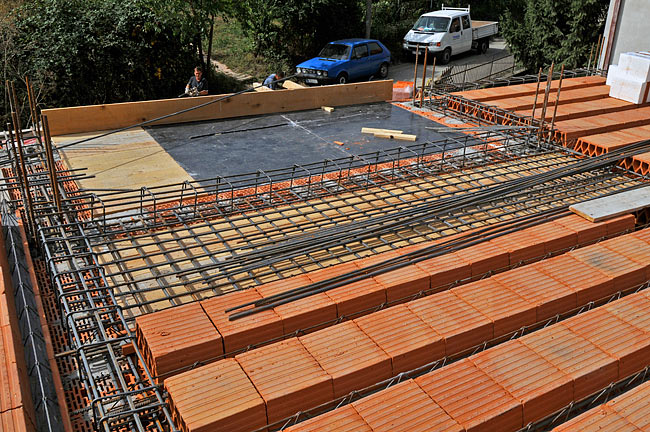
 We just finished the other side of Amadeo's first floor slab. Like the first part, it is made using ceiling bricks and precast beams. We had 2 more balconies on this part, on which we installed Schöck Isokorb elements including a new type. We also started to use a custom made lift to bring up concrete that we will continue using from now on.
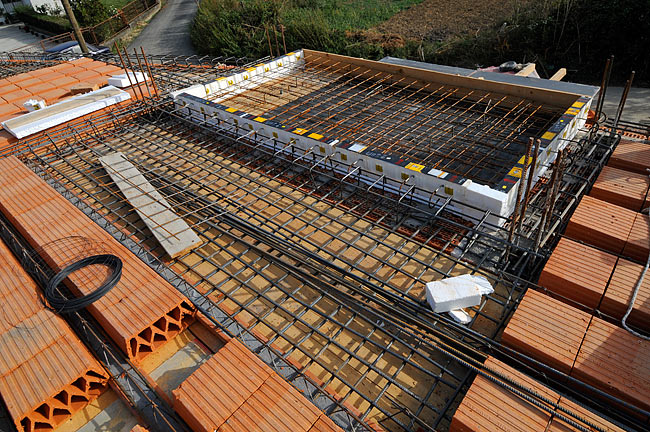
Assembling the floor
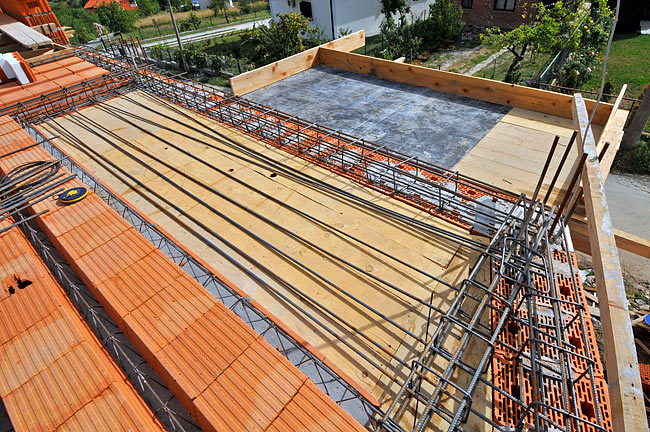
The floor is put together using precast, prestressed, load-bearing concrete brick beams and ceiling bricks. Additional full concrete beam are positionned all around the floor and inside based on the static calculation.
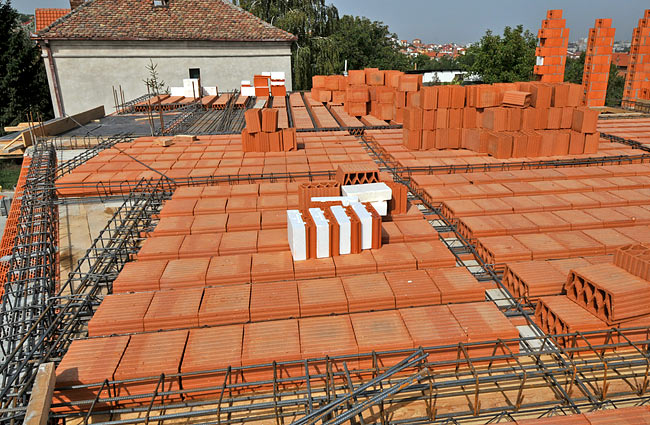
Installing the precast concrete brick beams and the ceiling bricks on Amadeo's first floor.
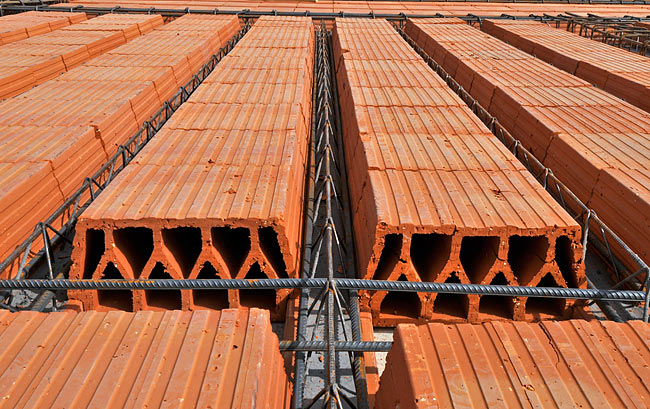
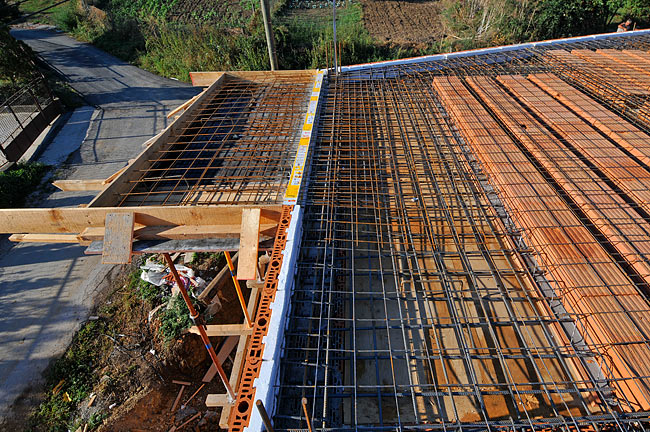
Concrete brick beams find support on the load bearing POROTHERM walls.
Detail of the support of a concrete brick beam on a load bearing POROTHERM wall.
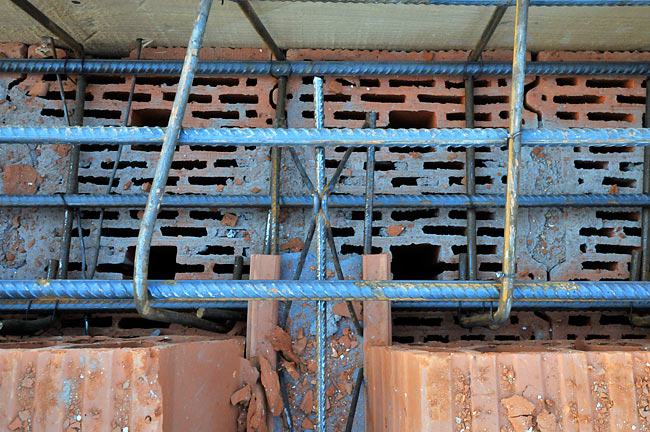
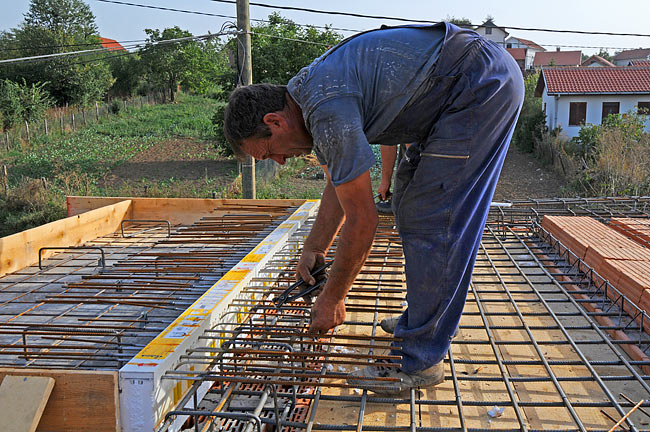
Long concrete brick beams are reinforced by extra iron bars along them and by a concrete beam intersecting them in the middle.
Reinforcement of the long concrete brick beams with extra iron bars and with a concrete beam in the middle.
Preparing the first balcony
The first balcony (apartment-3), was a shorter version of the one in apartment-d we did before. A similar reinforcement and the same type of Isokorb (Type-K 10/7) was used.
Balcony in apartment-3 with the cast and the main iron beams installed.
Installing Schöck Isokorb Type-K 10/7 on the balcony.
Balcony in apartment-3 with all reinforcement and Isokorb elements installed.
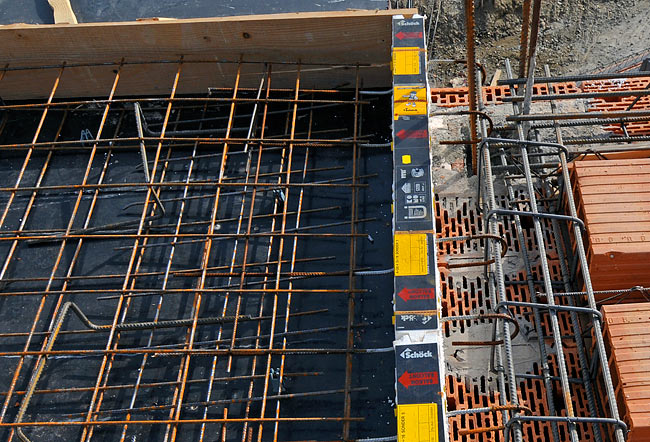
Preparing the second balcony
The second balcony, in apartment-4, was a loggia, with walls on 3 sides.
Balcony in apartment-4 with the cast and the main iron beams installed.
Because the balcony support could be placed along the 3 sides, we could use a much smaller Isokorb element, Type A-Q8/4. This Isokorb element ends with a metal loop, that is tied to the iron beams passing on the supportive walls.
Balcony in apartment-4 with Schöck Isokorb Type A-Q8/4 installed on 3 sides.
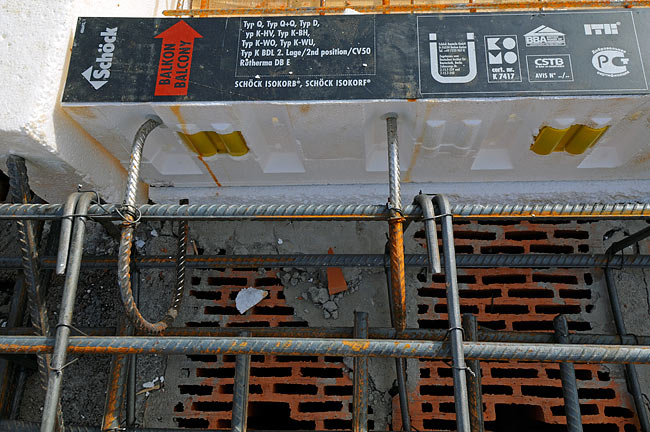
Detail of Schöck Isokorb Type A-Q8/4 on the side of the main slab.
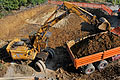
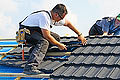
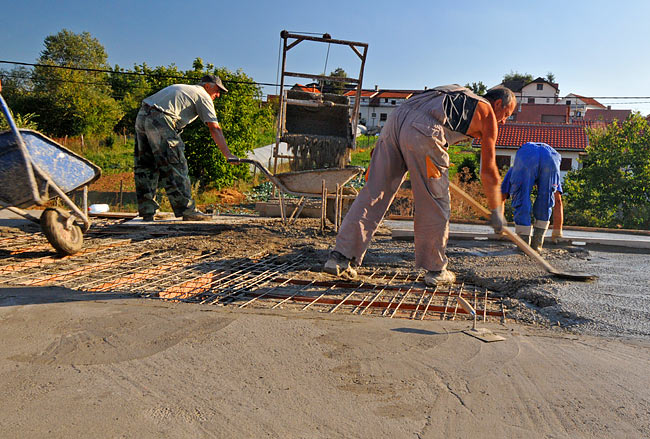
Pouring concrete
As for the other part of the first floor slab, concrete was done manually. The team of workers split in 2, one team on the ground to make concrete and the other on the 1st floor to pour it.
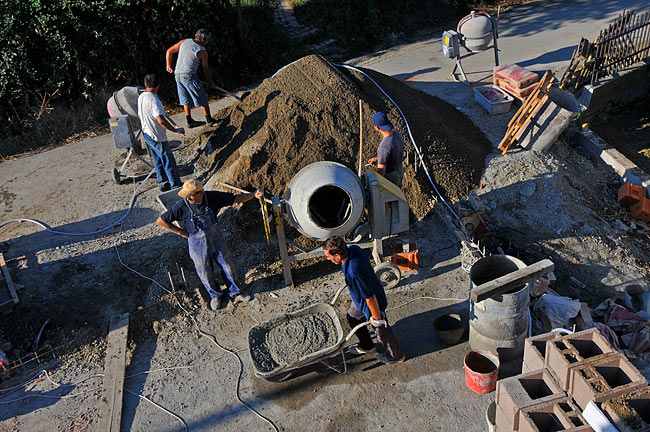
Team of workers preparing concrete on the ground.
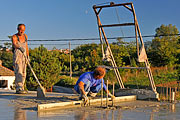
The link between the 2 teams was a custom made electric lift, with a bucket, allowing to bring concrete up with little efforts.
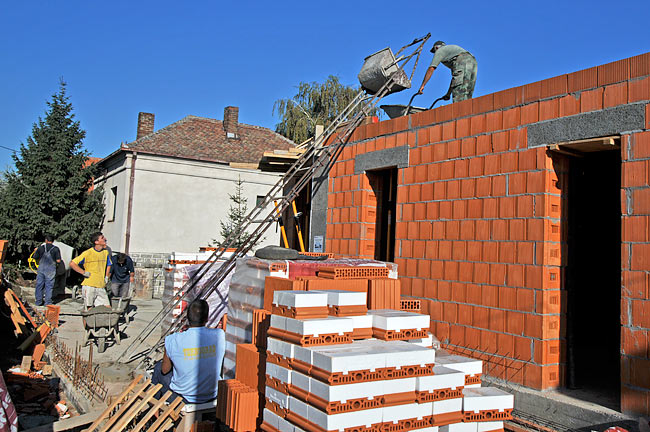
Custom made electric lift for concrete or any other loads.
Once concrete was up, the bucket of the lift could pour it directly in a wheelbarrow.
Pouring concrete from the lift's bucket to the wheelbarrow.
Work finished in the beautiful sunlight of the end of a summer day.
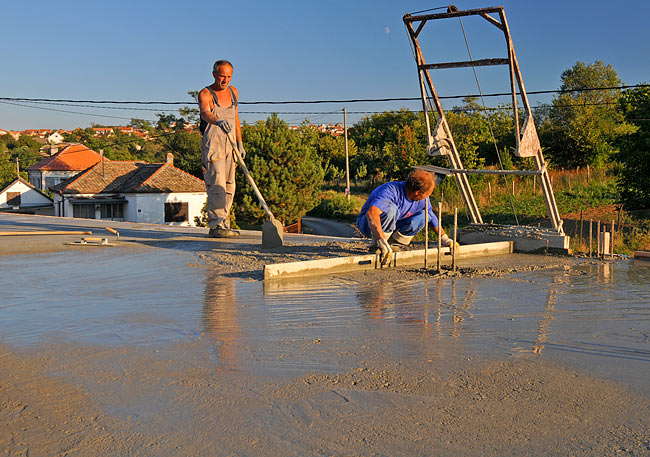
Pouring concrete almost done.
Job done!

View of the freshly made slab.