Making of Amadeo's first floor slab with precast beams and ceiling bricks
| 01 September 2008 - Comments (1) | Construction |
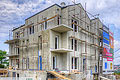
 We've been working on making one side of Amadeo's first floor slab. It is no more full armed concrete but a precast floor slab, using ceiling bricks and precast beams. That type of floor slab is faster to do. We also used POROTHERM special cerclage elements to maintain the integrity of the thermal insulation all around the slab. We report on this realization.
Elements of the precast floor
The floor is made of precast, prestressed, load-bearing concrete brick beams on which are installed ceiling bricks. That makes the complete floor base, on which concrete is poured. In addition, based on the static calculation, we have additional armed concrete beams to reinforce the floor.
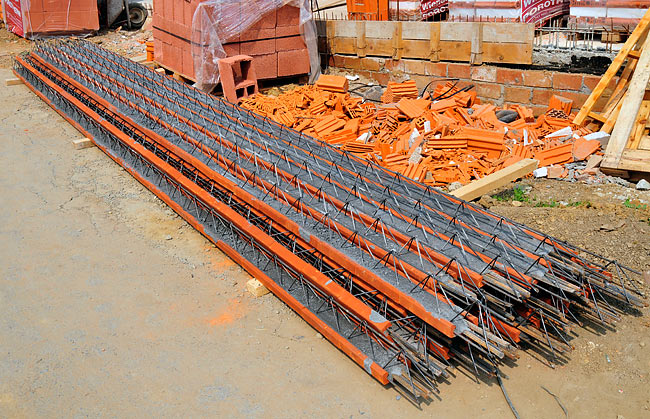
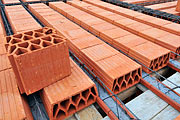
Precast load-bearing ceiling beams.

Brick ceilings.
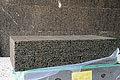
To maintain the integrity of the thermal insulation around the slab, we use POROTHERM cerclage elements. There are made of clay with 7cm of expanded polystyrene. They provide thermal insulation for the slab and a nice surface on the outside on which facade will be put.
POROTHERM Cerclage elements.
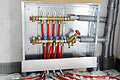
Amadeo being an energy efficient building, we also take care of thermal bridges created by balconies. We use Schöck Isokorb elements for that. We will describe this aspect in another upcoming article.
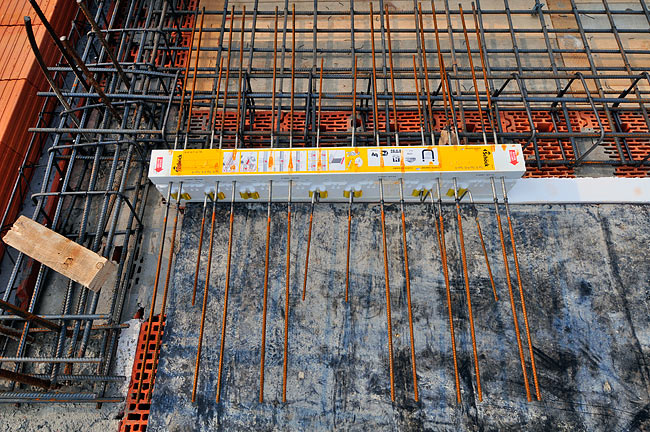
Schöck Isokorb element Type-K 10/7 positioned on the balcony.
Installation of the supportive structure
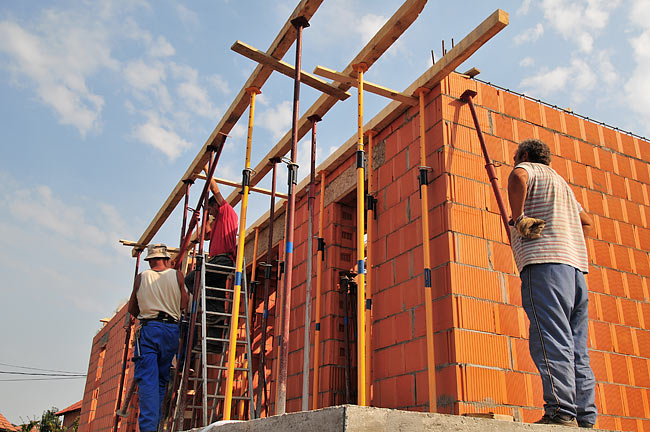
The installation of the floor starts with the positionning of the supportive structure below. It is made of wooden beams and poles.
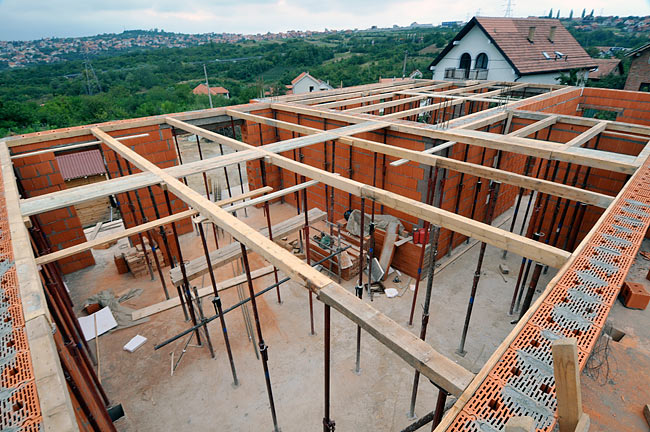
Supportive wooden structure for the floor slab.
There is some additional structure to place, outside of the slab, for the 2 balconies of apartement-d and apartment-c.
Supportive structure for the balcony of apartment-d being made.
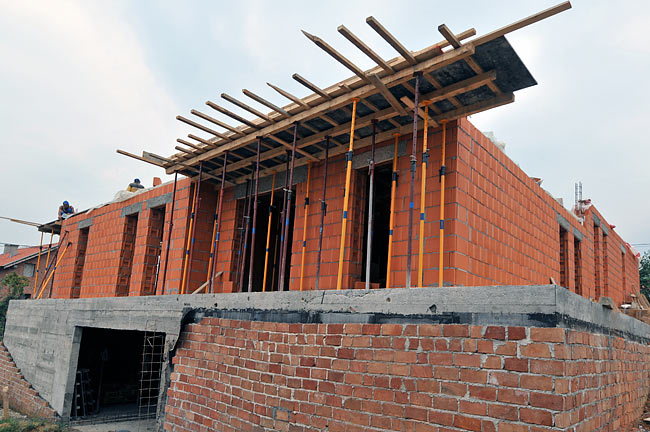
Supportive structure for the balcony of apartment-d once finished.
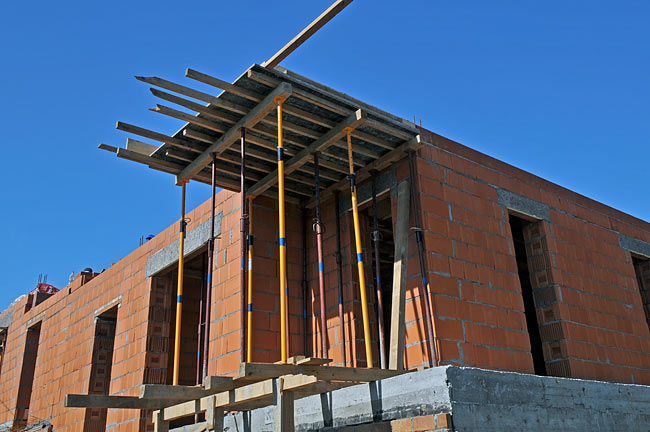
Supportive structure for the balcony of apartment-c once finished.
Installation of the supportive precast beams and ceiling bricks
Once the supportive structure of the floor is done, it is time to install the precast beams. They are spaced regulary so that the distance between 2 of them is exactly matching the width of one ceiling brick. The ceiling bricks are pushed in between 2 precast beams to form the base of the floor on which concrete will be poured.
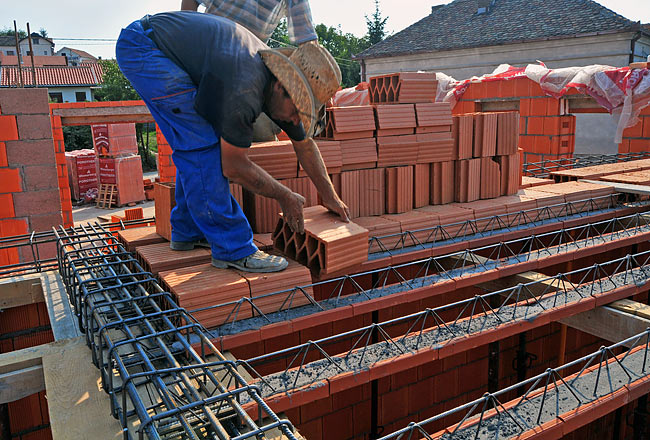
Installation of the ceiling bricks on the precast beams.
The precast beams are specially ordered and made for this project, at the right length, so that they connect from one armed concrete beam to another. Those armed concrete beams follow the supportive walls in the 2 apartments below.
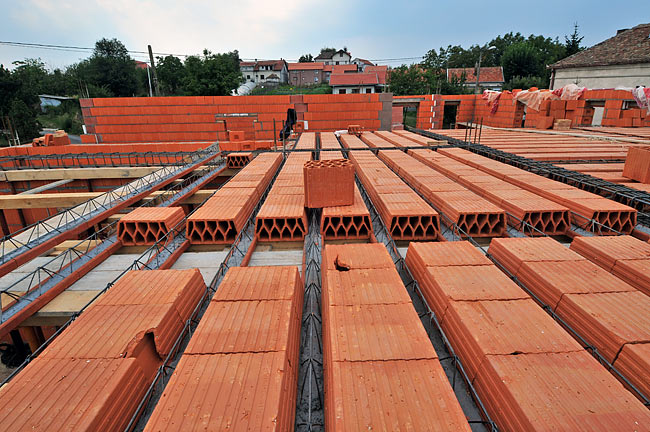
Progression of the installation of the ceiling bricks on the precast beams.
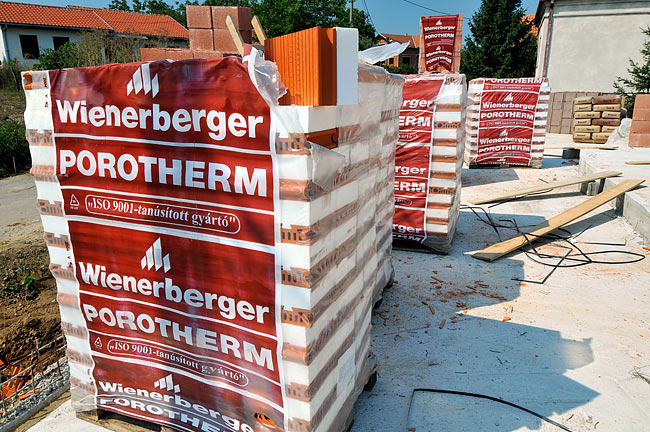
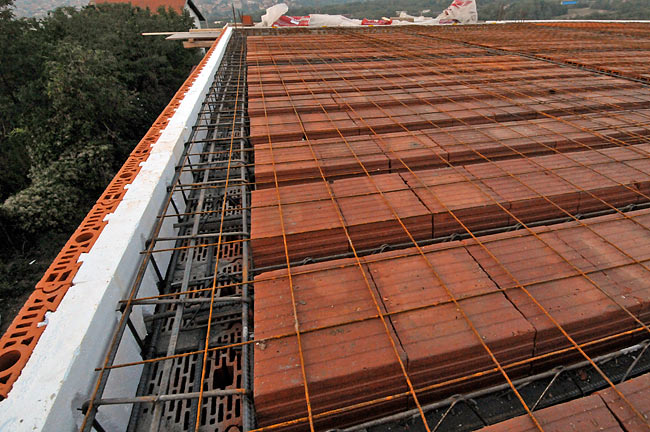
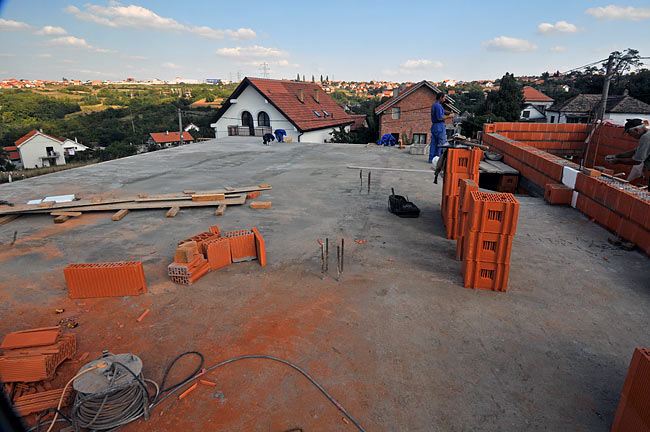
The precast floor slab once all ceiling bricks are installed (the plastics were there to protect POROTHERM walls from the rain).
Installation of POROTHERM cerclage elements
POROTHERM cerclage elements go all around the slab. The external walls, made with POROTHERM 38, are 38cm thick. A cerclage element is 13cm thick (6cm of clay and 7cm of thermal insulation). That leaves enough space (25cm) on the inside part of the wall to position the supportive beams.

POROTHERM cerclage elements positioned around the floor slab.
Cerclage elements are simply positioned on a layer of thermal mortar. Not only they provide thermal insulation and a finished side on the outside, but they also act as a cast for the concrete that will be poured. There is no need to cast with wood.
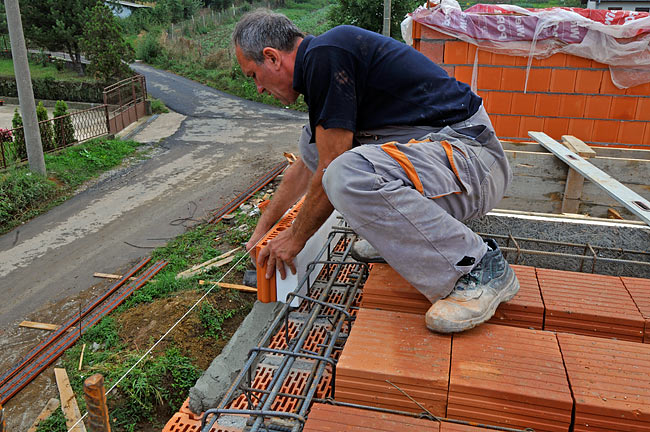
Installing POROTHERM cerclage elements.
POROTHERM cerclage elements once all installed.
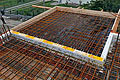
Ready to pour concrete
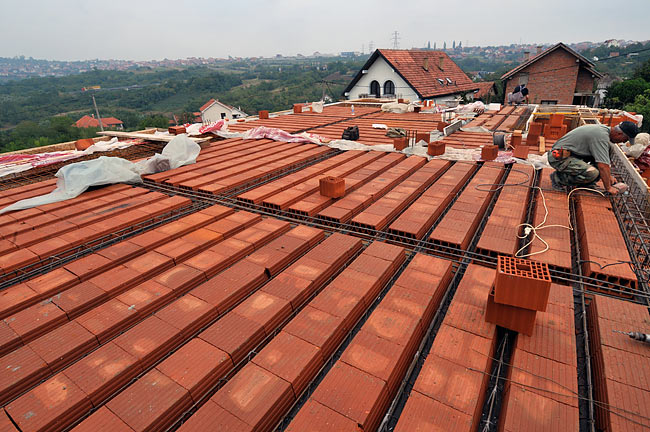
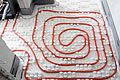
One more layer of thin iron mesh was placed on top of the ceiling bricks to ready it before to pour concrete.
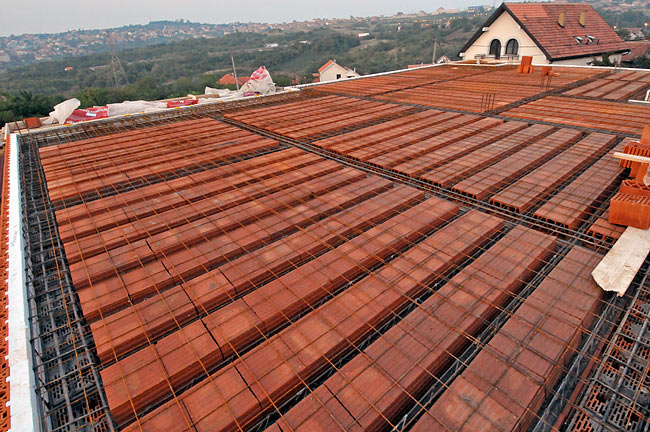
Floor slab ready to pour concrete.
Pouring concrete
Because the amount of concrete was much less than on a full concrete slab, we managed it manually. This is slower than using a concrete pump, but it allows to make a nicer finish.
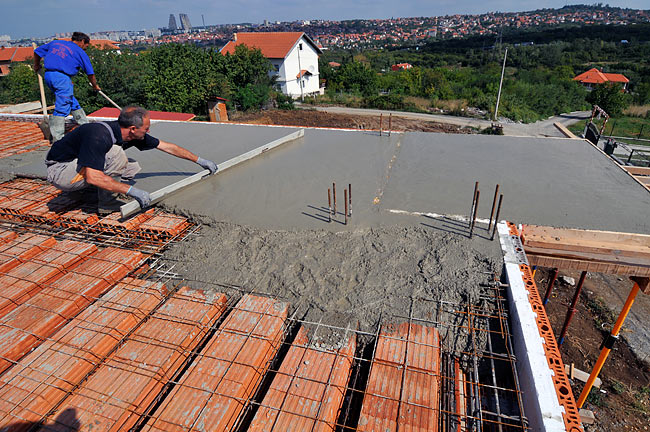
Equalizing concrete on the slab.
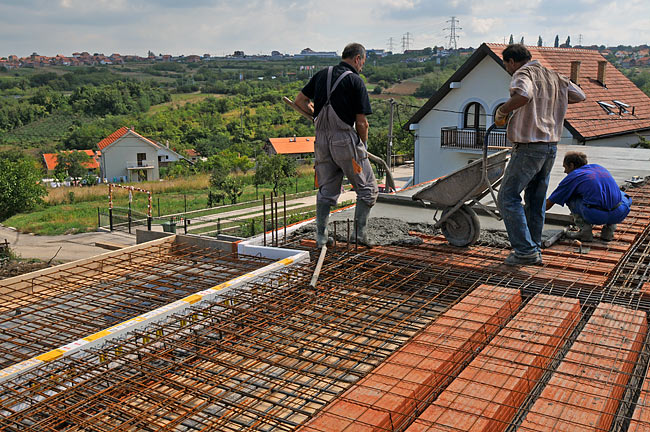
Pouring concrete on the slab.
Job done!
It was one long day work to finish the slab. The result is beautiful.
The finished slab on the next day.
Top part of Schöck Isokorb elements is visible in the concrete, showing a continuous line of thermal insulation, from POROTHERM cerclage element through the balcony with Isokorb.
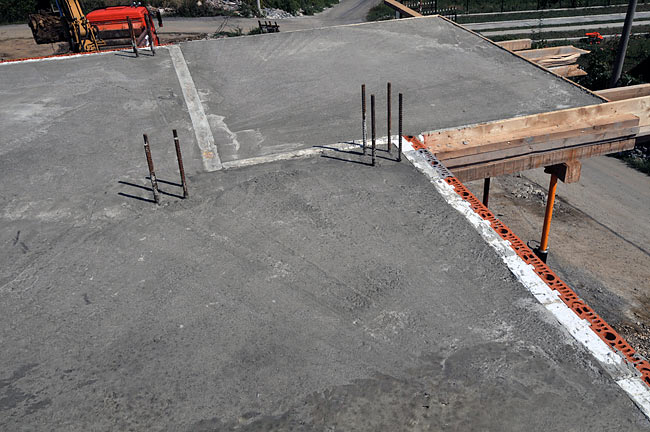
Detail of the balcony.
On the ceiling of the apartments below, the ceiling bricks and the precast beams remain visible, making a nice surface for plaster.
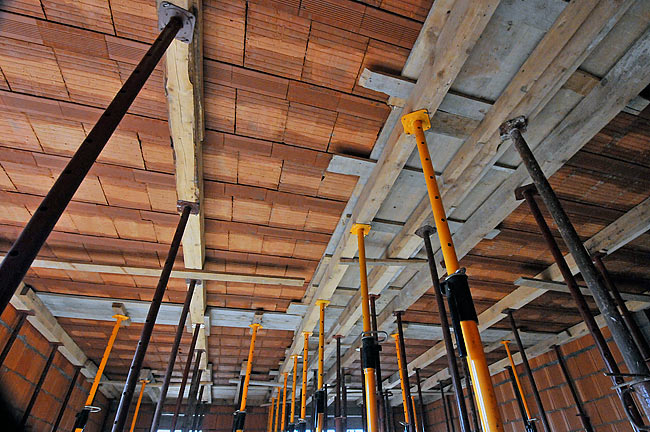
View from below the slab.


02/09/2008
Stefano
1
Care