Amadeo II construction update: installation, facade and glazings
| 29 July 2010 - Comments (0) | Construction |
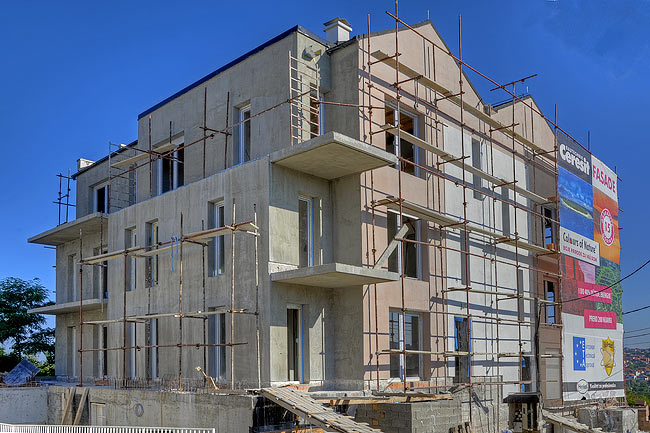
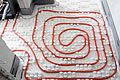
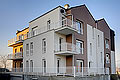
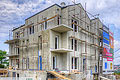
 Work on Amadeo II is moving along toward completion. Electrical, water and canalization installation is finished. The work on the underfloor heating is about to start. Windows are all installed and glazings are being placed with DUCO elements. On the external part of the building, the main work was to make the perlite facade. Now, we started facade color using the complete Ceresit system from Henkel.
Installation
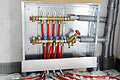
Electrical installation was already almost finished. Only kitchens were left waiting for water and waste water installation to be done first. This is all completed.

Installation of water and electricity in one kitchen.
All water pipes and waste water pipes in Amadeo II are Rehau pipes. Rehau RAUTITAN water pipe system is made of PE-Xa (cross-linked polyethylene) pipes which provides superior quality compared to other solutions commonly find in Serbian buildings.
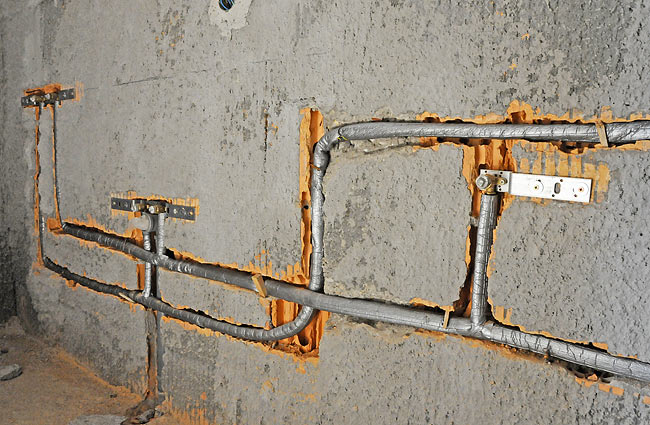
Rehau PE-Xa cold and hot water pipes passing in the wall of one bathroom.
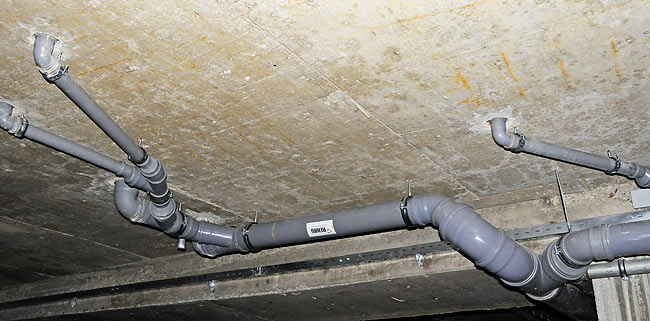
Rehau waste water pipes passing in the ceiling of the underground parking.
Glazing and DUCO Ventilation
We started to place the glazing of all windows. We use Guardian argon-fill, low-emissive double-glazing with a thermal transmittance U = 1,1 W/m²K.
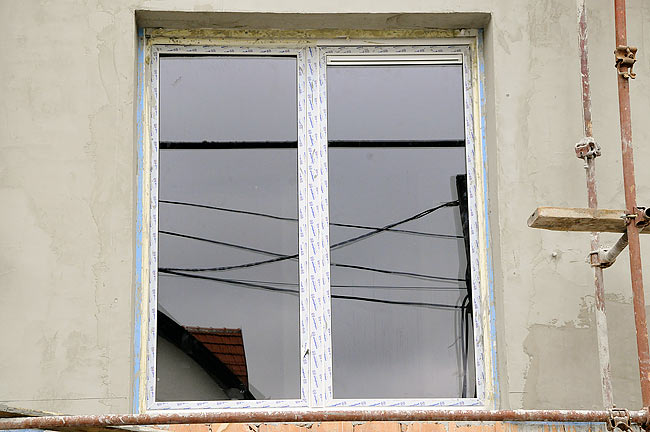
A window with Guardian low-emissive glazing and DUCO ventilation installed.
Windows are equipped with DUCO ventilation inlet that allows entrance of fresh air in the apartment. This is a key component of the natural stack ventilation we implement. Stale air exhaust is done through Schiedel ventilation channels.
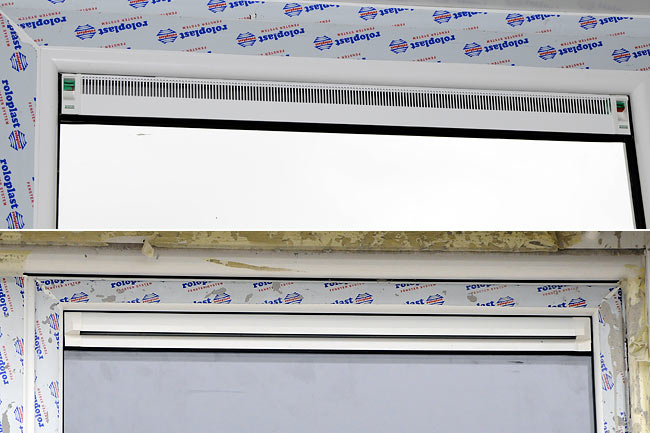
DUCO inlet from inside and from outside.
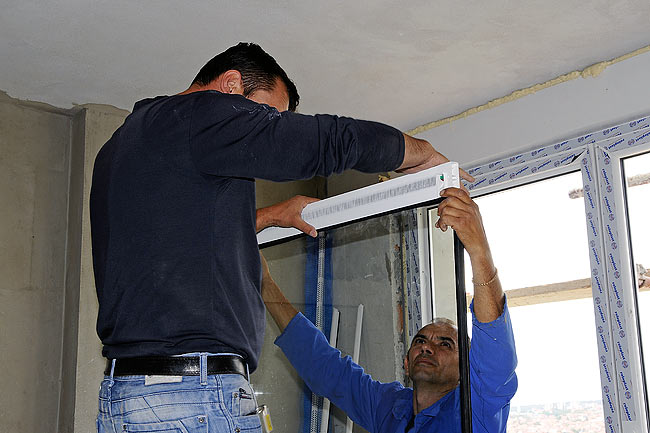
Installing DUCO inlet on one glass.
Perlit facade
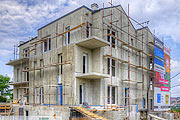
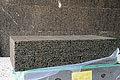
On the external side of the external walls (made of Klimabloc 38), we passed a special thermal mortar, in a thickness of 4cm, made of perlite. We used Termika Supermal. Perlite is a natural volcanic stone that is expanded to make lightweight mortar. This layer improves the thermal characteristic of the building envelope.
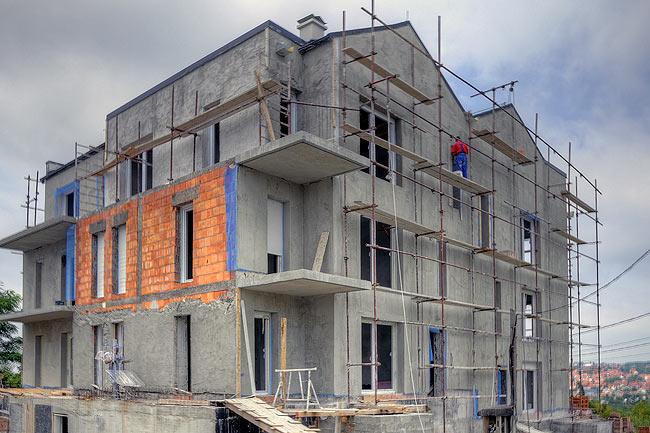
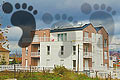
Perlite facade being done on Amadeo II.
Ceresit silicone/silicate facade
On top of the 4cm of perlite, we started a complete Henkel Ceresit facade system. This system goes in several layers. First is glue and fiberglass net to stabilize the perlite layer. Then goes a primer (Ceresit CT 16) that has the color of the final color. Last goes the silicone-silicate facade (Ceresit CT 174) of the given color.
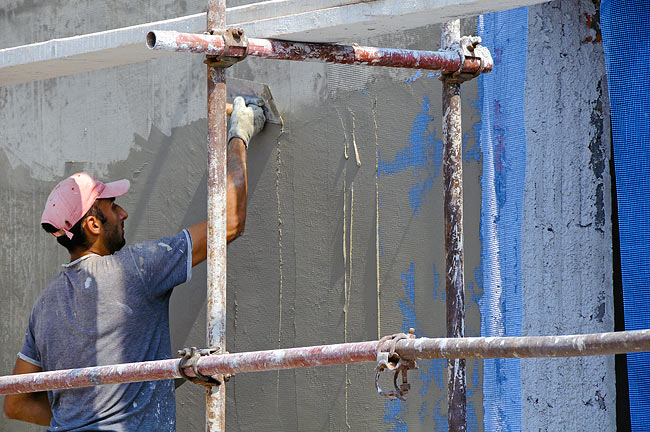
Putting the layer of glue with the reinforcement net on the perlite layer.
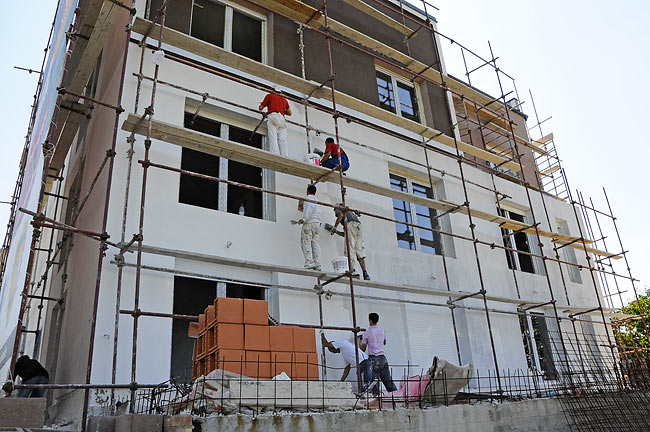
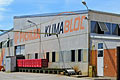
We have a beautiful and colorful promotional Ceresit banner on Amadeo II.
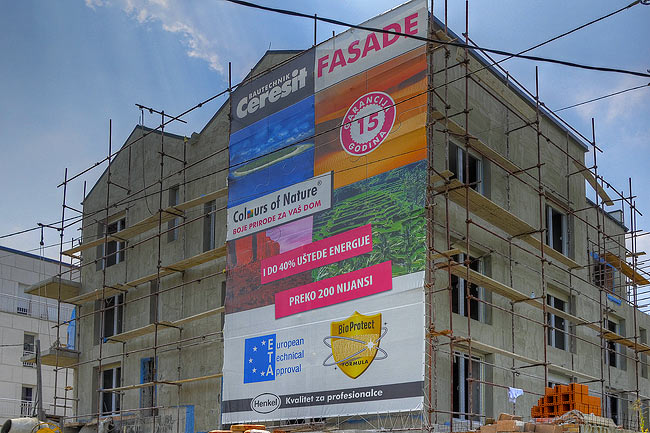
Promotional Ceresit banner on Amadeo II.
Ceresit primer CT 16 passed on the front facade.
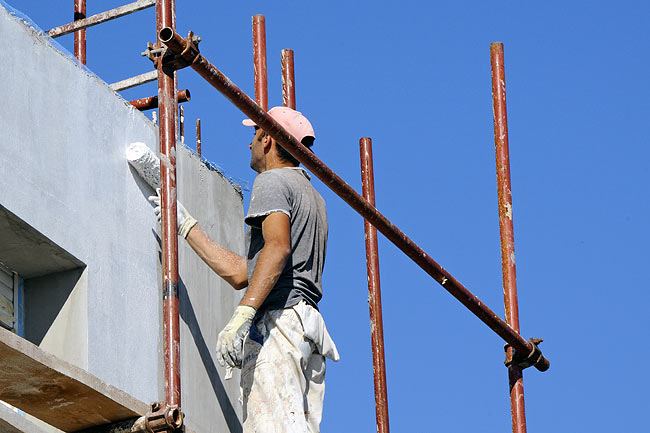
Applying white Ceresit primer CT 16 on Amadeo II facade.
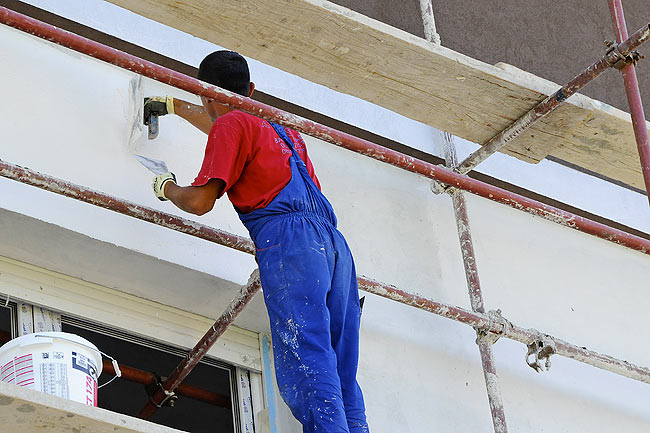
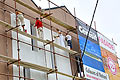
Applying white Ceresit silicone/silicate facade CT 174 on Amadeo II facade.
We have a team of 6 working on one side at the same time to ensure a homogeneous application of the facade at once.
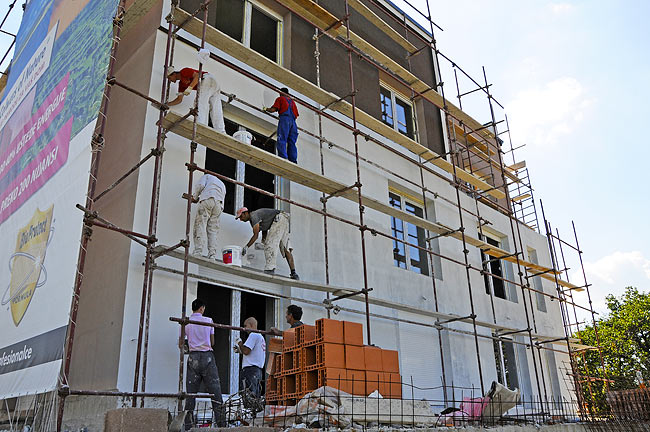
Team work for applying Ceresit silicone/silicate facade CT 174 on Amadeo II facade.
Work on the facade will continue during the next few days until completion.
Insulation of the roof
Inside of the building, we started the work on the insulation of the roof. We use 20cm of rock mineral wool from Rockwool. It goes in 2 layers of 10cm each. The first layer goes between the rafters, while the second layer goes perpendicularly to the first, between the aluminum profiles on which gyps boards will be fixed.
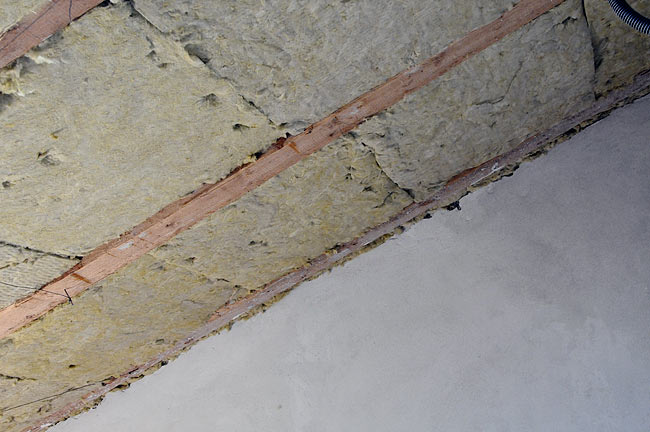
First layer of Rockwool stone wool between rafters.
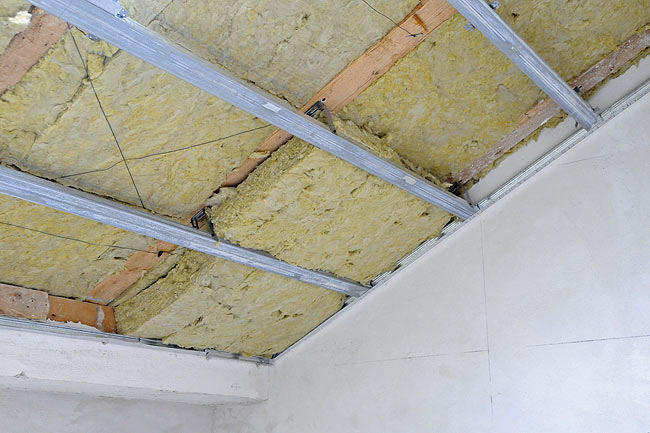
Aluminum profiles and second layer of Rockwool stone wool.
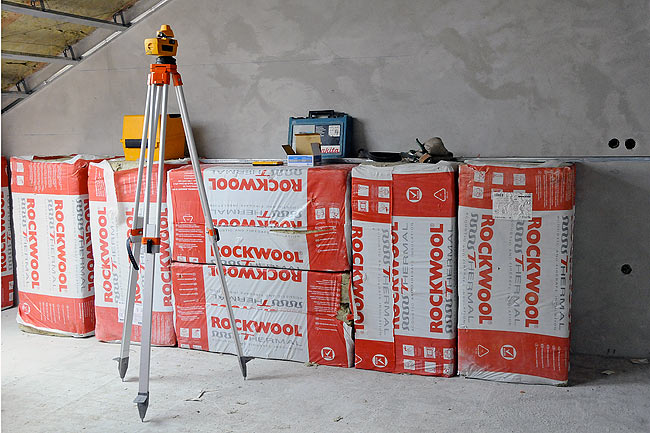
Rotating laser for making perfect levels. Levels are used to adjust the aluminum profiles and have a perfectly plan ceiling.
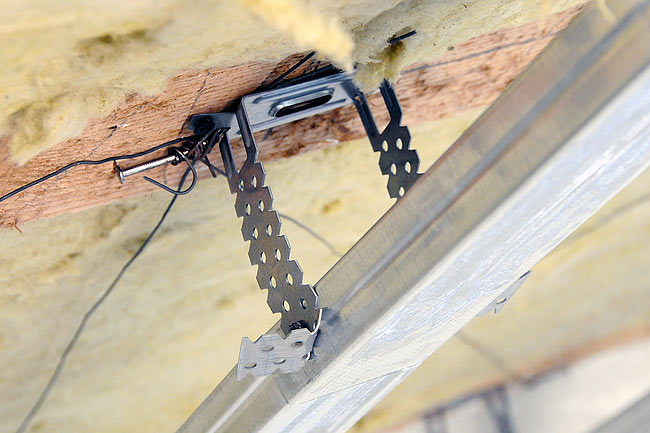
Closeup on one fixation of one aluminum rail.

 Amadeo II construction update: installation, facade and glazings