Installation of Index Testudo waterproofing layer on the parking walls
| 06 July 2008 - Comments (0) | Construction |
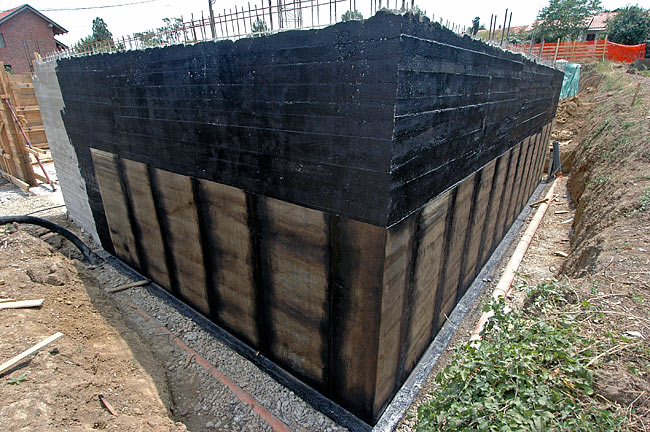
 We installed the Index Testudo Spunbond Polyester Tipo 30 membrane for the waterproofing of the underground parking walls. It is the same membrane we used before, for the armed concrete slab. We will do the complete installation in several steps. We document here the installation on the lower part of the wall.
This Index membrane has outstanding characteristics for the waterproofing of foundations and underground structures.
Preparing the wall
Before to apply the Index membrane, we passed a bituminous adhesive primer (bitulite) all over the wall. The primer prepares the wall surface to receive the membrane and increase adhesion.
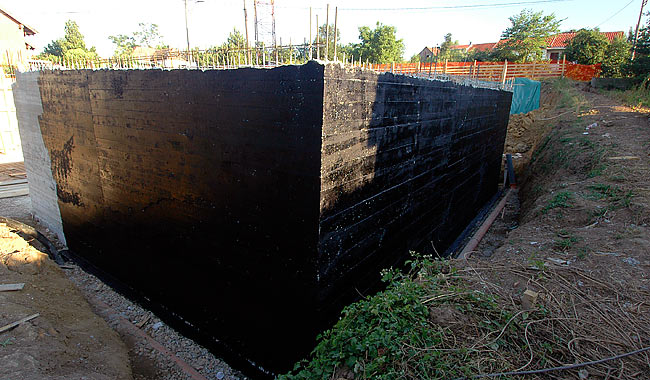
We started to work on the lower part of the wall. The upper part will be done later when ground is put back on the lower part (for easy access).
Fixing the membrane on the wall
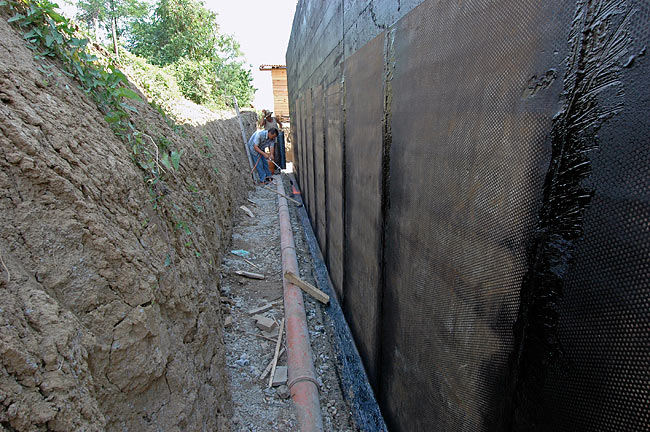
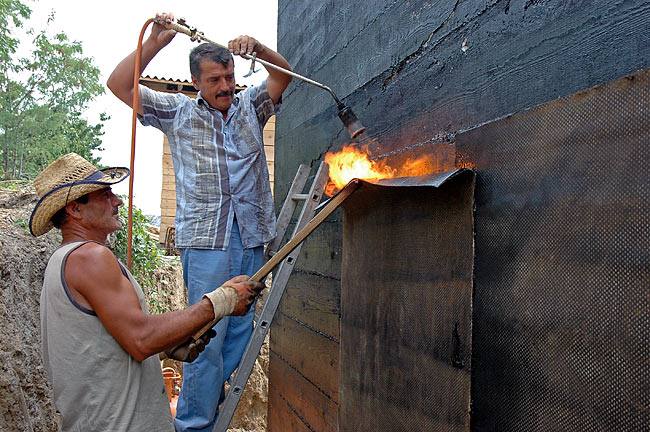
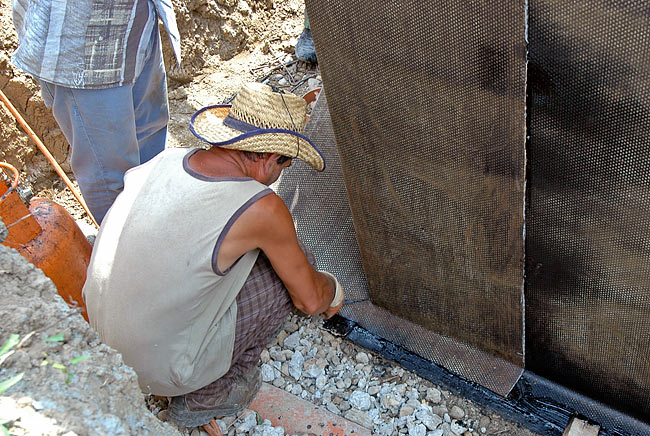
One side of the membrane is lined with flamina. When heated with the torch, the flamina film melts and the membrane is ready for bonding with the wall surface. The installation of one band of the membrane starts by positioning the membrane with a small overlap on top of the previous band. On the base, the wall membrane overlaps and bonds with the membrane from the slab below.
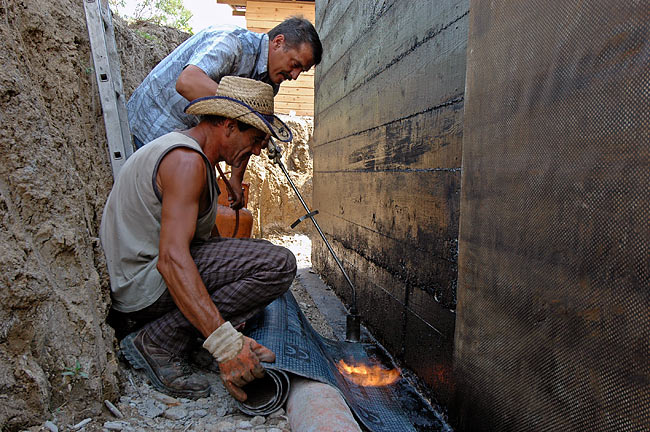
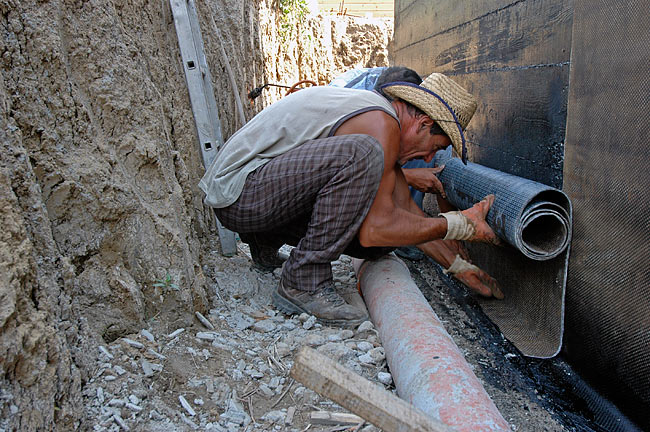
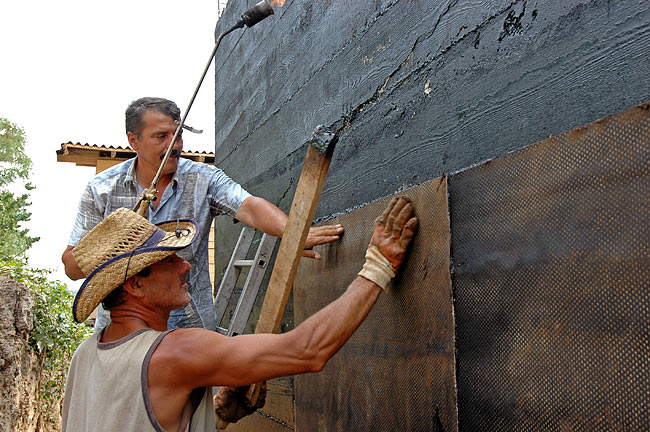
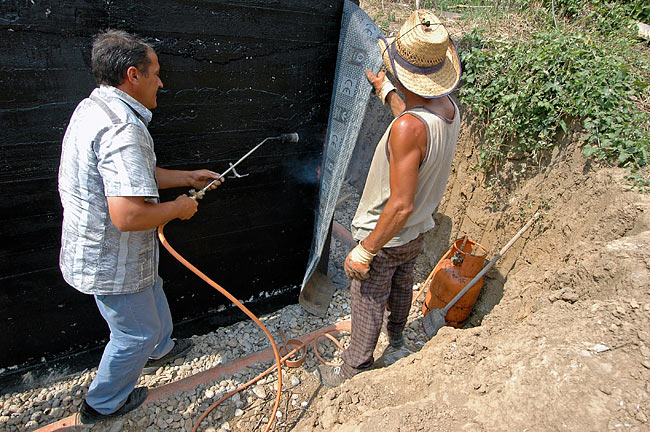
Once the membrane bonds with the base slab, the process is repeated at the bottom of the wall. The membrane is first heated with the torch and then pressed against the wall for bonding.
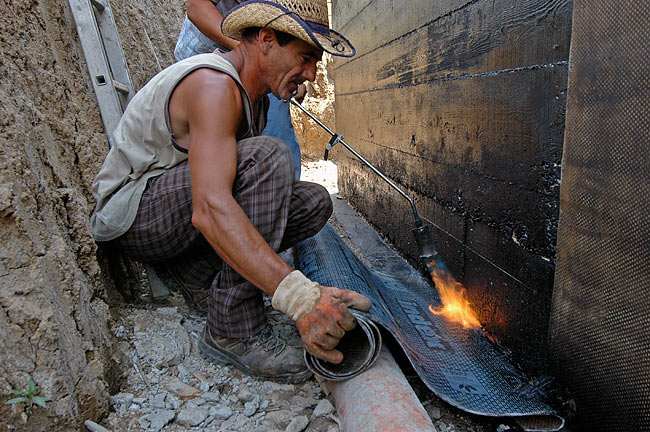
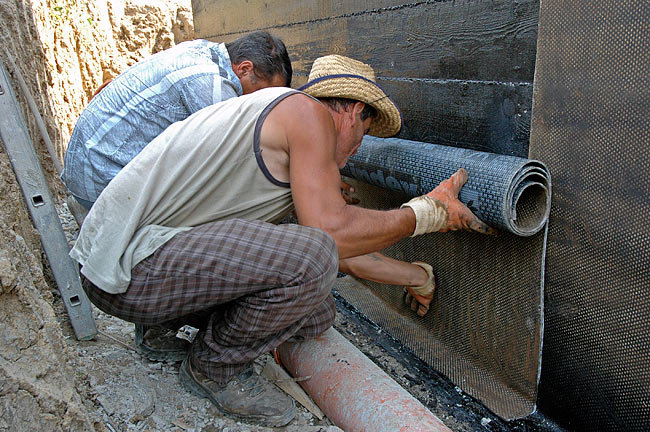
The same process is repeated as the work progresses up the wall. There is no need to hold the part of the membrane already bonded to the wall. Bonding is fast as soon as the temperature drops.
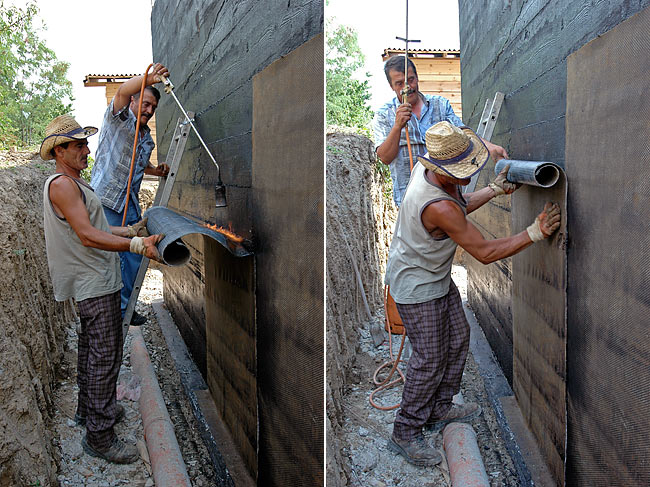
The end of the band is eventually reached. Later, we will continue the waterproofing up the wall. The membrane from the upper part of the wall will overlap with this membrane from the lower part.
Sealing the connection between bands
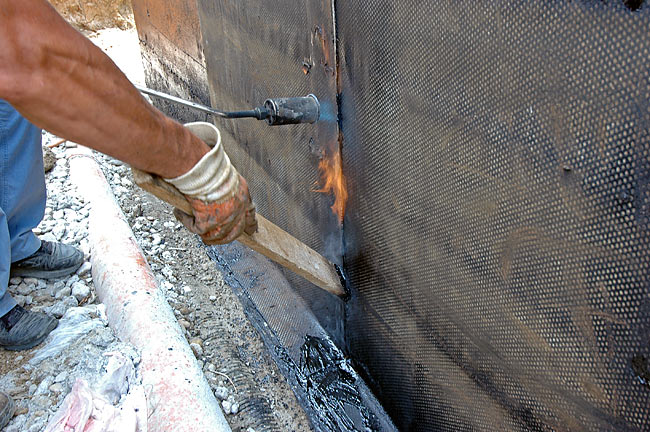
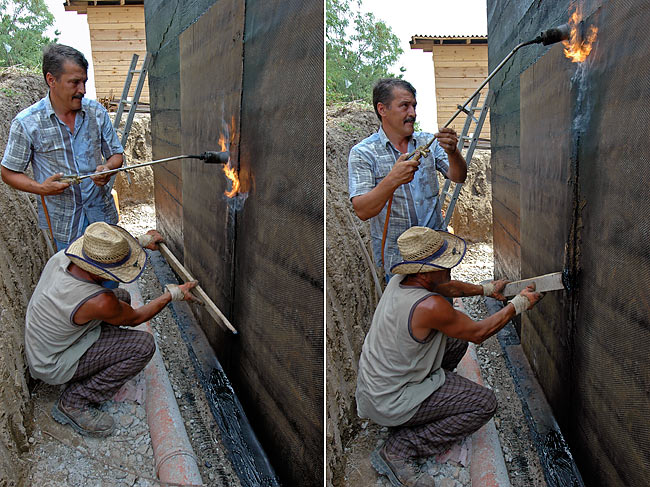
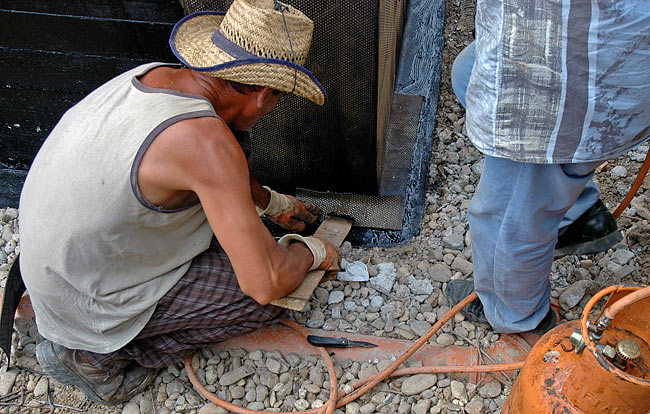
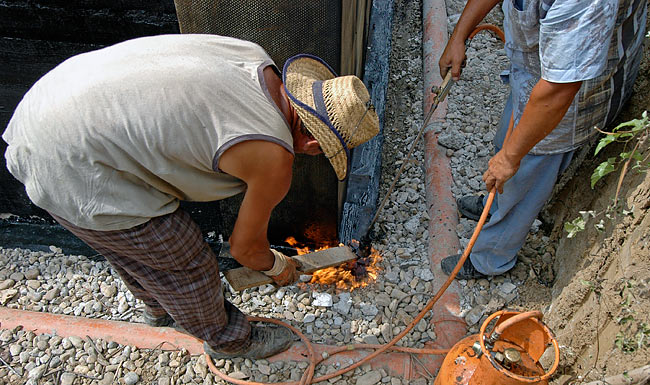
The connection between bands is sealed with the torch.
Installing the membrane on the wall corner
The membrane is first bonded on one side of the wall. It is then folded to cover the other side. The corner is cut to allow folding. The corner is then reinforced with two small strips of the membrane for complete sealing.
Job done!
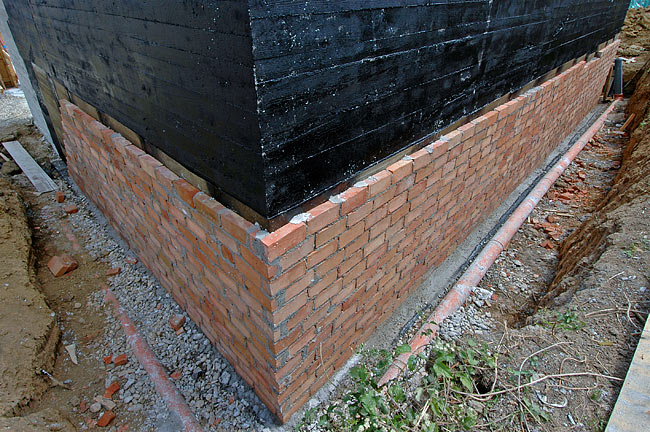
Next, we built a small protective wall, made of cheap bricks, in front of the hydroinsulation. This is to prevent the membrane to be damaged when the ground is put back or later as the ground get more compact. Once the ground is put back, the waterproofing will continue on the upper part of the wall.
