Installation of the waterproofing layer on Amadeo II footer slab
| 28 September 2009 - Comments (0) | Construction |
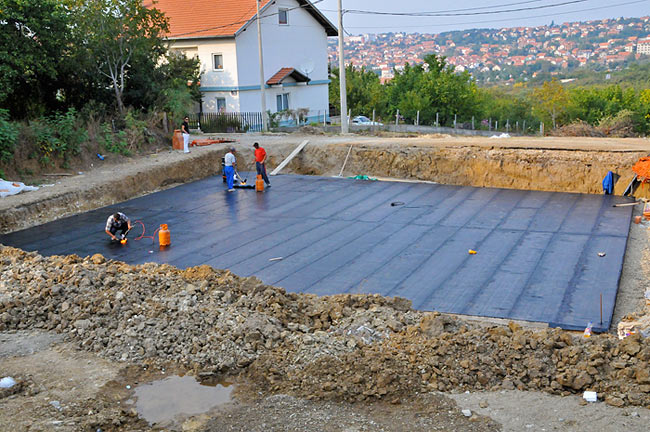
 During the past weekend, we completed the installation of the waterproofing layer on the footer slab of Amadeo II. The hydro-insulation of the foundations is essential to ensure the integrity of the underground parking. We did 2 layers crossed at 90 degres to get a perfectly secure result.
Bituminous primer
On top of the footer slab, we first pass a bituminous adhesive primer Fimizol-Express. The primer prepares the concrete surface to receive the waterproofing membrane and increase adhesion.
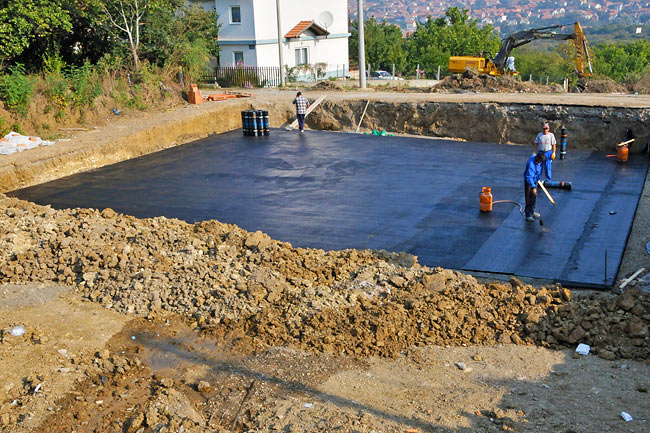
Amadeo II footer slab with the bituminous primer.
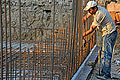
Waterproofing membrane 1st layer
This time we used a waterproofing membrane from Fim Kanjiža : VOALFIM V4. We are talking to them to see the use of their other membranes for the rest of the construction.
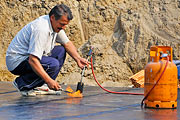
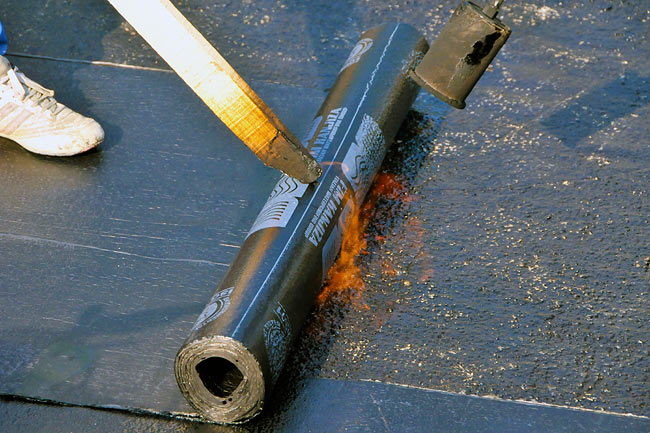
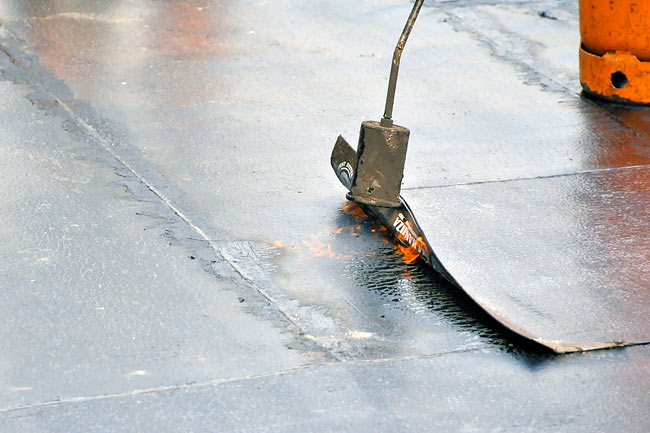
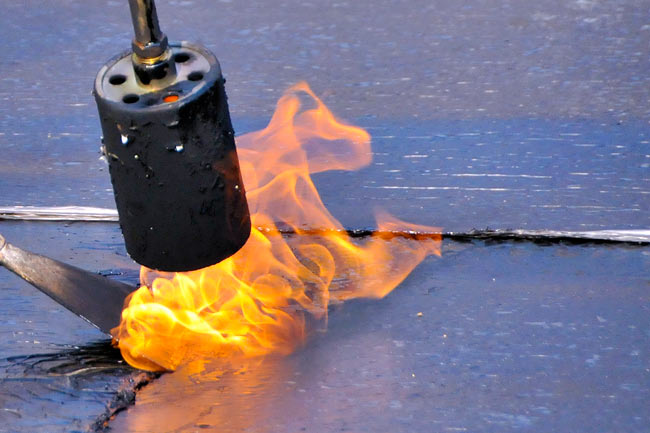
The bituminous membrane is applied with a torch that melts the bonding film and allows adhesion on the primer.
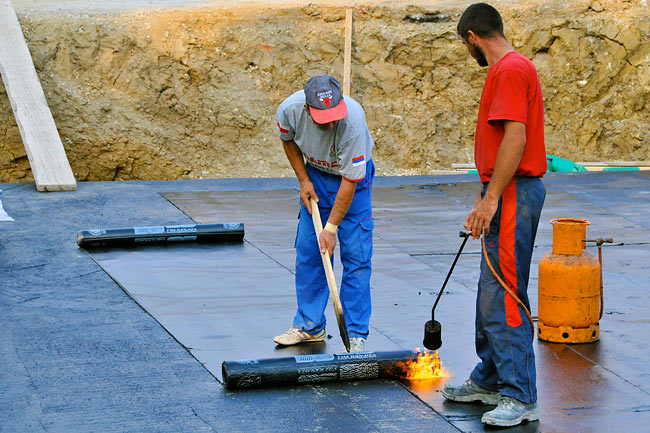
Applying the first layer of the waterproofing membrane.
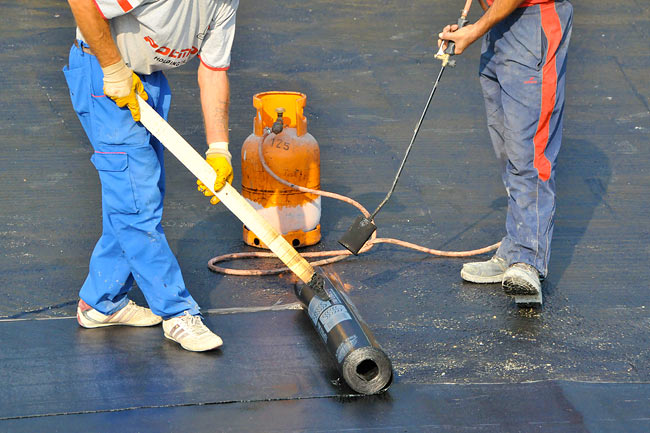
All joins that connect each 2 strips of waterproofing membrane have to be passed with the torch to ensure bonding and sealing.

Sealing joins between strip of the waterproofing membrane.
First waterproofing layer almost done.
Waterproofing membrane 2nd layer
The second layer of the waterproofing membrane provides a much higher level of waterproofness and is necessary for this type of membrane. The work is done the same way, on top of the previous layer.
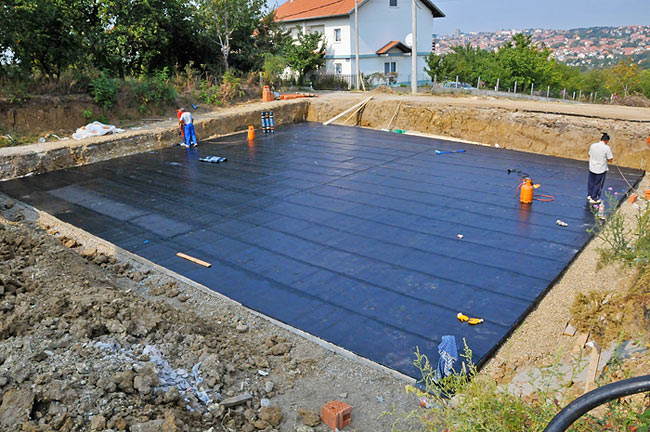
Second waterproofing layer almost done.
Installation of the second waterproofing layer details.
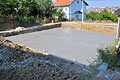
Casting protective concrete layer
On top of the waterproofing layer, and before the armed concrete slab, we cast a 5cm thick protective layer of concrete. Next is the installation of the reinforcement for the armed concrete footer.
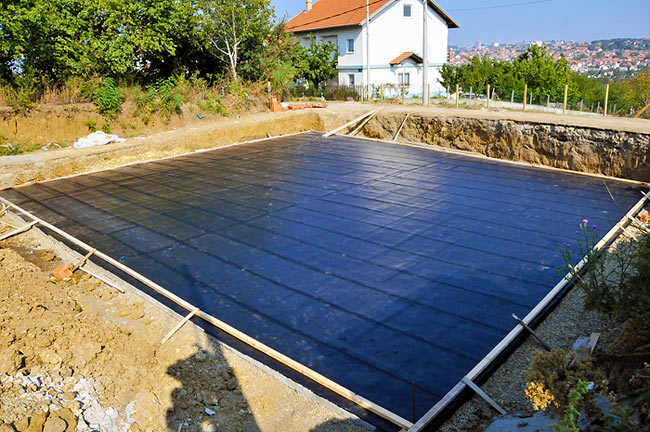
Second waterproofing layer done with the cast for the protective layer of concrete.
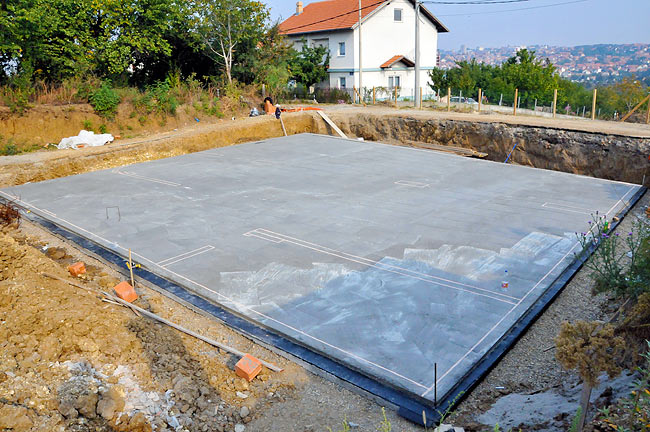
Protective layer of concrete on top of the hydro-insulation.