Making of Amadeo II underground parking walls
| 22 October 2009 - Comments (0) | Construction |
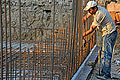
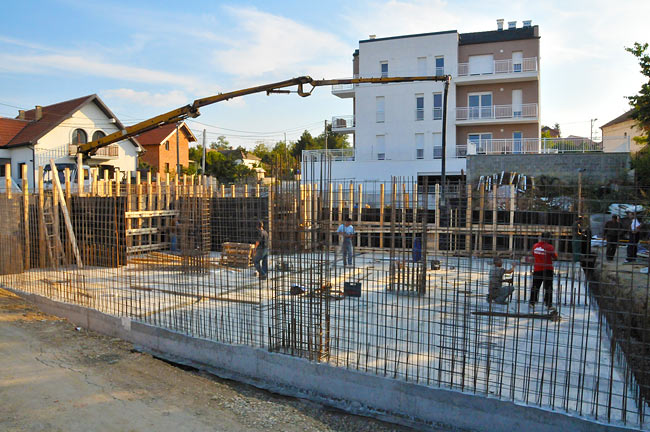
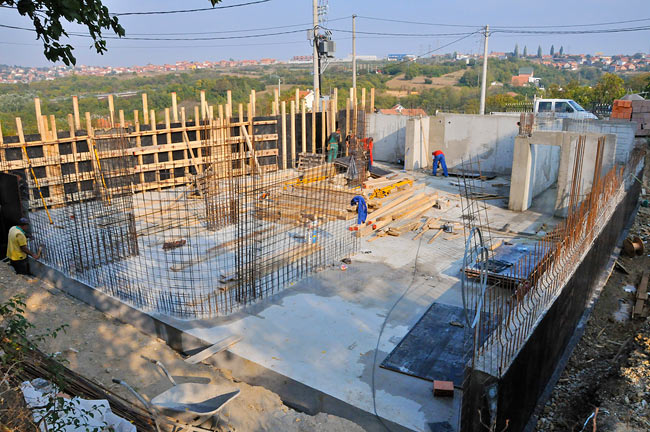
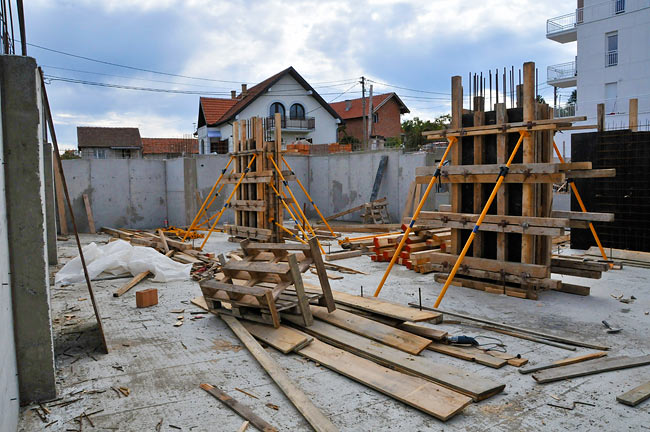
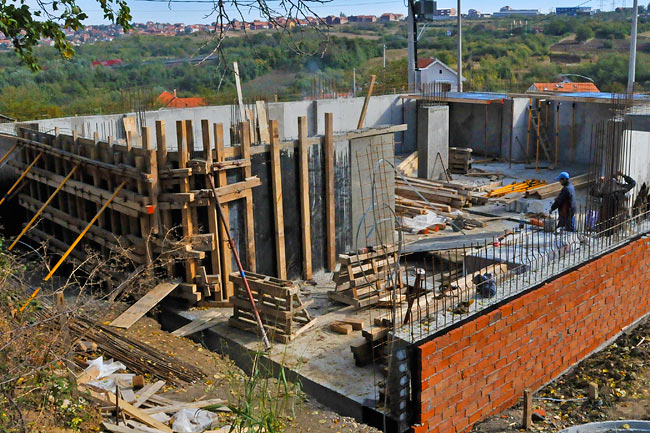
 We finished the underground parking walls of the first part of Amadeo II. The work was done in stages, casting one part of the walls, pouring concrete, removing the cast and continuing to the next section. Work is now progressing on the cast of the armed concrete slab above the parking walls and on the preparation of the ground of the other part of Amadeo II.
Starting from the base slab
The work on the underground parking walls starts from the reinforcement left peeking out of the armed concrete base slab. The reinforcement of the walls has to be connected to the reinforcement of the base slab to make the construction stand.
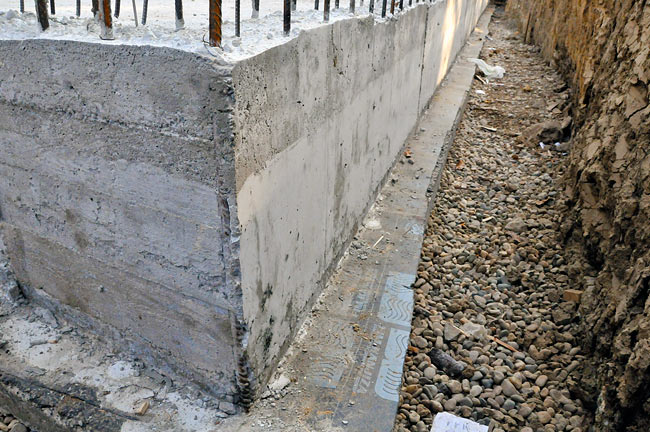
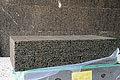
Impressive thickness of the armed concrete base slab : 40cm + 5cm of the protective slab above hydro-insulation.
Reinforcement peeking out of the base slab on which the reinforcement of the walls connects.
Connection between the 2 parts of Amadeo II
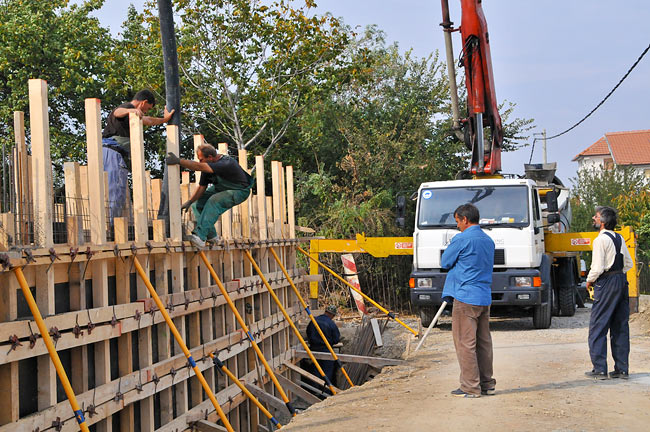
Amadeo II is made of two parts (A3 and A4) with a difference of level of 1 meter between the two. We started with the lower part (A4). On the side connecting the 2 parts, we first made the wall on which A3 base slab will be supported. That wall, about 1 meter high is 40 cm thick.
Casting the wall connecting A3 and A4.
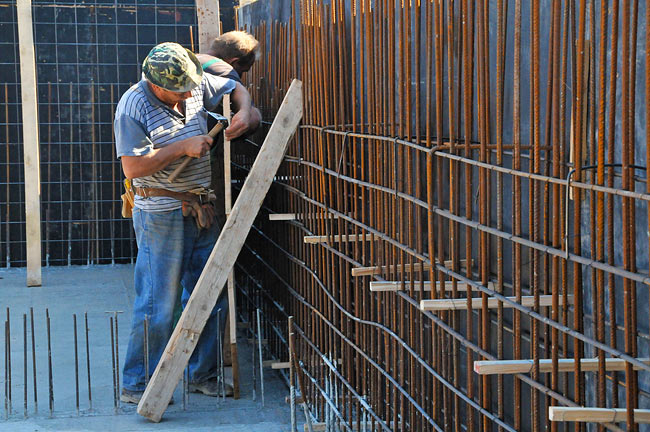
That particular wall is reinforced with iron beams fastened together in a strong mesh. Small wooden sticks are used to give the thickness of the wall and to maintain the 2 sides of the cast apart, while strong iron threads are positioned and fastened regularly to keep the 2 sides of the cast together. When concrete is poured, pressure of concrete on each side of the cast is great and proportional to the hight of the wall.
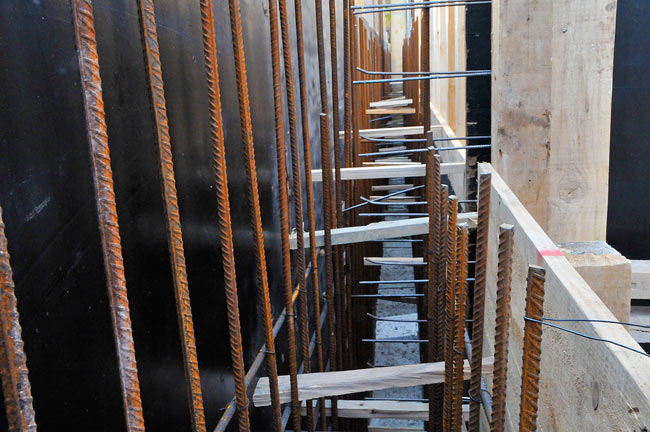
Inside the cast of the wall connecting A3 and A4.
Each side of the cast is made of wooden panels, reinforced regularly by thick wooden beams. Additional support is positioned on the higher part of the cast to make sure it will resist to the high pressure of the concrete.

One external side of the cast of the wall connecting A3 and A4.
Eventually we poured concrete on this wall alone to end that first stage.
Ready to pour concrete on the wall connecting A3 and A4.
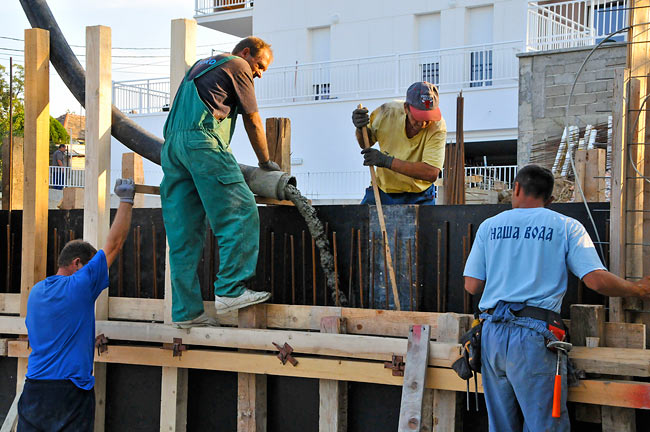
Pouring concrete on the wall connecting A3 and A4.
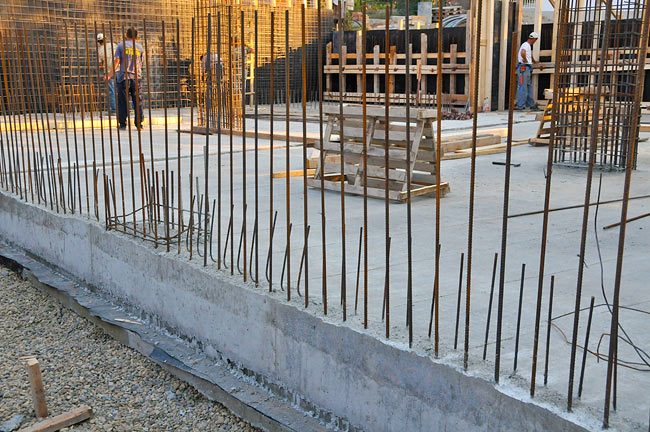
Continuation of the walls
After that first stage, we continued the other walls. Walls are 20cm thick and reinforced with standard iron mesh. In some places, we have vertical beams that are thicker and reinforced with strong iron beams. Below is the progression in pictures.
Continuation of the installation of the reinforcement of the parking walls.
Progression on the parking walls: cast on the second stage removed.
Pouring concrete during the third stage of the parking walls of Amadeo II.
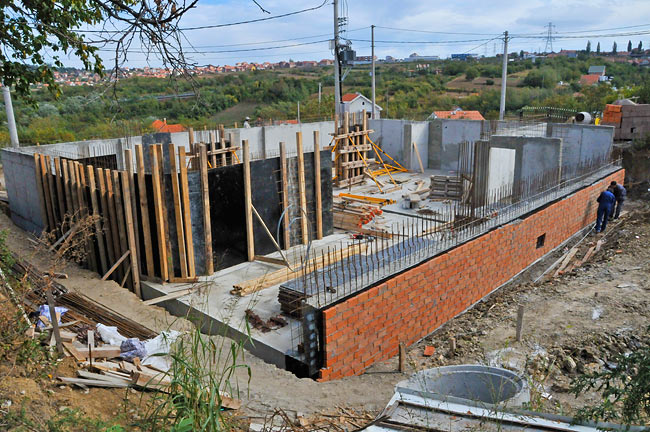
Casting the last stage of realization of the parking walls of Amadeo II.
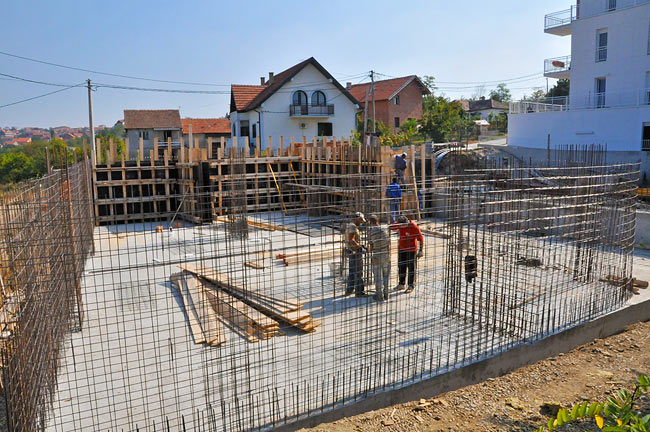
Middle columns
We have 2 supportive columns positioned in one axis in the parking. They were done during the last stage.
Supportive middle columns of the underground parking of Amadeo II.
Removing the cast on the last stage of the underground parking walls of Amadeo II.
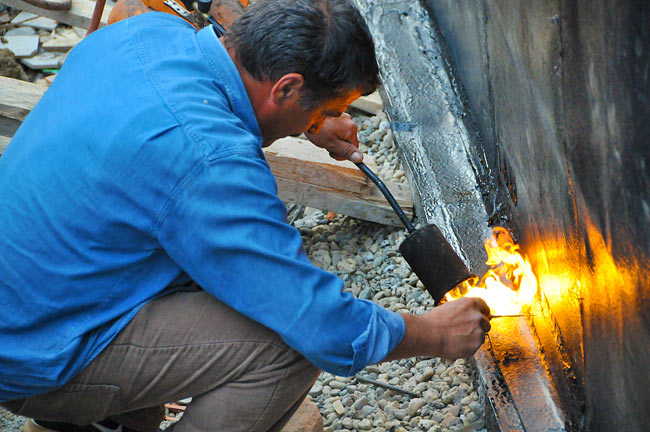
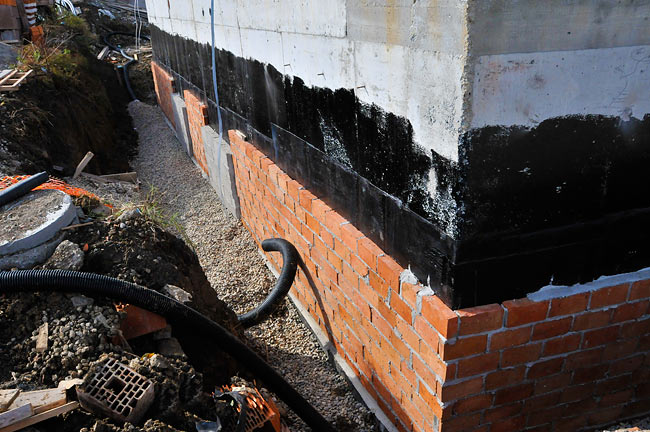
Hydro-insulation of the walls
As the work on the walls progressed, we progressed the hydro-insulation. As one wall was finished, we passed the bituminous adhesive primer, installed the hydro-insulation and eventually built the brick wall in front to protect it from damages after the ground is put back. One very important point in the hydro-insulation of the walls is the connection of the membrane on the walls to the membrane on the footer slab which has been made larger for that very purpose.
Installing hydro-insulation on the walls of the underground parking of Amadeo II. Taking care of the connection between the membrane on the walls and the one from the footer slab.
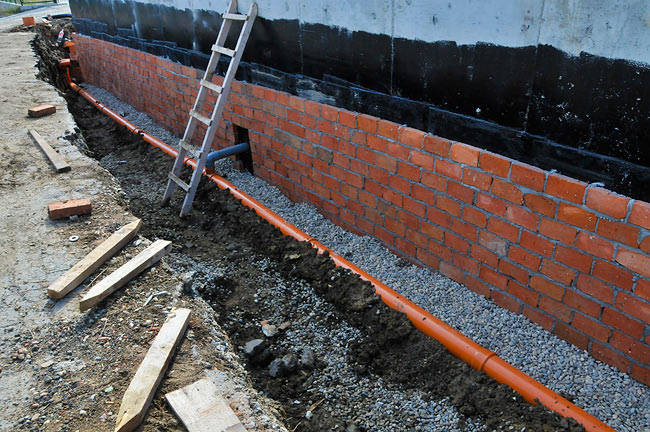
Hydro-insulation and brick wall on the underground parking of Amadeo II. Drainage pipes have been installed as well.