Installation of the first Raugeo geothermal probe for Amadeo
| 12 July 2008 - Comments (2) | Construction |
 Last sunday, we installed the first RAUGEO geothermal probe from Rehau, in one of Amadeo's borehole. This is the first one of 5, that will be installed to make the complete vertical loop of Amadeo's geothermal installation. The complete GEOID team was here to perform this installation. Vaillant, Rehau and GP Kombo engineers also participated for supervision and technical support.
Reception of the probes
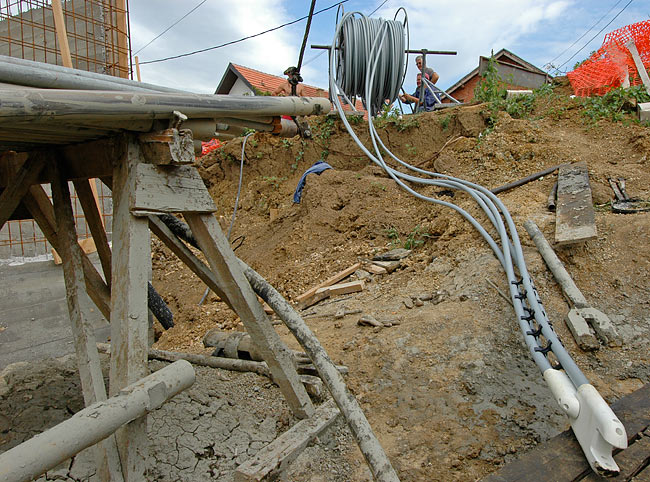
We received the 5 RAUGEO geothermal probes from Rehau in time for the installation. Each probe is 100 meters long, made of two pipes connected in a U-shape. Counting the 2 connected loops, one RAUGEO probe represents 400 meters of PE-Xa pipe, for a borehole that is 100 meters deep.

Preparing the borehole and the probe
Before installing the probe, the borehole is cleaned-up by injecting a mix of water and clay that is more diluted than what was used during drilling. For that, the mud pool was partially emptied and refilled with water.
Specially made plastic fasteners are used to maintain the 4 pipes of the probe together in the borehole. One plastic fastener has 4 clips for 4 pipes and is hollow in the center to allow the passage of the pipe that will be used during the descent of the probe and to fill the borehole with bentonite at the end.
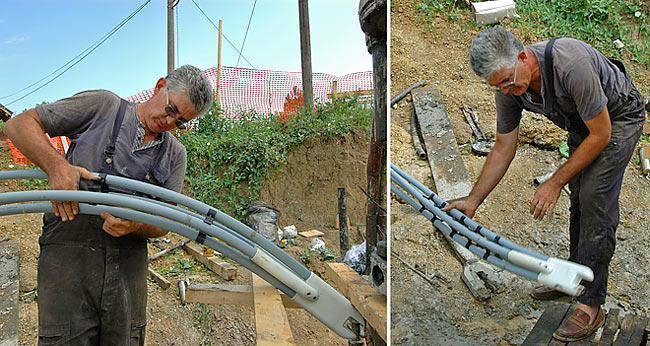
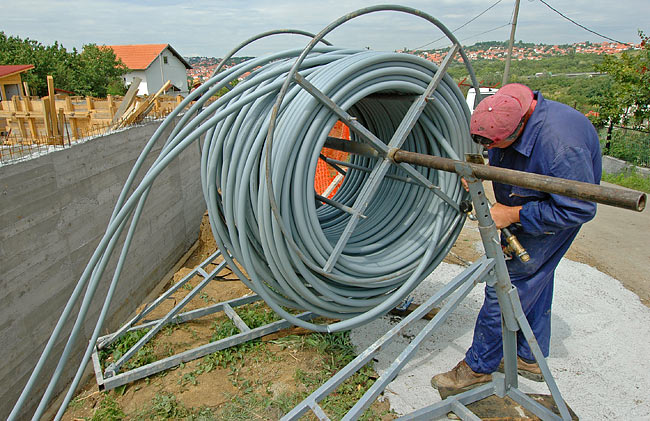
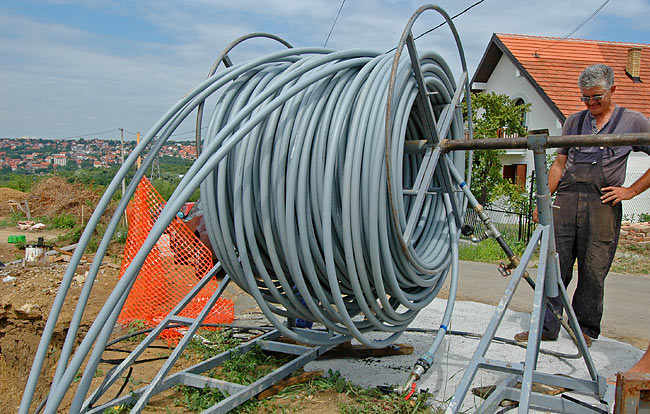
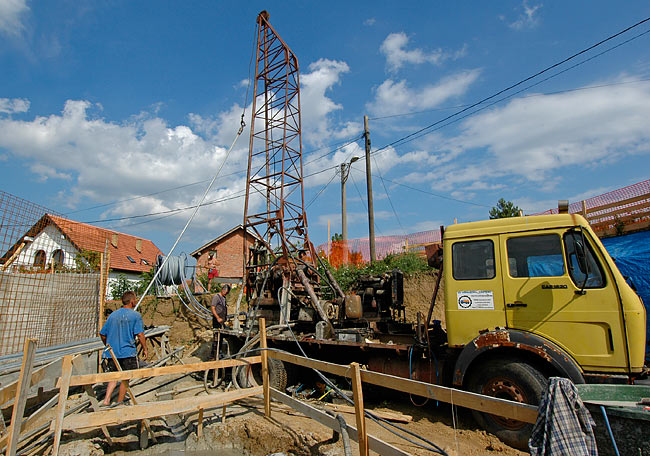
The RAUGEO probe is mounted on a support that will hold it during the installation.
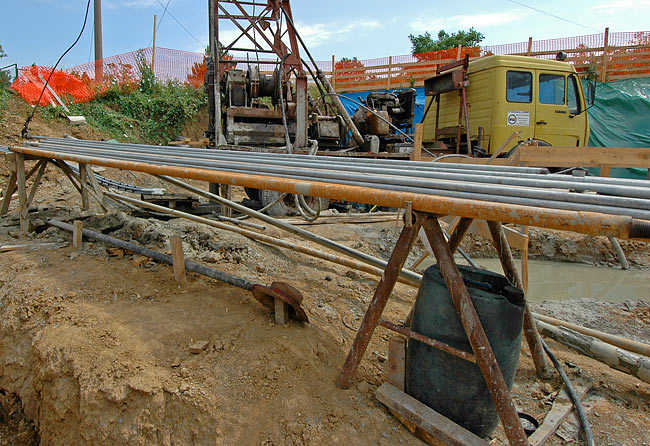
Metallic pipes are used to install the probe in the borehole. Those pipes are thinner than drill pipes. Like drill pipes, they are hollow to be able to inject the bentonite filling in the borehole once the probe is installed.
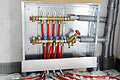
Filling the probe with water
The probe has to be filled with water before it can be installed. This serves several purposes. First, it is a test of the integrity of the probe, that there is no leak. Second, water in the probe creates internal pressure that counterbalances the external pressure in the borehole. If it was not filled with water, the external pressure in the borehole would collapse the pipe. Third, it makes the probe heavier which ease the descent.
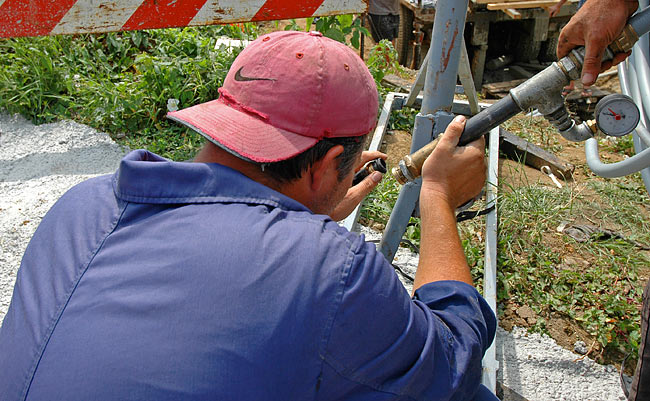

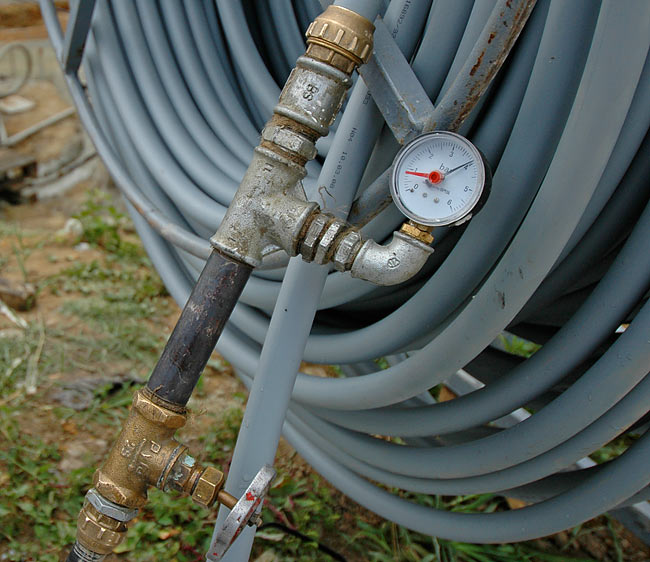
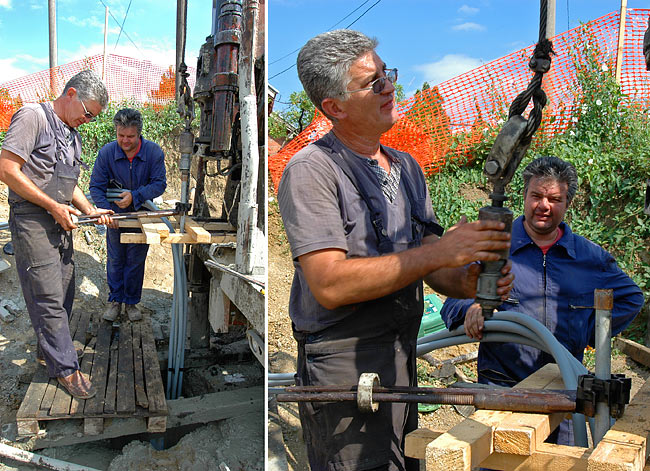
A pressure gauge checks the internal pressure in the probe and shows everything is ok. Once the probe is put in function, water in the probe will be replaced with glycol.
Installing the probe in the borehole
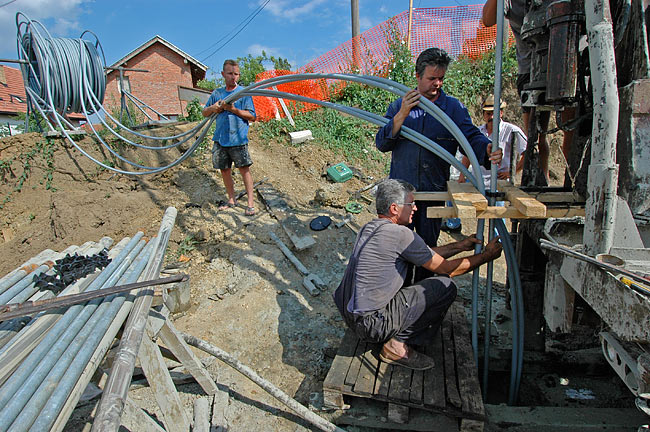
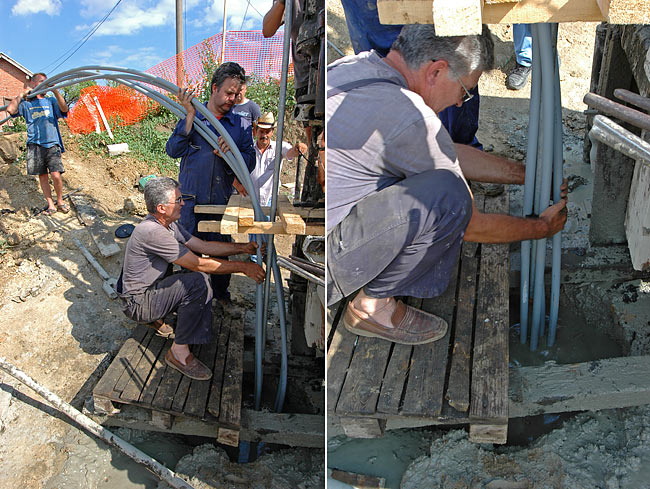
The probe is then ready for the descent in the borehole. One common technic for the installation is to use plastic pipes. As the plastic pipes are light, a weight has to be attached at the bottom of the probe to help the descent. Another technic, used here, uses metal pipes for the installation. The weight of those pipes makes the use of the weight not necessary.
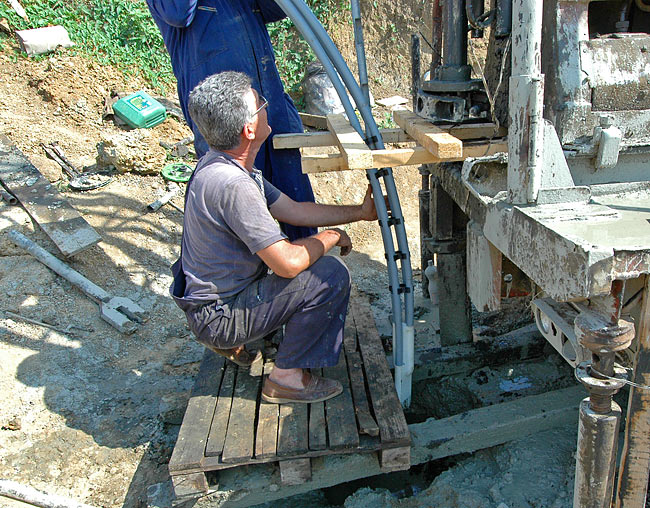
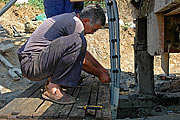
The first metal pipe is inserted in the hollow part, in the middle of each black fastener holding the probe's pipes. For more security, that first metal pipe is fastened to the probe with a small metal thread.
The pipe is pushed down to start the descent of the probe.
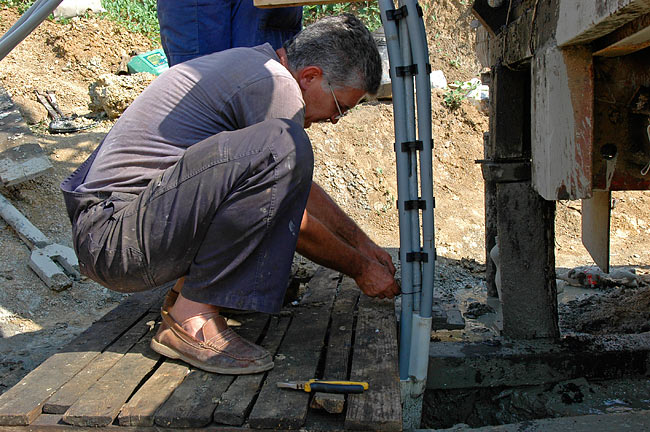
At regular interval, more plastic fasteners are positioned to maintain the 4 pipes of the probe together.
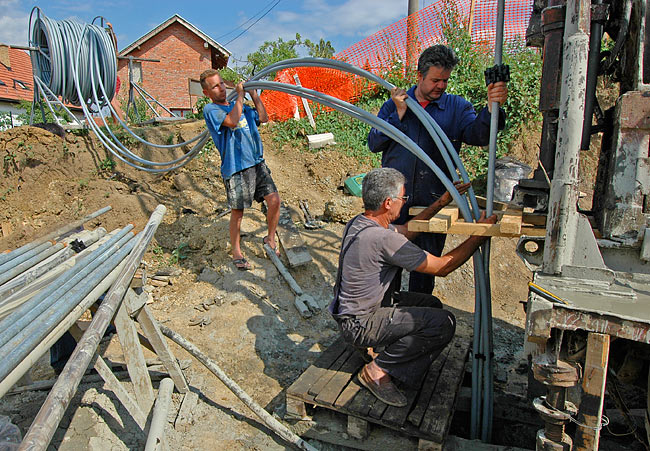
Adding a new pipe
The end of the first pipe comes quickly. The top part is unscrewed from the pipe already down the borehole and is attached to a new pipe.
The new pipe is lifted up using the cable from the derrick.
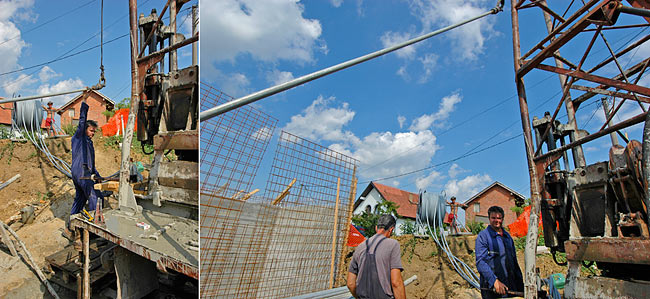
It is then attached to the previous pipe. Everything is ready to continue the descent.
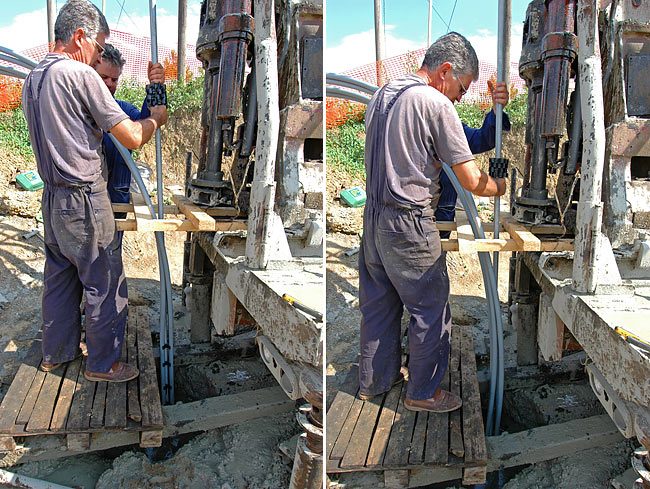
Continuing the descent of the probe
The same procedure continues for the complete length of the probe: pushing the pipe down the borehole, installing plastic fasteners to hold the 4 pipes of the probe together, placing a new pipe. Each pipe being 6 meters, it takes 17 pipes to go down the 98 meters of the borehole. 2 meters are kept for connecting the probe to the system.
After some time, the end of the probe is reached and the descent is complete.

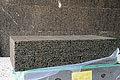
Preparing and injecting bentonite
Once the probe is in place, it is necessary to fill the borehole with some substance that will ensure the stability of the borehole and will maximize the heat exchange between the probe and the ground. The most commonly used substance is bentonite, which is a sort of clay.
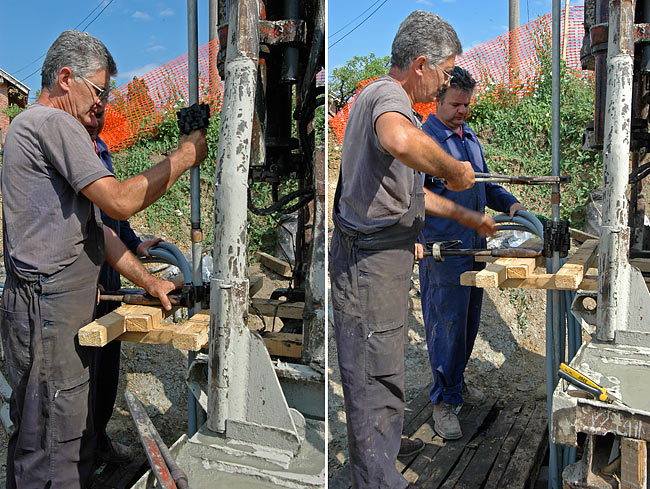
On the last pipe, the extremity of the pump that will inject bentonite in the borehole is attached.

The bentonite is in form of powder. To prepare it, it has to be slowly mixed with water, with constant stirring, to form a sort of thick soup that can be pumped in the borehole.
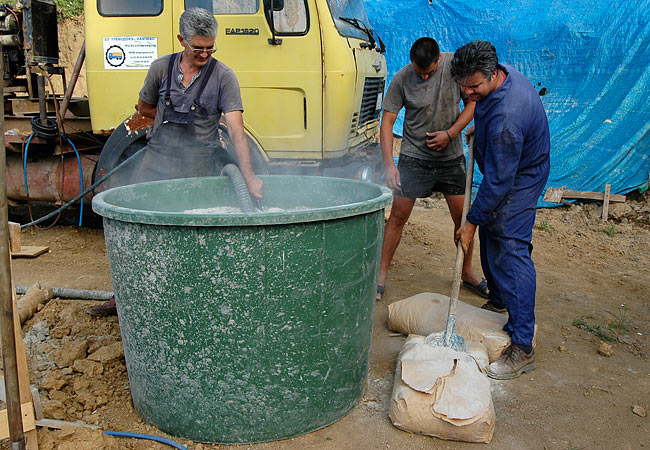
Stirring is done by pumping the mix of water and bentonite from the container and reinjecting it under pressure.


Once the mixture of bentonite is ready, it is pumped in the borehole for filling. As the borehole fills up with bentonite, some pipes are pulled out of the borehole and the filling continues higher in the borehole. This process continues and more bentonite is prepared until the borehole is filled completely.
Continuation of the drilling
This first borehole took much more time than initially planned. Drilling 100 meters underground is unpredictible. Although it was not expected, GEOID encountered 2 layers of stones which slowed down drilling quite a lot. Also unexpected, the drilling rig broke twice during the making of this borehole. So after 2 weeks spent on this first borehole, we could not keep the drilling team on the working site anymore, as it would prevent progress of the construction. Consequently, we decided to move the drilling on the other part of the land. Drilling will resume as soon as that other part has been prepared and leveled off.


18/07/2008
admin
2
Re: Super
13/07/2008
Stefano
1
Super