Making of Baumit facade on POROTHERM, a visual guide
| 08 May 2009 - Comments (1) | Construction |
 In this article, we look at the making of the facade on top of the monolitic wall system made of large clay blocks. Although it would be possible to use a thin facade system, the use of a thermal facade improves the thermal characteristic of the wall and even out the imperfection of the masonry. We used Baumit multilayers system that produces an excellent long lasting result.
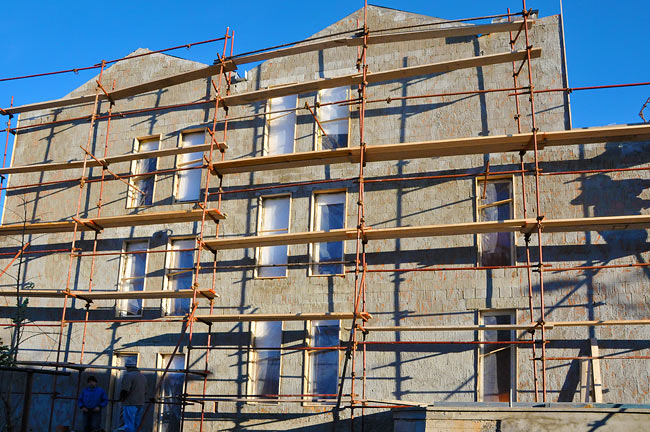
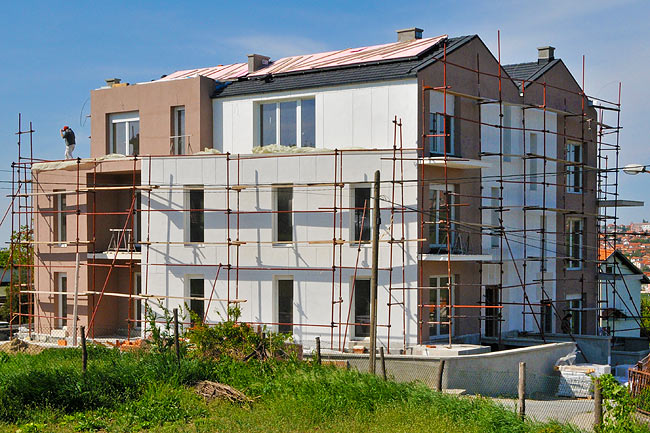
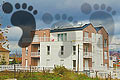
It is almost with regrets that we started to cover the beautiful colors given by the POROTHERM clay blocks. From the start of the facade to the finish look, it would take many months during which Amadeo will oscillate from light to dark gray.
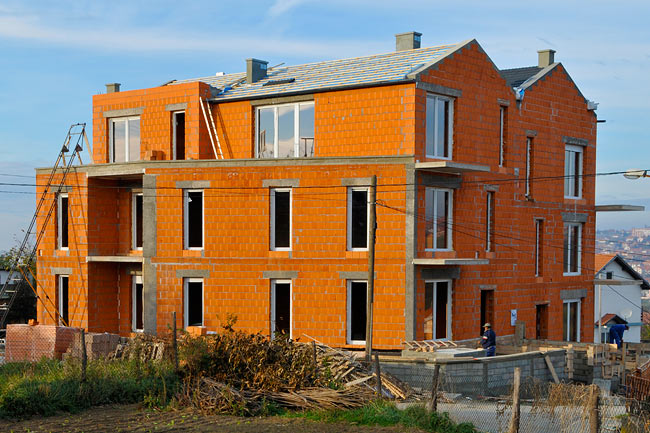
Amadeo with the beautiful colors of POROTHERM blocks (photo Beodom).
The Baumit facade system we use is high quality and goes in several layers: cement milk, Baumit ThermoExtra, Baumit PutzSpachtel, Baumit UniversalGrund, Baumit EdelPutz Extra and finally Baumit SilikatFarbe for the darker color.
Cement milk underlayer
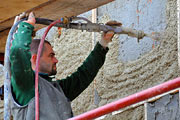
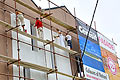
The first step is to cover walls with cement milk. That is to provide better grip for the next layer. The job is done manually and quickly.
Applying cement milk on the wall as an underlayer primer (photo Beodom).
The result is not quite visually appealing but is only temporary.
Cement milk applied on one side of the facade (photo Beodom).
Casting the openings
The thermal facade is applied in a thickness of 4cm. Before it can be applied, the openings (doors and windows) have to be cast to give the thickness.

Closeup on the cast of the openings (photo Beodom).
Casting the openings on one side of the facade (photo Beodom).
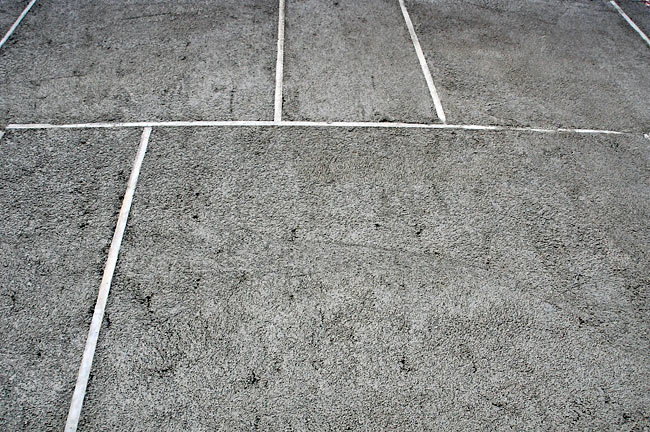
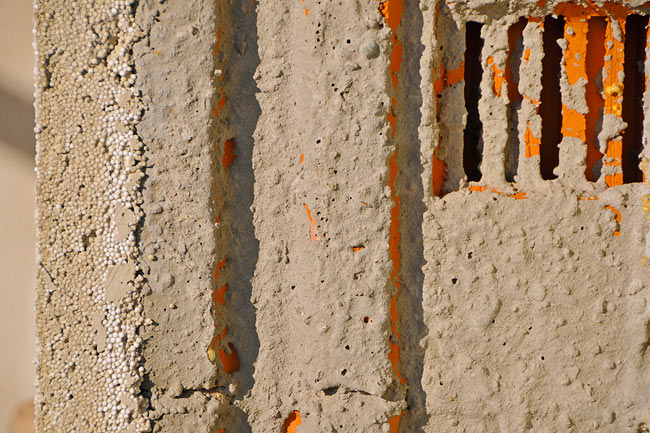
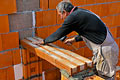
Making the facade pattern
For the design of Amadeo's facade, we wanted to give some structure in the light parts. We used long and thin wood pieces to cast lines in the thickness of the facade.
Casting lines in the thickness of the facade for the design (photo Beodom).
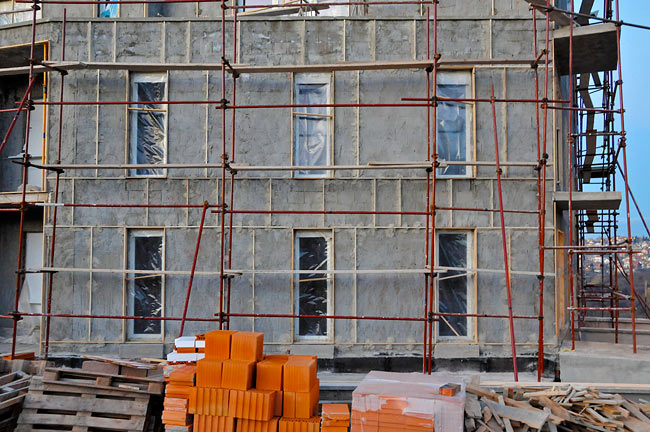
Lines cast in the thickness of the facade for the design (photo Beodom).
Applying thermal mortar: Baumit ThermoExtra
The thermal facade is done by applying thermal mortar. That is mortar with balls of polystyrene which makes it lightweight and good for thermal insulation. We used Baumit ThermoExtra which is the product with the best characteristics (thermal conductivity λ of 0,09W/mK).
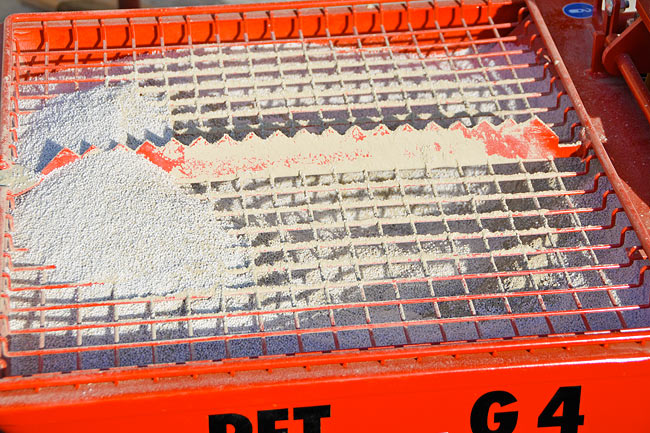
Closeup on Baumit ThermoExtra mortar in the mixing pump (photo Beodom).
The thermal mortar is applied using a mixing pump that mixes the product with water and projects it under pressure.

Pouring Baumit ThermoExtra mortar in the mixing pump PFT G4 (photo Beodom).
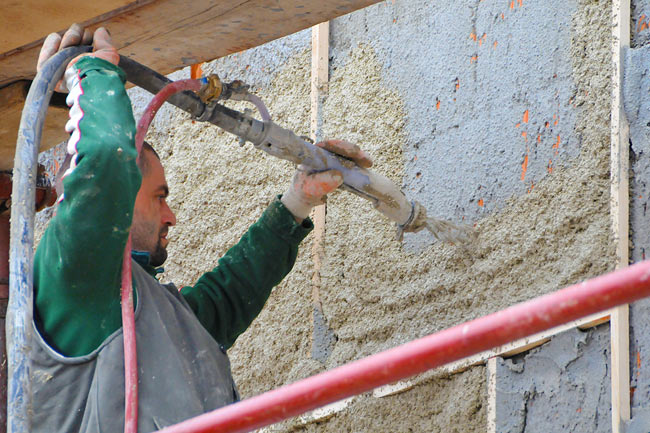
Projecting Baumit ThermoExtra mortar with the mixing pump (photo Beodom).
The facade mortar is applied in a thickness of 4cm. Using the frames around openings and the wood placed for the lines in the facade as a support, the mortar is equalized with a long ruler.
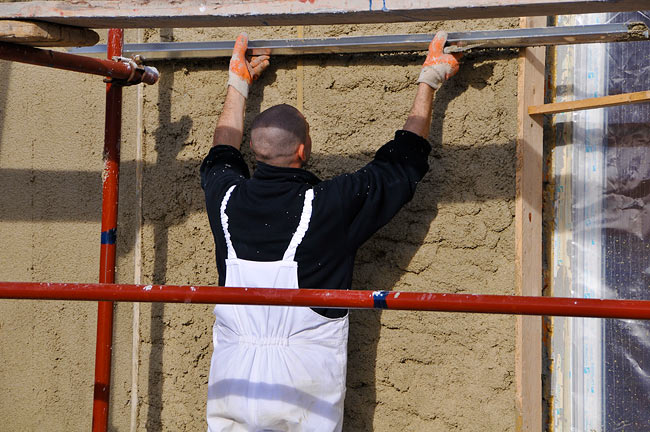
Equalizing the mortar on the facade (photo Beodom).
Progression on the thermal mortar
Once applied, the thermal mortar is dark gray. After drying, it becomes much lighter and is sturdy.

Progression of the application of thermal mortar on Amadeo (photo Beodom).
Thermal mortar just applied (photo Beodom).
Once dry, the wood is removed and lines making the pattern on the facade are reinforced. The work on the sides of openings can start.
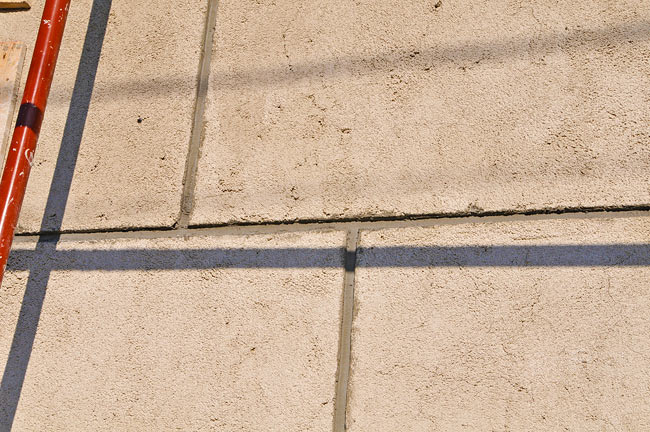
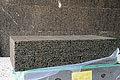
Thermal mortar once dry. Wood for making the pattern has been removed and the lines reinforced (photo Beodom).
Thermal mortar thickness (4cm) on the external side of the wall (photo Beodom).
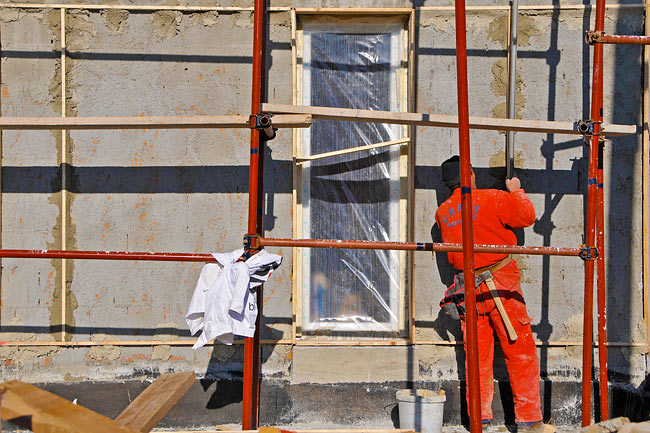
Making the sides of openings
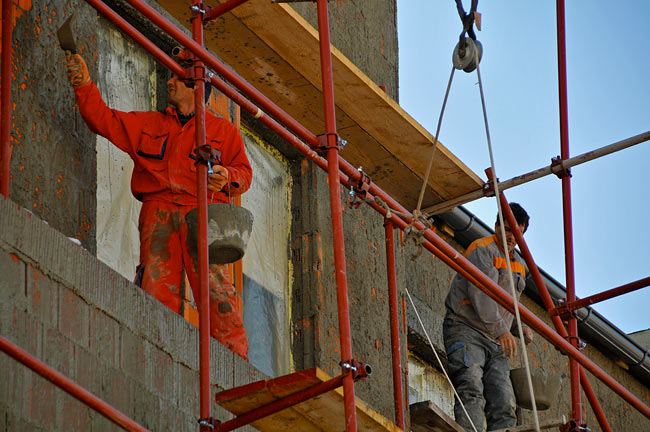
Windows and doors external sides are made manually once the first cast is removed. Another cast is positionned on the facade already dry to give the thickness.
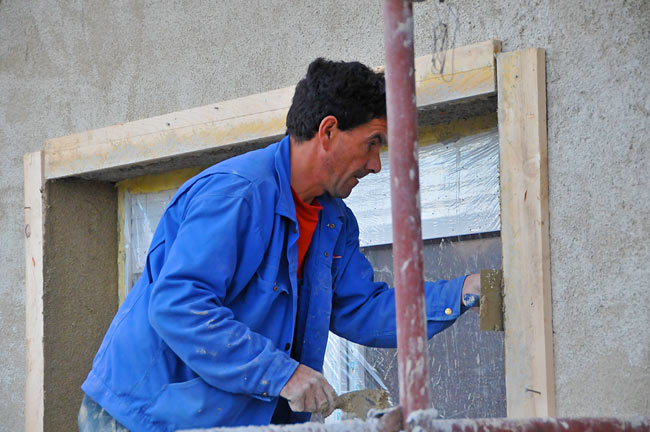
Applying thermal mortar on the sides of openings (photo Beodom).
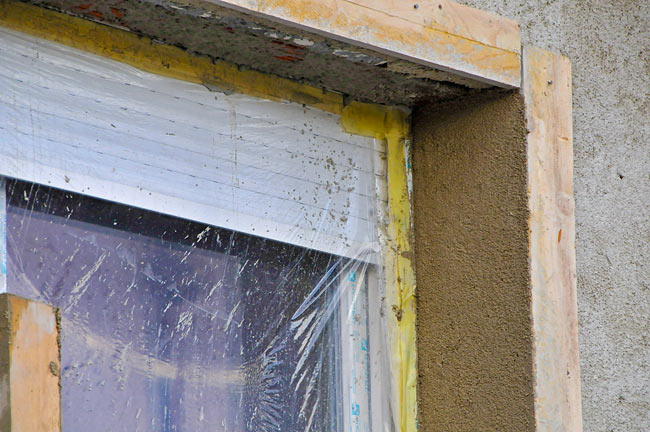
Thermal mortar applied on the side of a window (photo Beodom).
Thermal mortar applied on the facade and on the side of a window once dry (photo Beodom).
Plaster stopper protective layer: Baumit PutzSpachtel
On top of the thermal mortar, it is necessary to apply a protective layer that is permeable to water vapour but that is hydrophobic so that is doesn't absorb or let water pass through. It preserves the breathability of the wall system while preventing rain water to damp the facade.
In addition, this layer increases the sturdiness of the facade and makes a better grip for the next layer.
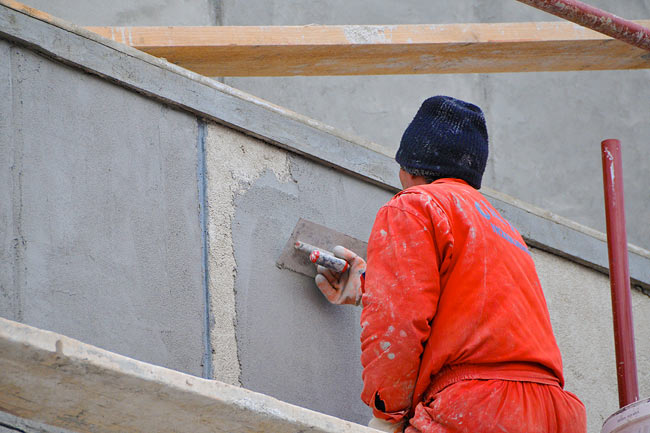

Applying Baumit PutzSpachtel on the facade (photos Beodom).
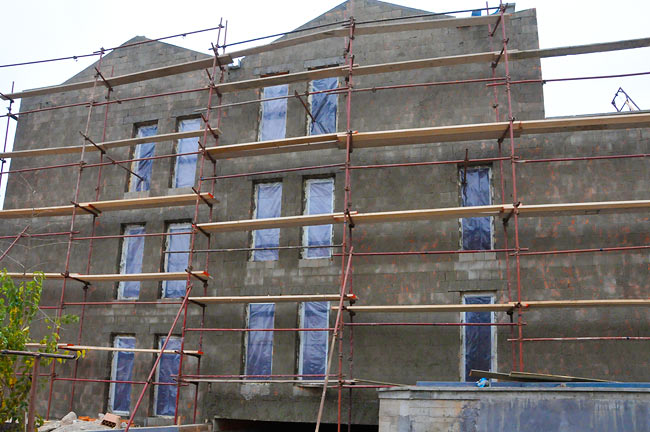
Once dry, Baumit PutzSpachtel is very light gray and doesn't give a bad look to the object. Amadeo had to stay that way several months as we waited spring to apply the final layer.
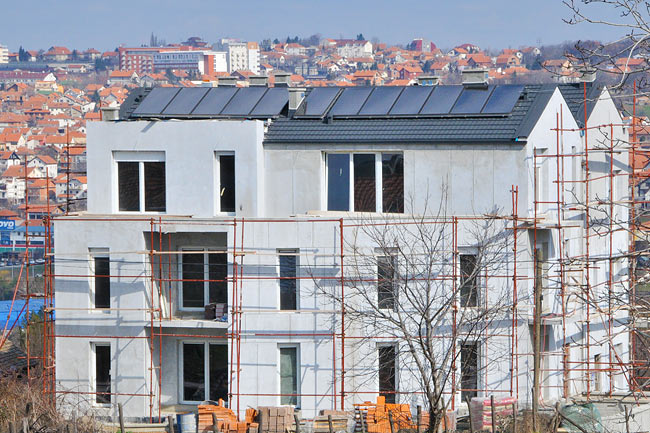
Amadeo with Baumit PutzSpachtel on the facade (photo Beodom).
Base layer before color: Baumit UniversalGrund
This is a primer layer that facilitate the uniform coloration of the complete facade. It is applied manually with a roll.
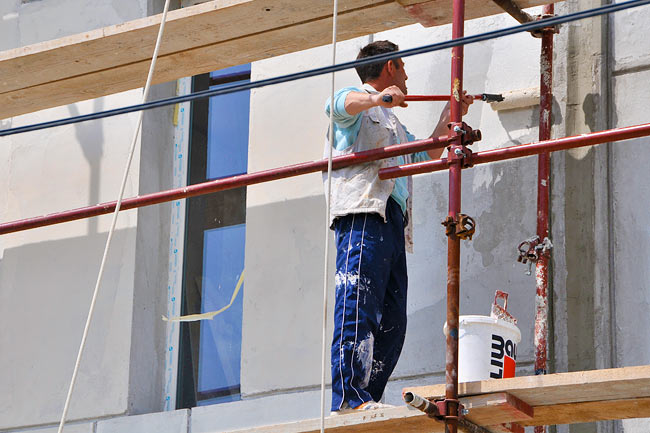
Applying Baumit UniversalGrund on the facade (photos Beodom).
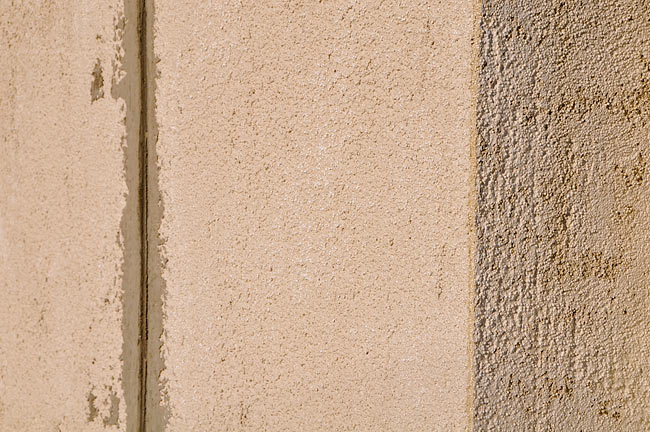
White color and texture layer: Baumit EdelPutz Extra
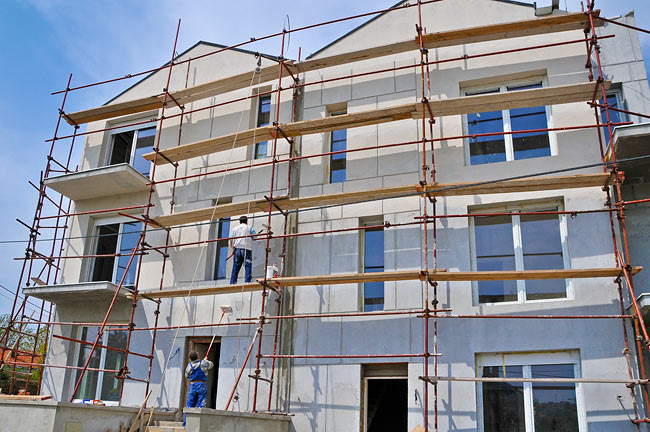
Once UniversalGrund has been applied, the layer giving the texture and the color can be applied. On Amadeo we wanted 2 colors: white and brown. So the strategy was to apply Baumit EdelPutz Extra in white on the complete building, and then to color in brown the parts that should be colored.
Applying Baumit EdelPutz Extra on the facade (photos Beodom).
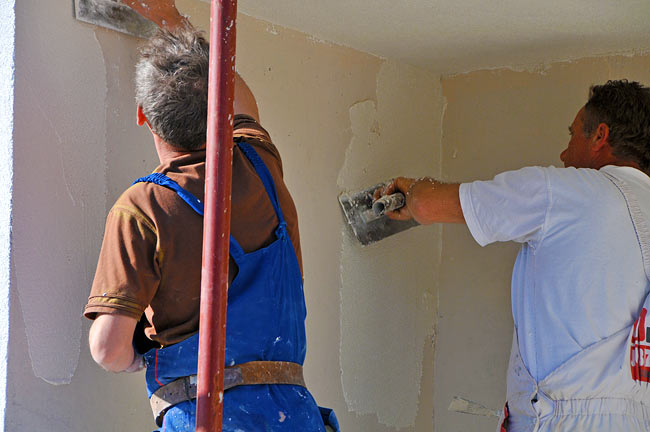
We took the finest granulation of Baumit EdelPutz Extra. It is applied manually with a spatula. The result is excellent.
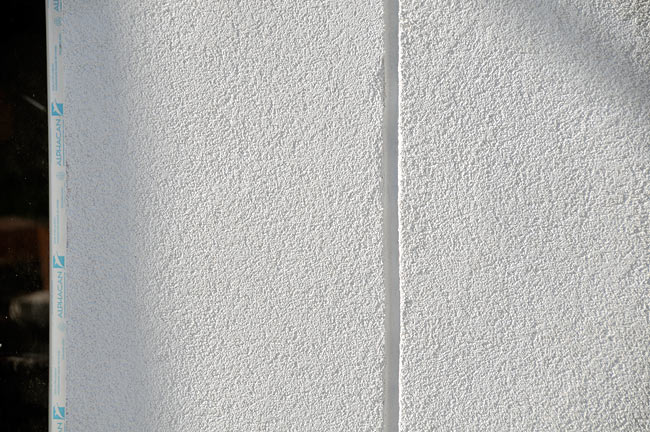
Baumit EdelPutz Extra once applied on the facade (photo Beodom).
Brown color: Baumit SilikatFarbe
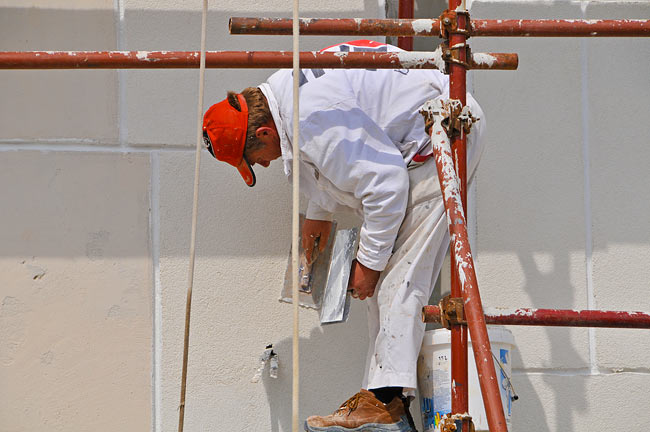
The final color layer, only for the darker parts, is Baumit SilikatFarbe in brown. This is a silicate paint that gives the final look of the facade. It is applied manually with a roll.


Applying Baumit SilikatFarbe in brown color (photos Beodom).
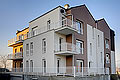
Final result
The facade is beautiful and will be long lasting. It provides weather protection and increases the thermal efficiency of the wall significantly.
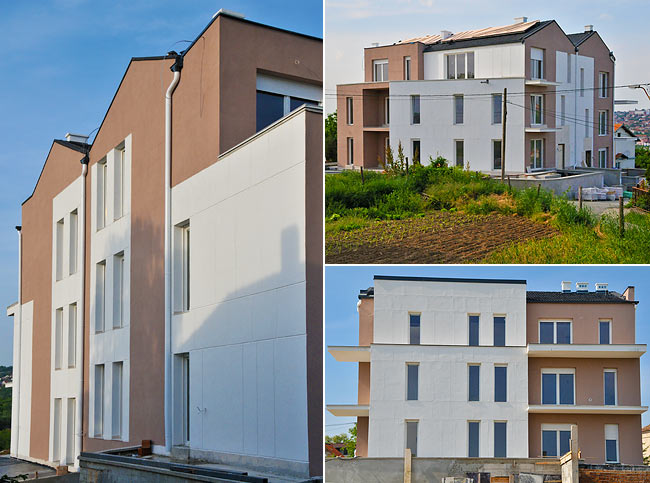
Amadeo final look (photo Beodom).


11/01/2010
ehsan
1
appreciation