Geothermal drilling and installation of geothermal probes, a visual guide
| 25 October 2008 - Comments (2) | Construction |
 Last July, we installed the first geothermal probe of the geothermal heating and cooling system of Amadeo. We have now resumed this installation and installed 2 more Rehau Raugeo probes. In this visual guide, we document the complete installation process from drilling to filling the borehole with bentonite.
Geothermal drilling
The complete geothermal loop for one Amadeo is made of 5 vertical boreholes that are each 100 meters deep. It is a ground-water exchange system where heat is taken from the ground in heating mode and released in the ground in cooling mode. A Raugeo probe is made of 400 meters of high pressure crosslinked polyethylen (PE-Xa) pipes in which a fluid circulates to exchange heat with the ground.
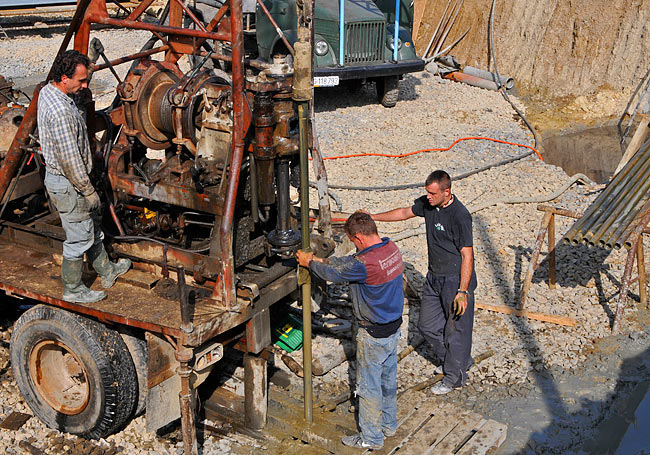
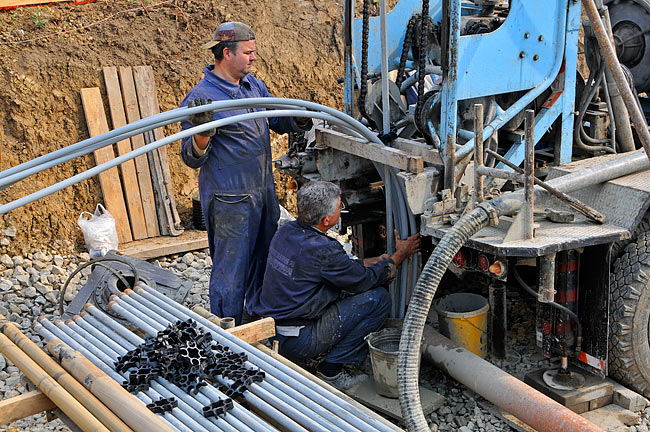
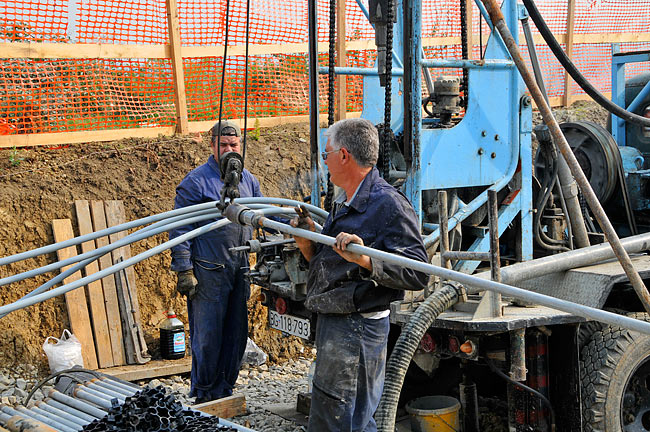
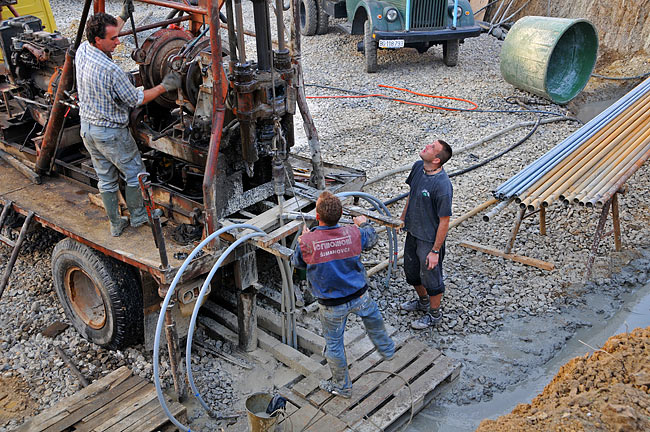
As we have already done one probe before, 9 more remained to be installed for Amadeo and Amadeo II. Two drilling teams from GEOID work in parallel to speed up the work and 2 probes have already been installed.
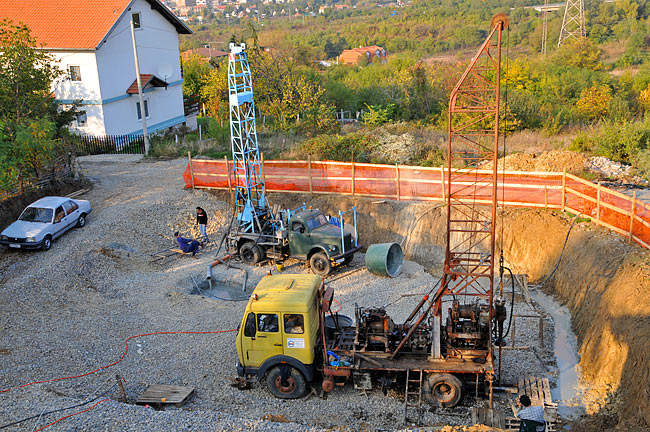
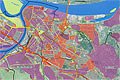
Amadeo II right part (A4) with the 2 drilling teams from GeoID (photo Beodom).
The additional drilling rig is mounted on a small truck and complements the previous one which worked on the first borehole under Amadeo. The soil in this area is made of clay with some layers of stones. Drilling does not go very fast, from 15 to 20 meters per day. The best is to give geothermal drilling time that does not collide with construction planning.
GEOID drilling rig working on Amadeo II (photo Beodom).
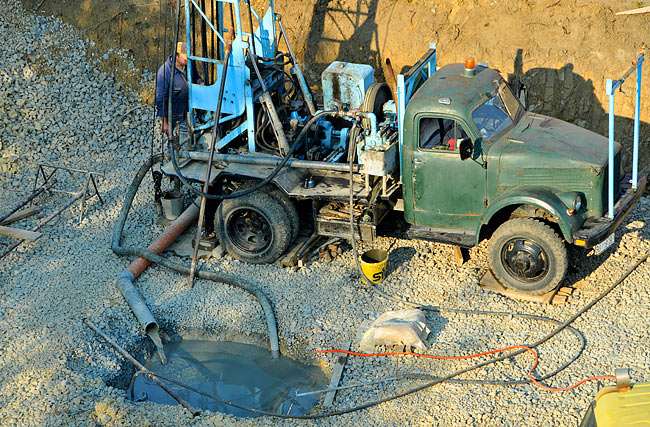
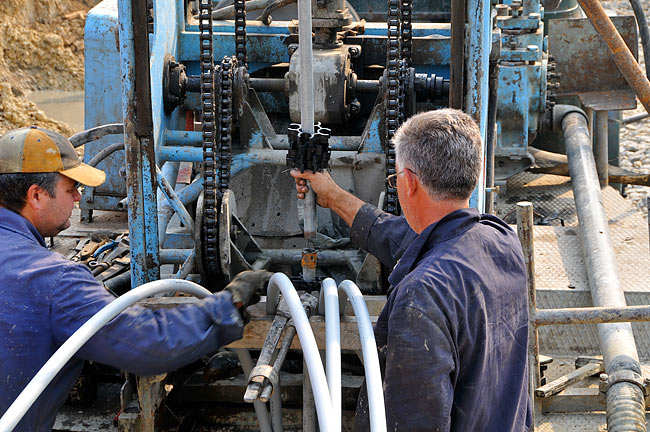
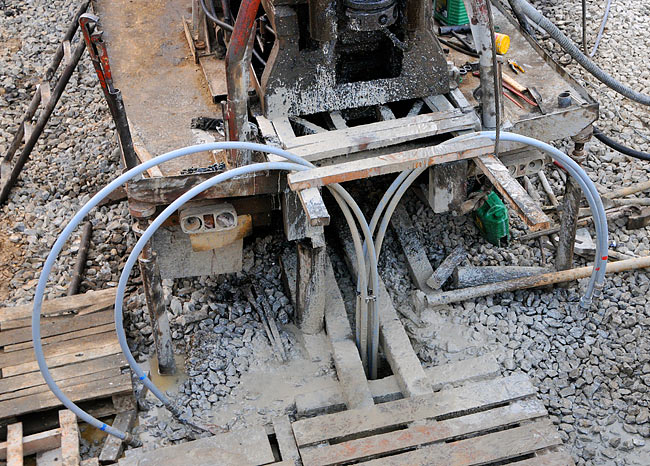
Hydraulic-rotary drilling is used by the 2 teams. Drilling is performed via a tungsten-carbide drill bit, mounted on hollow pipes that rotate to drill. A mix of water, mud and clay is pumped from a nearby pool and injected under pressure into the hollow pipes to lubricate the drill bit. That mix of water together with more material from drilling comes back up because of pressure and goes back into the pool in a closed loop.

Hydraulic-rotary drilling closed loop (photos Beodom).

Close-up on the surface of the borehole during drilling (photos Beodom).
The first drilling team actually invested into a brand new universal drill bit for the drilling.
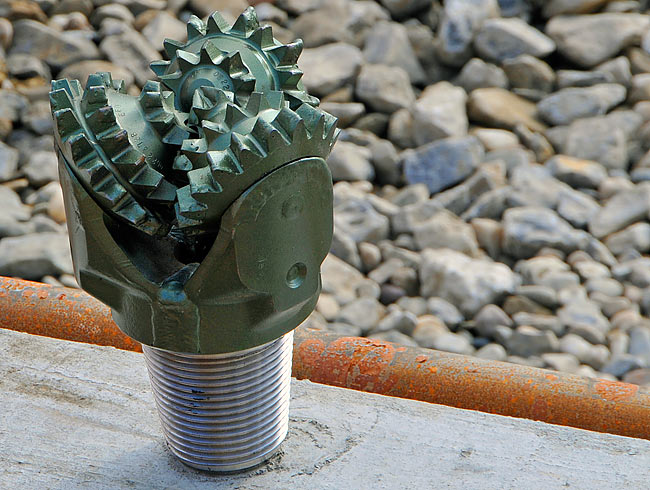
A brand new tungsten-carbide drill bit for Amadeo drilling (photo Beodom).
Cleaning up the borehole
After 6 days of drilling, the target depth of 100 meters was reached by the 2 teams. Once drilling is done, the borehole needs to be cleaned by injecting more water under pressure. It is then ready for the installation of the geothermal probe. Drill pipes are pulled back up one by one.
Attaching one drill pipe to the metal part used to pull them up on the derrick (photo Beodom).
Pulling up one drill pipe out of the borehole on the derrick (photo Beodom).
Preparing the probe
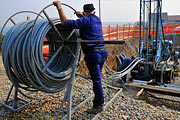
To maximize the exchange of heat in one borehole, one Rehau Raugeo geothermal probe is made of 2 independent loops, fastened together at the bottom of the probe. That represents 400 meters of PE-Xa pipes for one probe.
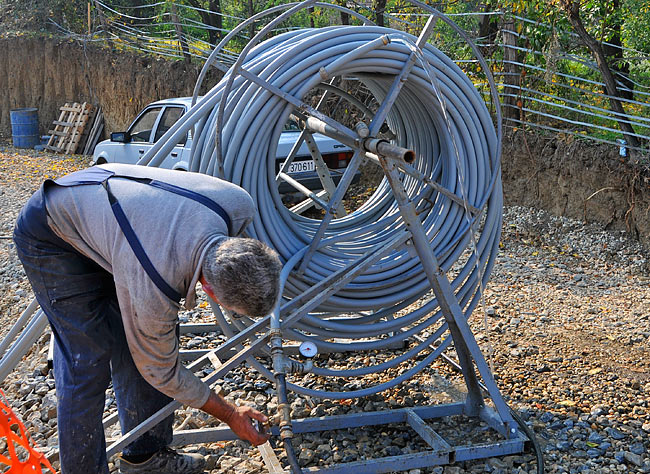
First the 2 independent loops are mounted on a support that will hold them during installation.
The 2 independent loops of the geothermal probe, mounted on a support for the installation (photo Beodom).
Detail of one end of the 2 loops, where the pipe turns to go back up (photo Beodom).
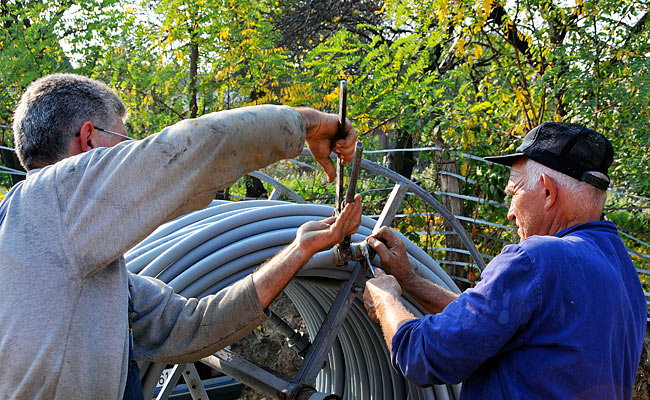
The 2 ends of the 2 independent loops are fastened together at 90 degrees to form the complete Raugeo probe.
Fastening the 2 extremities of the 2 independent loops together to form the complete probe (photo Beodom).
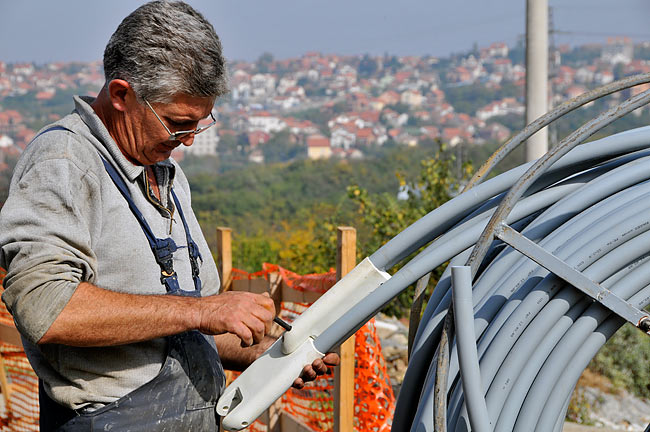
The other 2 extremities of each loop will be used to fill the probe with water and will then be closed. Rehau Raugeo geothermal probes are made of thick PE-Xa pipes.
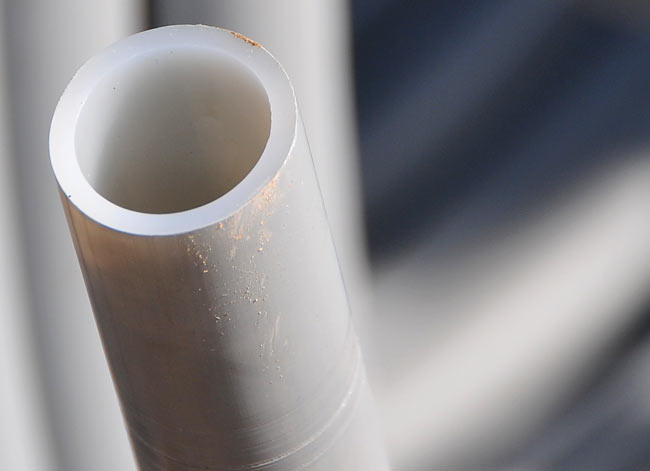
Detail of one extremity of Raugeo geothermal probe, made of thick PE-Xa pipes (photo Beodom).
Filling the geothermal probe with water
Before to bring the probe down the borehole, it needs to be filled with water under pressure. That is to check its integrity and to compensate the pressure that increases with depth in the borehole as the probe goes down. The pipe of the probe could collapse if it was not filled under pressure.
Preparing to fill the geothermal probe with water (photo Beodom).
Each loop is filled independently. One end of one loop is connected to the water supply with a pressure gauge to control pressure inside of the probe. The other end is left alone.
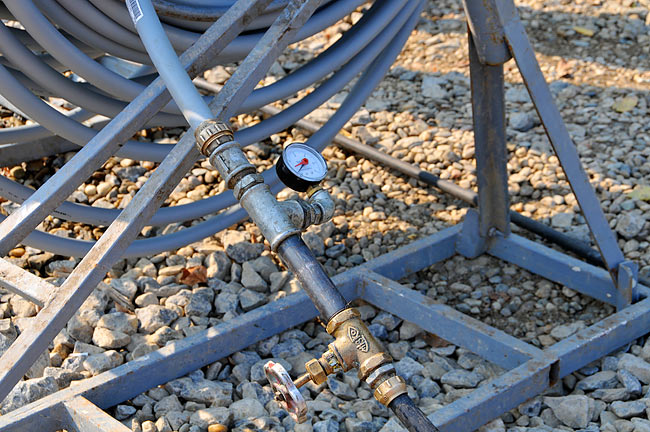
One end of the probe attached to the water supply with the tap and pressure gauge (photo Beodom).
After a short while, as water starts to fill the probe, some water starts to get out at the other end in an irregular flow.
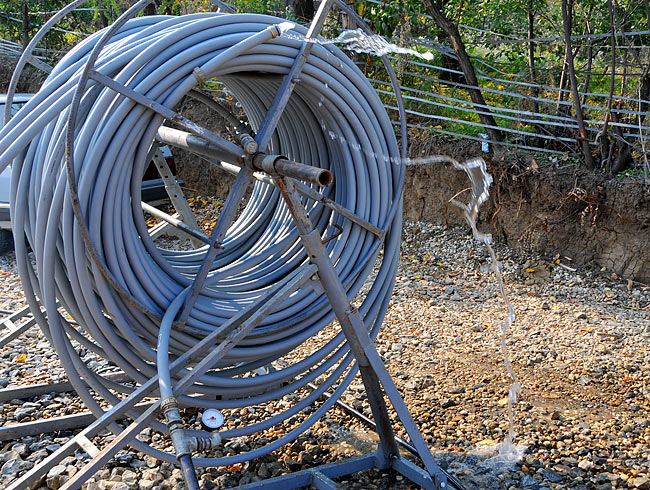
Water starting to pour on the other end of the probe in an irregular flow (photo Beodom).
Once the flow becomes regular, it means that all air is gone from the probe's pipe. Water supply is stopped and the open extremity of the probe is closed.
Stopping the water supply once the flow of water becomes regular (photo Beodom).
Closing the open end of the probe to keep water in (photo Beodom).
Then the tap is reopened to let water in the probe again. As the other extremity is closed, pressure in the probe increases to match the pressure of the water supply. The right pressure in the probe for installation is 4.5 bars.
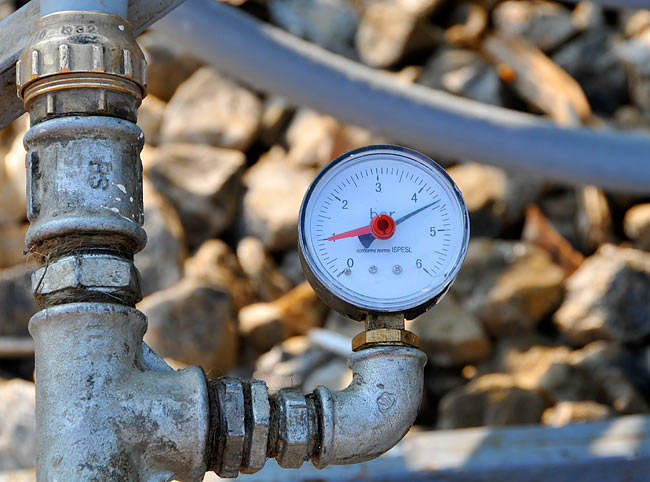
Zoom on the pressure gauge indicating that the water pressure in the probe reached 4.5 bars (photo Beodom).
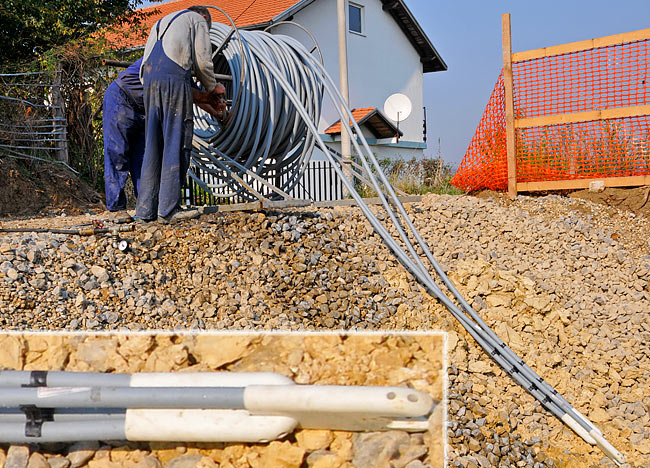
Descent of the probe in the borehole
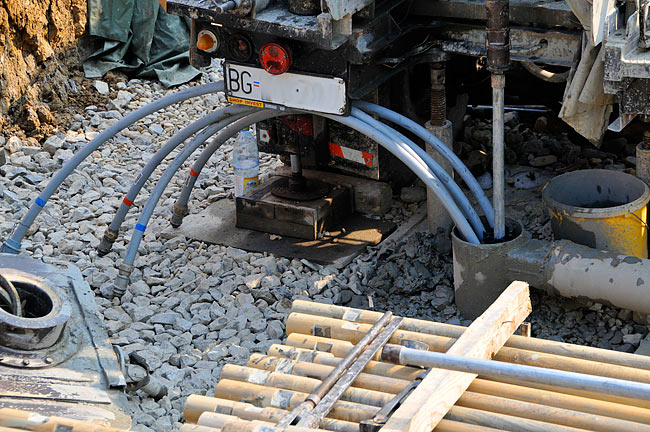
Hollow metal pipes, narrower than drill pipes, are used for the descent of the probe. Those pipes are used to inject bentonite in the borehole once the probe is in place.
Starting the descent of the geothermal probe in the borehole (photo Beodom).
To maintain the 4 pipes of the 2 independent loops of the probe in place, plastic fasteners are used at regular intervals. The metal pipe passes in a hole at the center of the fastener, while each of the 4 pipes is clipped on one side.

Detail of the plastic fastener used to maintain the 4 pipes of the geothermal probe in place (photo Beodom).
The descent goes fast and additional metal pipes are added to continue further.
Adding a metal pipe to continue the descent of the geothermal probe (photo Beodom).
More plastic fasteners are passed into the new pipe before to screw it to the previous one.
Passing platic fasteners into the new pipe before to screw it to the previous one (photo Beodom).
The end of the probe is soon reached. About 1 meter of pipe is left out for later connecting the probe to the rest of the system.
The Raugeo probe in place (photo Beodom).
Injecting bentonite
Once the probe is in place, the remaining space in the borehole has to be filled with something. This is to stabilize the borehole and to maximize the exchange of heat between the probe pipes and the surrounding ground. The most commonly used substance is bentonite, a sort of clay that we get in the form of powder.
Bentonite is prepared by mixing it with water with constant stirring, until obtaining a thick mix that can be pumped in the borehole.
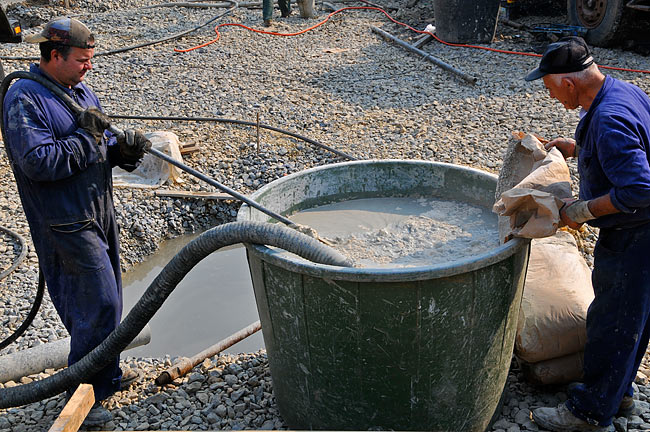
Preparing bentonite for injection in the borehole (photo Beodom).
The filling is done in several steps, at different levels in the borehole. Between each step, some metal pipes are removed to inject higher.
Removing metal pipes used to inject bentonite in the borehole (photo Beodom).
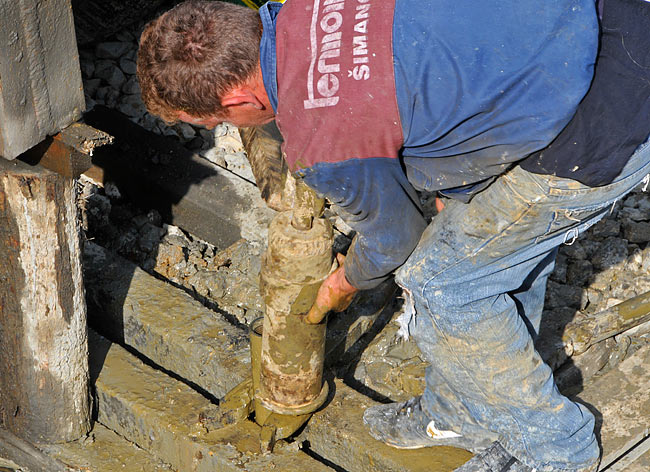
Probe installation finished
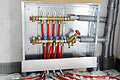
Once the borehole is filled, the installation of the probe is done. Remain to move the drilling rig to the next position. Once all probes are in place, they can be connected to a central place where they can be brought inside the building for connection to the heat pump.
The geothermal probe once installation is done (photo Beodom).


17/09/2009
admin
2
Re: Geothermal Well
01/09/2009
John Harris
1
Geothermal Well