Making of the armed concrete base slab of Amadeo II
| 04 October 2009 - Comments (2) | Construction |
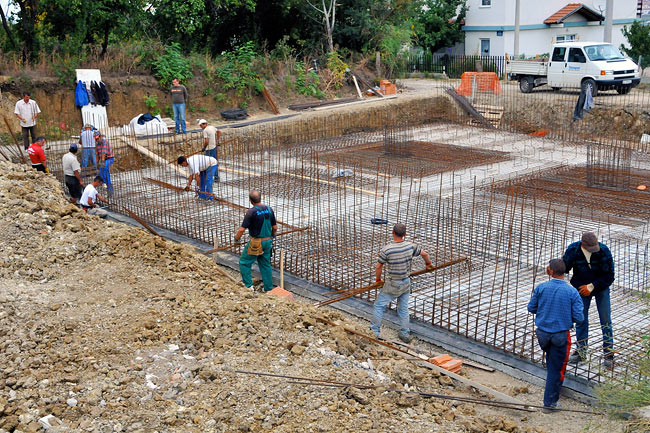
 The armed concrete base slab of Amadeo II is where the underground parking and the building above will stand. It is made based on the calculations of static forces that apply on the slab. Reinforcement is placed according to those calculations. The installation of the reinforcement is by far the most laborious part.
Preparing the installation of the reinforcement
Before to start, we marked the position of walls and columns on the protective slab, based on the project. That facilitates the installation of the reinforcement a lot as there is no need to measure again later on.
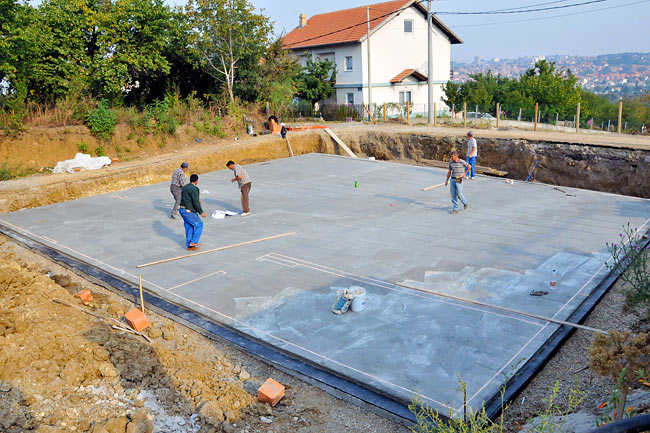
Marking the position of walls and columns on the protective slab.
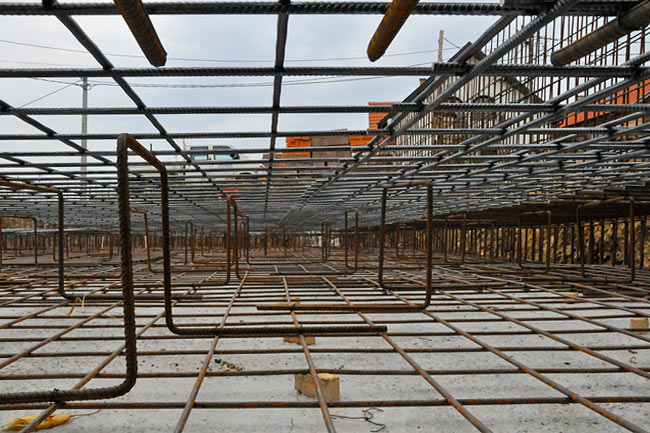
First layer
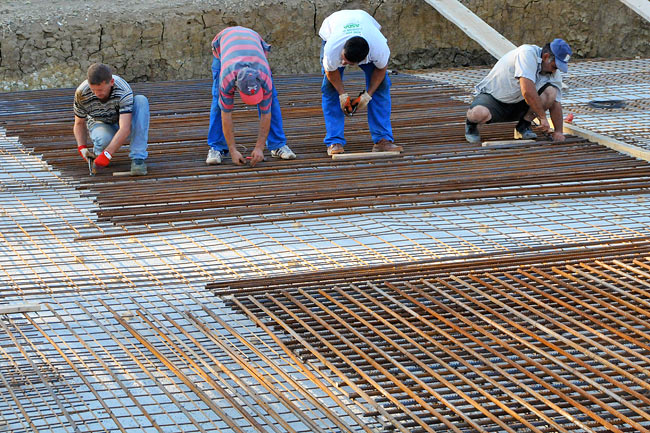
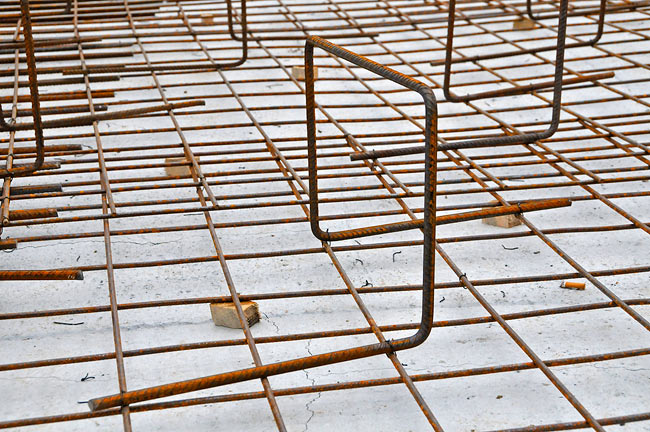
The first layer of reinforcement is done with standard iron mesh. Each iron mesh is positioned at a distance from the protective slab using small wooden pieces. On places where supportive columns and walls are located, more reinforcement is placed, making a mesh of strong iron bars.
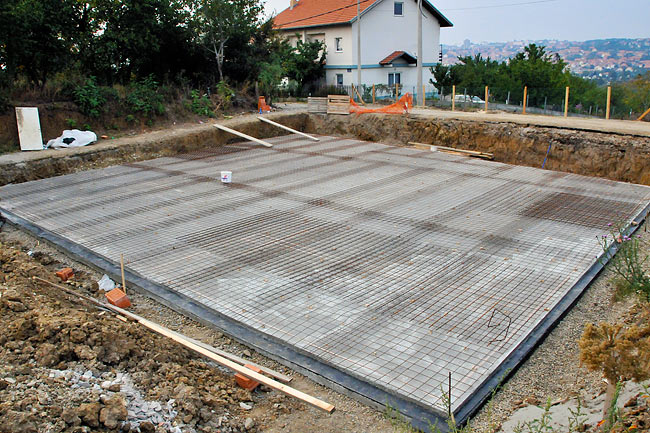
First layer of iron mesh with some iron bars in place.
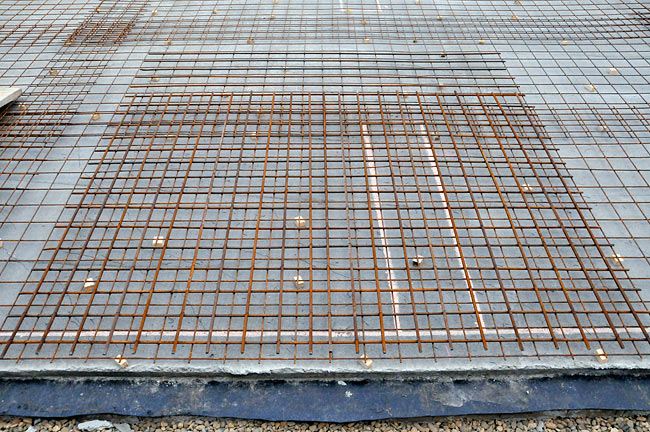
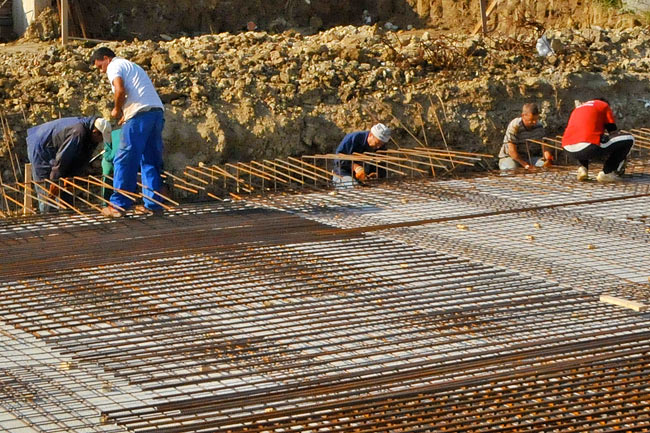
Position of a supportive wall with the first layer of iron mesh and a layer of iron bars in place.
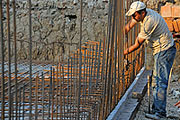
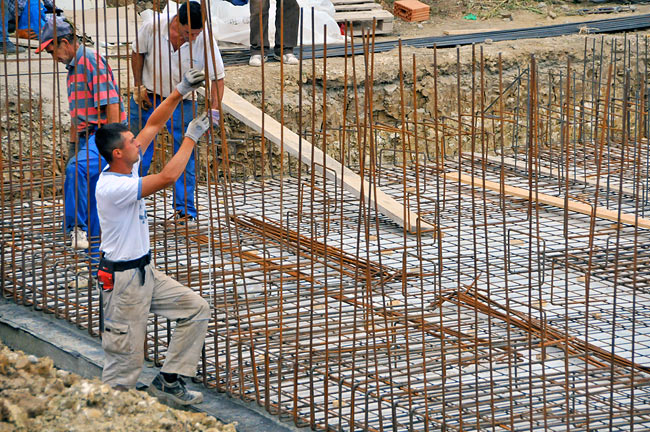
We have 2 central supportive columns and, in the same axis, 2 supportive walls extending from the peripheral walls. In those positions, much more reinforcement goes. Putting iron bars is a tedious job. Each one needs to be fastened with a small iron thread in many places.
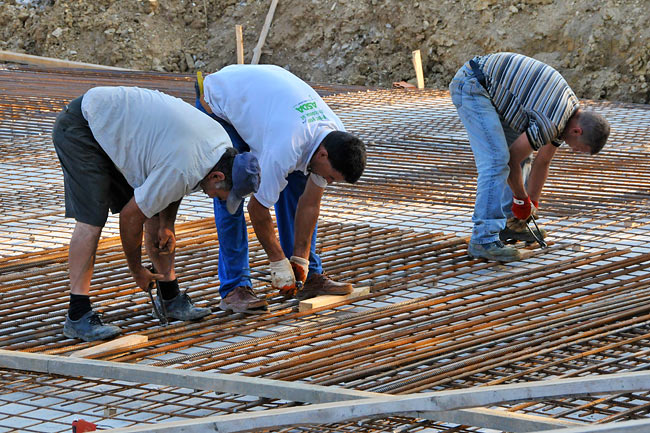
Fastening the iron bars on top of the first layer of iron mesh where supportive elements are located.
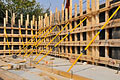
Thickening and vertical beams
The armed concrete base slab is 40cm thick. All around it, between the first and the second layer of reinforcement, thickening beams are positioned to make the thickness on the perimeter.
Positioning thickening iron beams on the perimeter of the slab.
Then, on the position of walls and columns, vertical iron bars are positioned to chain the vertical structure to the base slab.
Positioning vertical beams on the perimeter of the slab.
Second layer of reinforcement
To make the thickness on the rest of the slab, more thickening beams are used all over.
Thickening beams used between the 2 layers of reinforcement.
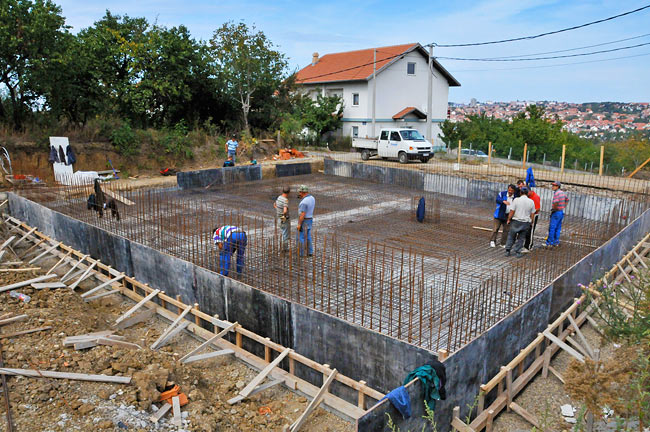
The second layer of reinforcement is done with iron mesh positioned on the thickening beams.
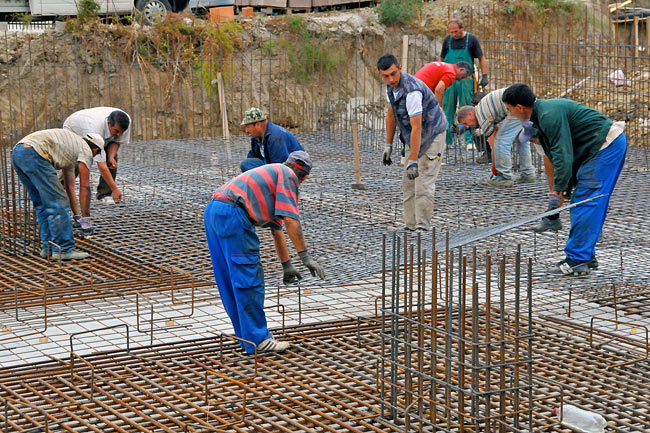
Placing the second layer of iron mesh.
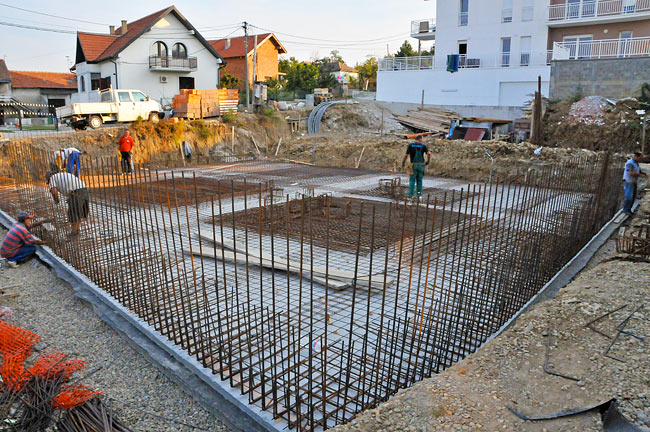
The 2 layers of reinforcement separated by thickening beams.
Eventually, more iron beams go on top of the second layer of iron mesh as per static calculation.
Casting the slab
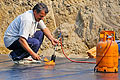
The last preparation before pouring concrete is to cast all around the armed concrete base slab.
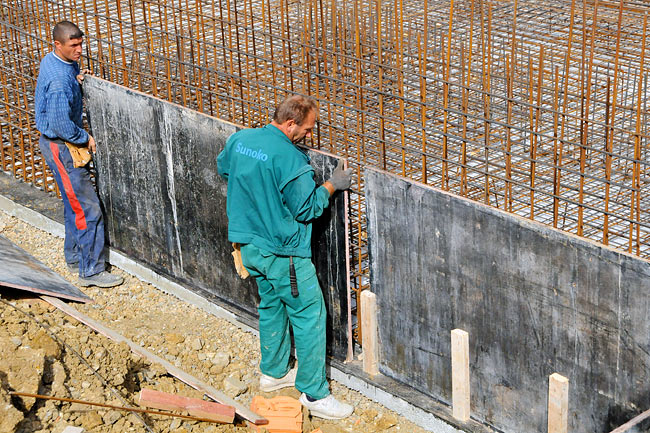
Installing the cast around the armed concrete base slab.
The cast of the armed concrete base almost done.
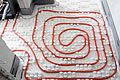
The last step of the cast was to make a channel in the middle to evacuate water from the underground parking.
Pouring concrete
For pouring concrete, MARMIL inženjering sent us a new concrete pump truck with an extension arm that can reach further than the older one.
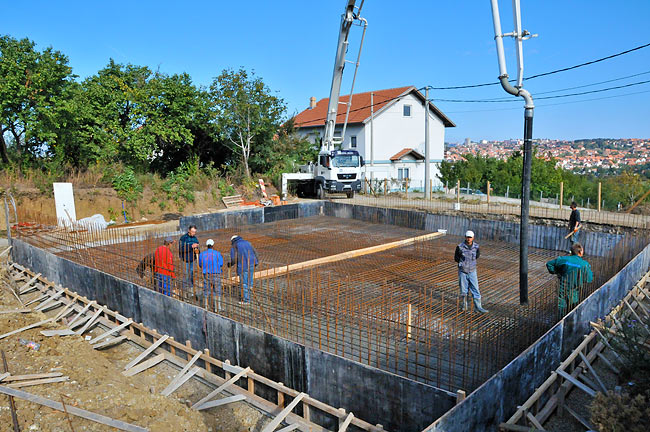
MARMIL inženjering concrete pump truck installed, waiting for the first concrete load.
The slab represent 115 cubic meter of concrete, which is around 14 concrete trucks.
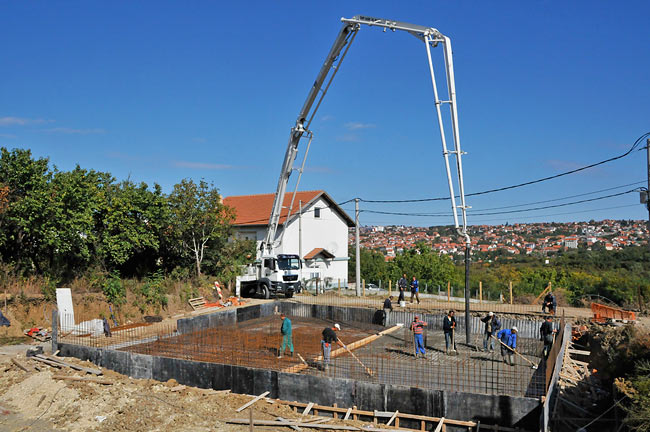
Pouring concrete ongoing.
We made a video to show the process of pouring concrete with the concrete pump.
Here the final result:

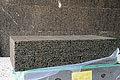
Amadeo II armed concrete base slab finished.


05/10/2009
admin
2
Re: Making of the armed concrete base slab of Amadeo II
04/10/2009
Stefano
1
Re: Making of the armed concrete base slab of Amadeo II