Amadeo construction update: windows, roof and ramp
| 05 November 2008 - Comments (2) | Construction |
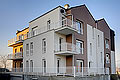
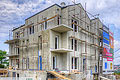
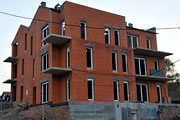 Several things are going on at the same time on Amadeo those days. Toplica Drvo's team first came to install windows. They almost completed half of it. COPA team also came to install the roof tiles and the rainwater collectors. In the previous weeks, we had been hard at work to prepare the roof support. Our team now works on the external parts of Amadeo and just finished one ramp.
Installation of the windows
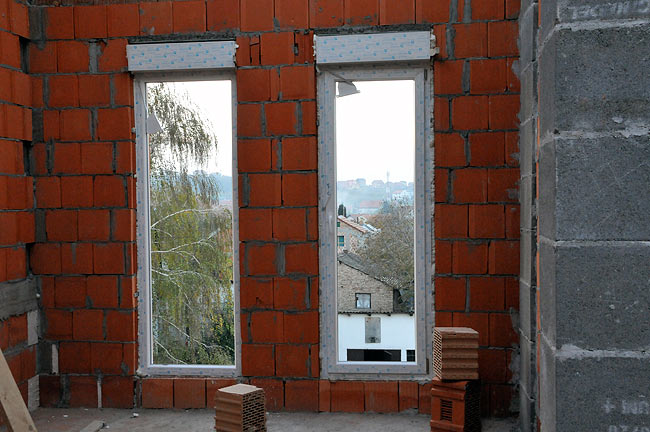
Toplica Drvo's team came to install windows of Amadeo. We ordered 5-chambers PVC profiles from Alphacan, with integrated rolling shutters. Profiles are installed first. Then double-glazings will be placed.

Filling the gap between the window and the wall with expanding foam.
Installation is done using expanding foam to fill gaps between window frames and walls. Later, we will finish the surrounding of the frame, on the inside part, with more thermal insulation. One side of Amadeo is almost completely finished.
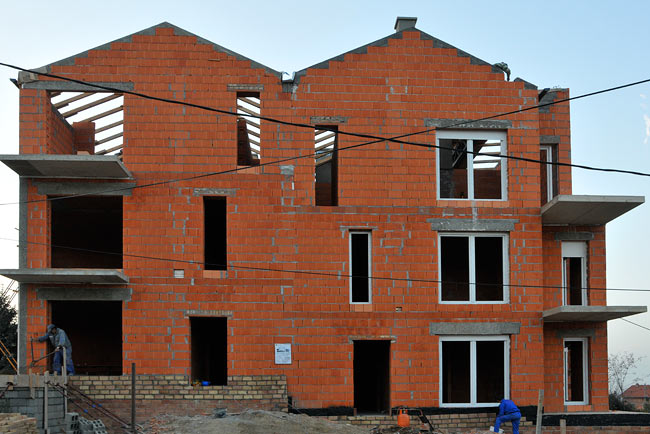
Amadeo east side with windows installed on A2 part.

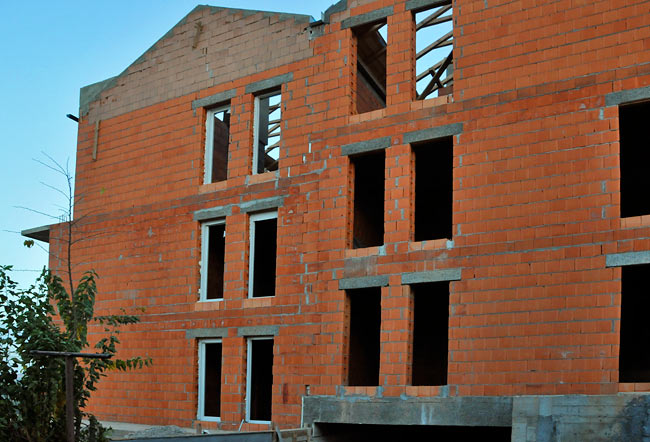
Amadeo A2 north side.
Amadeo west side with windows installed on A2 part.
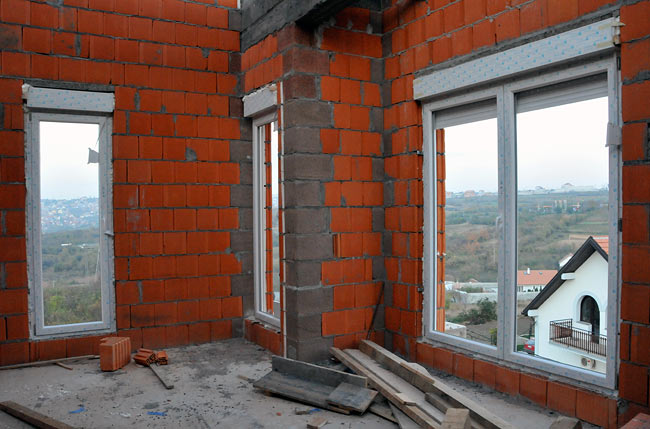
View from inside
Shutter boxes fit perfectly in the space we left for them, above window openings. They will be very well protected from the ouside and visible only from inside. Each shutter is insulated with expanded polystyrene on the indoor side (insulation is inside the shutter box).
Windows in the living room of the apartment-e in Amadeo A2.
The finished floor will be 23cm high and will come at the level of the windows. That hight includes the passage of plumbing and electricity pipes, sound insulation, floor heating system and flooring.
Windows in the bedroom of the apartment-f in Amadeo A2.
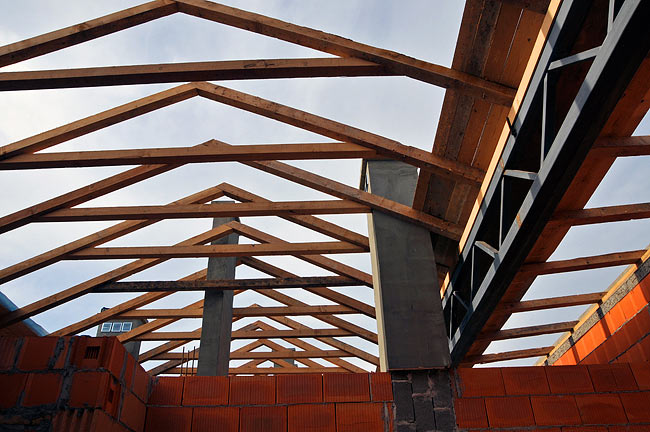
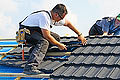
Getting ready to install Decra-Octava roof
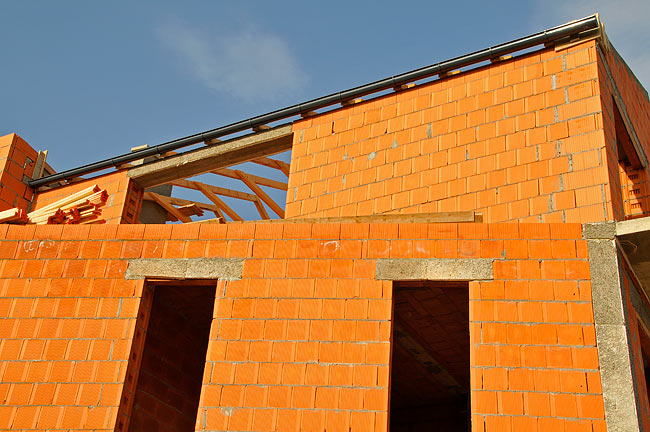
Roof support
In the past few weeks, our team of workers installed the support for the roof. As we have two small flat roofs on each side of Amadeo, we took special care to install proper support for them. We have 2 metal beams passing at the junction of the slopped roof and the flat one.
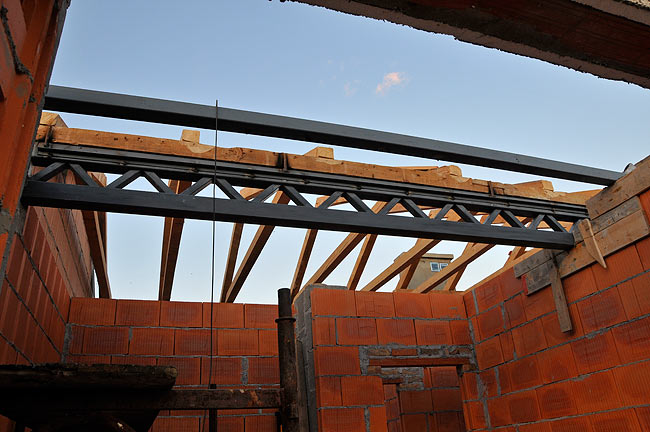
Support for the flat roof on Amadeo-A1's side.
Support for the flat roof on Amadeo-A2's side.
Schiedel chimney and ventilation channels
We also finished the interior walls of all apartments and built the columns of Shiedel ventilation channels and chimneys. The part of the chimney that is outside the heated space has to be insulated to prevent condensation in the column.
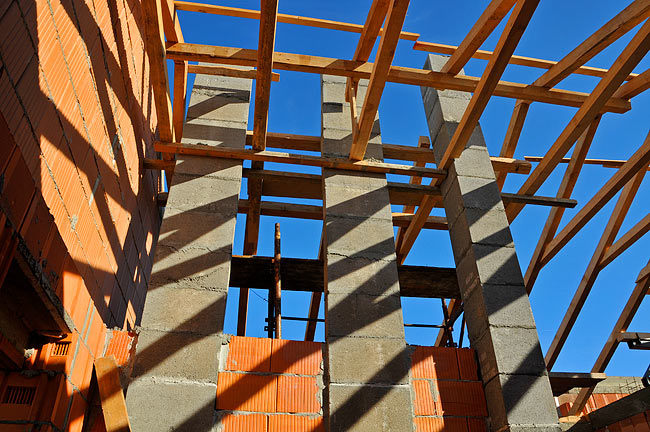
Two columns of schiedel ventilation on the left and one column of schiedel chimney of the right.
On each ventilation channel, an exhaust grid has been placed to let stale air escape outside.
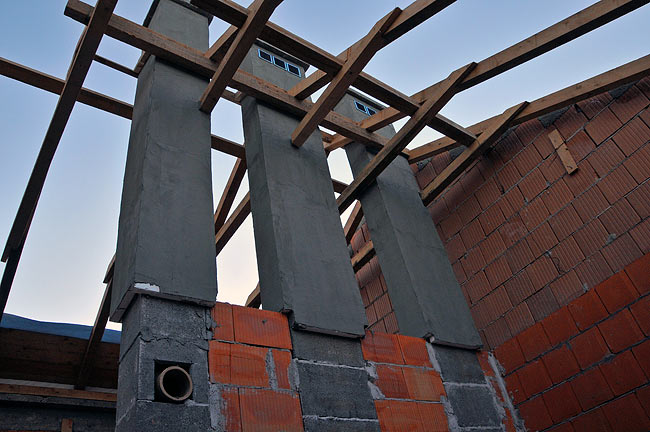
The same columns viewed from the other side with thermal insulation installed.
Rainwater collectors
The last item, that had to be done before Octava tiles could be installed, is the positionning of the rainwater collectors around the roof. The rainwater collectors are the same color as the roof tiles.
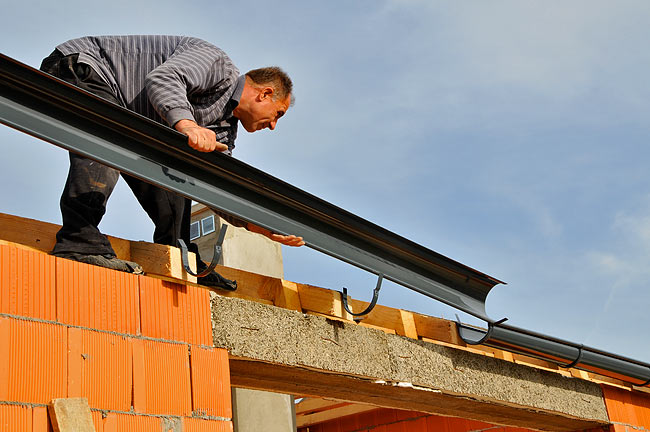
Installation of the rainwater collectors on Amadeo-A1's side.
Rainwater collectors on Amadeo-A1's side once installed.
Decra-Octava roof tiles
We have received all the material for the roof and the installation will start tomorrow.
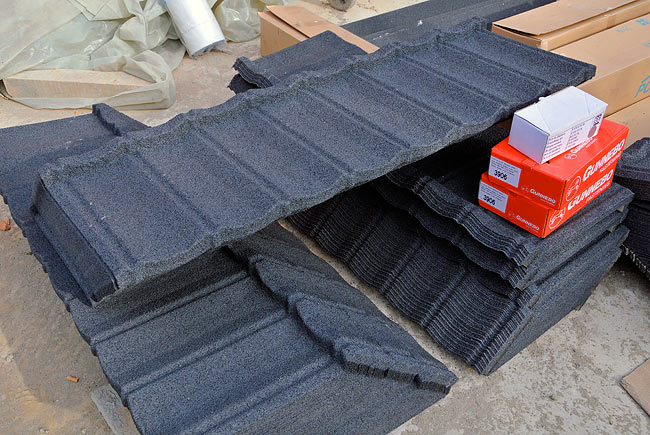
Decra-Octava roof titles on Amadeo building site.
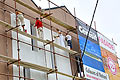
Parking ramp for Amadeo A1
In the past few days, we made the ramp to access Amadeo A1 parking. First, concrete walls were finished with a layer of mortar. Then the ramp itself was equalized and concrete was poured.
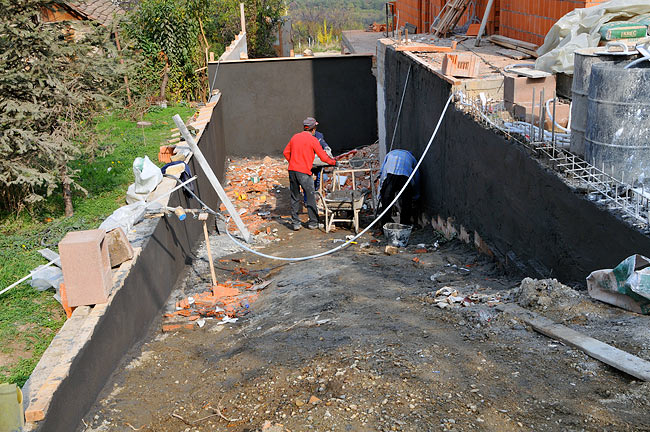
Finition of the concrete walls of Amadeo-A1's ramp.
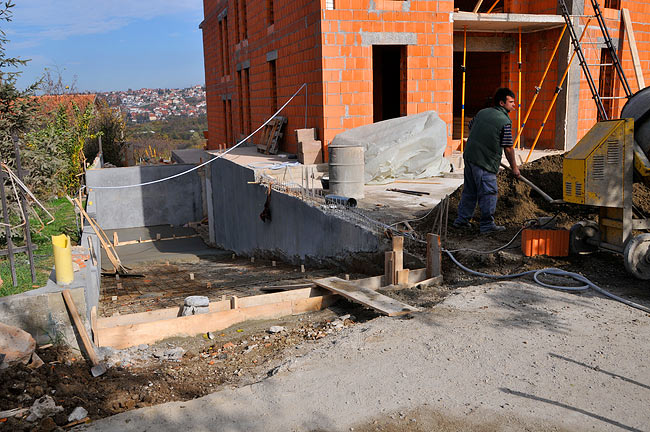
Pouring concrete on the ramp.

Amadeo-A1's ramp once finished.


06/11/2008
admin
2
Re: Great!
06/11/2008
Stefano
1
Great!